 $13.99
 $22.99
 $21.99
 $53.99
 $63.99
  $26.99
 $34.99
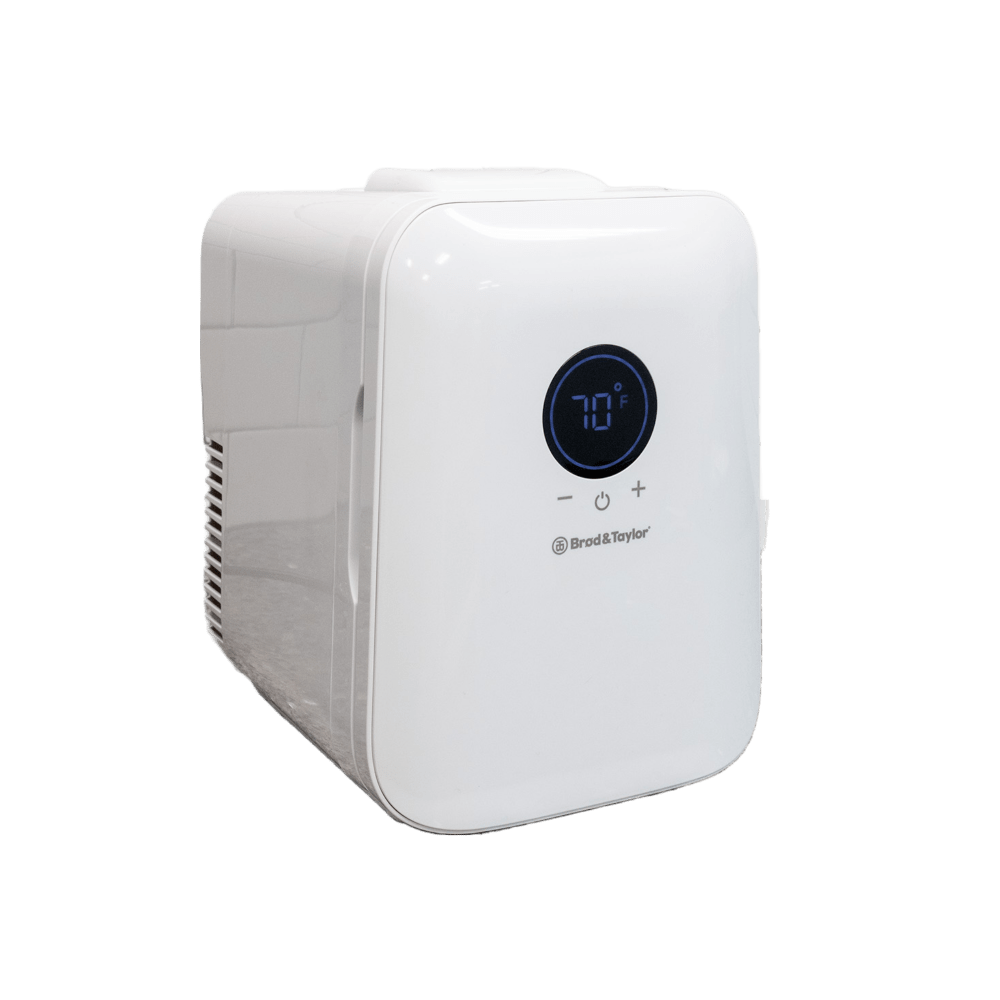 $119.95
 from
$10.00
from
$10.00  $39.95
  $15.99
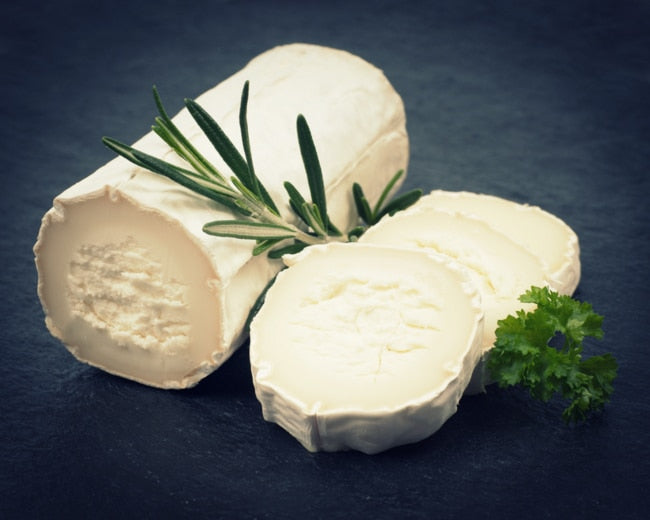
Learning to culture sourdough unlocks a whole new world of delicious bread flavors. In addition, cultured sourdough helps make wheat more digestible and more nutritious. Our sourdough bread blog is full of helpful tips, techniques and directions from experienced bakers who can help you improve all your cultured sourdough bakes. Sourdough bread baking is an art and a science, and our sourdough blog can help you work out the finer details.

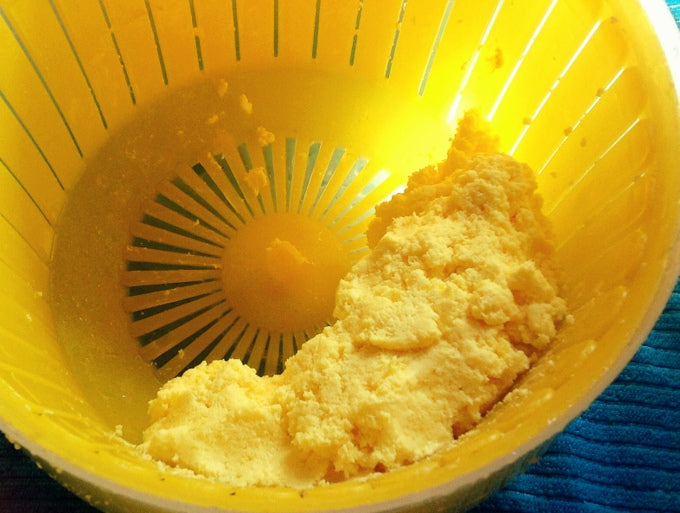
FEEDING SOURDOUGH STARTER | INSTRUCTIONS & HOW-TO-VIDEO
Making and maintaining a sourdough starterat home is easy and rewarding, no commercial yeast packets required. This post will show you how easy feeding a sourdough starteris and here is where to buy sourdough starter!
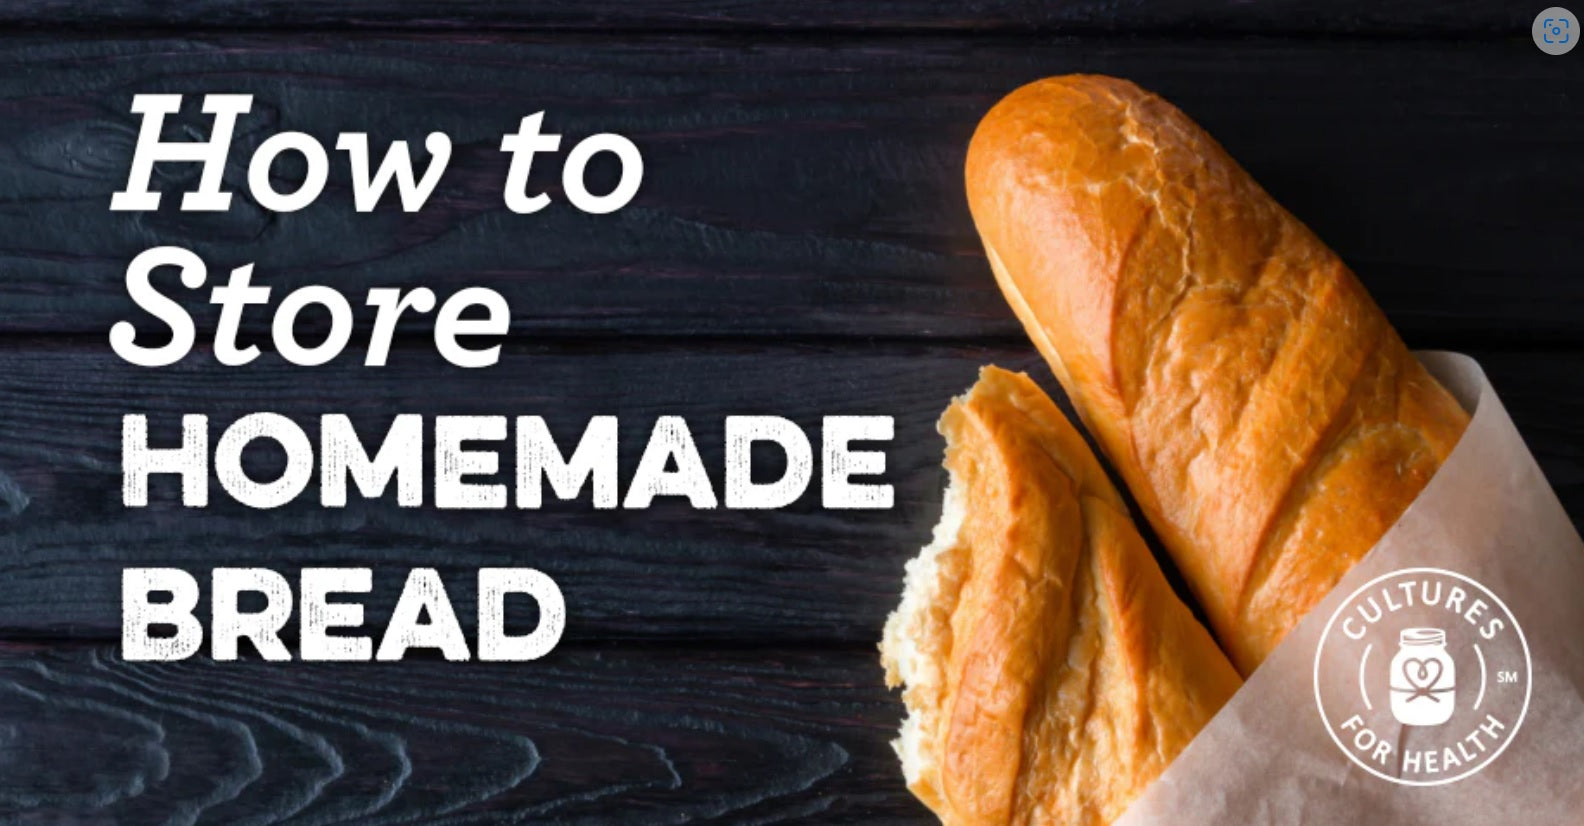
One of the many benefits of making your own is that there are no preservatives. One of the drawbacks, however, is that the bread may have a shorter shelf-life. Fortunately, there are some options for storing your treasure so you can actually keep it around longer than a day or two.
Obtaining a sourdough starter is not difficult, and there are options to fit everyone’s needs. But first, let’s take a look at the different characteristics and types of sourdough starter and how you can put together your own sourdough starter kit.
There are two main acids produced in a sourdough culture: lactic acid and acetic acid. Acetic acid, or vinegar, is the acid that gives sourdough much of its tang. Giving acetic acid-producing organisms optimal conditions to thrive and multiply will produce a more tangy finished product. Here are some ways to achieve this.
Welcome to the world of sourdough baking! Instructions for activating our white flour, whole wheat, rye, or spelt starters are included in the box or can be found below. Instructions for activating and feeding our Gluten-free Brown Rice Sourdough Starter are slightly different.

Our favorite sourdough breakfast recipes for taking the chill out of fall morning with a warm oven.
These recipes often involve sourdough just for flavor, while other leavening agents such as baking powder and baking soda are employed for a good rise. Check out the benefits to a both long and short fermentation.
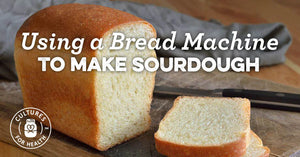
If you own a bread machine and want to use it to make sourdough bread, it may or may not be possible. Most bread machines are designed to work with breads leavened with commercial yeast, and therefore are programmed for a short and consistent rising period.
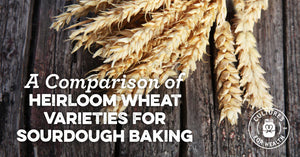
The wheat most people are familiar with is just one or two varieties of grasses in a family calledTriticum. While bread wheat (T. aestivum) will yield consistently good results in sourdough bread baking. Here are some grains that can be found in health food stores and large supermarkets.
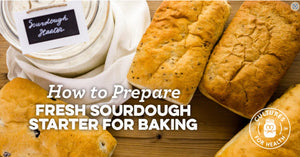
Once you have activated your dehydrated sourdough starter culture, it’s time to bake your first loaf of delicious sourdough bread.

Compared to other starter cultures, a sourdough starteris fairly easy to maintain and surprisingly difficult to kill completely. However, there are some conditions that are ideal for sourdough starter, in order to keep it as healthy as possible.


