


This recipe works best with homemade yogurt that separates safely and naturally. If you must use store yogurt, Greek and organic is optimal.
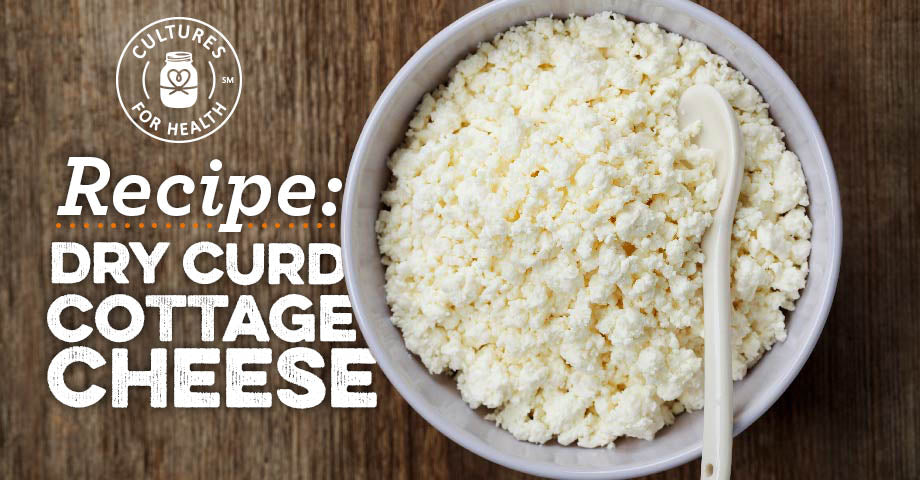
Click to download our Cheesemaking Recipe book today with tips and tricks to take your delicious cheese at home to the next level. Plus, it's a healthy and delicious snack that the whole family will love.
5 minutes
4 hours
5-6 Balls
INGREDIENTS AND EQUIPMENT AVAILABLE AT CULTURES FOR HEALTH
Grey Celtic Sea Salt
Greek Yogurt Starter Culture
Greek Yogurt Starter Culture
$14.99
There’s a reason Greek Yogurt is one of our most popular products! Make tangy, rich, and delicious yogurt at home for a fraction of the cost of store-bought.
Using a starter culture allows you to control the ingredients, making your Greek Yogurt much healthier.
The Greek Yogurt Starter is an heirloom culture - meaning you'll make endless delicious yogurt all from one starter!
INGREDIENTS:
- 1 quart plain yogurt that has separated slightly
- 1 tsp. sea salt
- herbs and spices as desired (optional)
- 2 cups olive oil
INSTRUCTIONS:
- If yogurt is separated already, skip to step 2. If not, leave it out on the counter for a few hours until it just starts to form a whey layer.
- Line a colander with clean butter muslin. Pour in yogurt, tie the muslin into a draining sack, and suspend it over a sink or bowl for 12 hours to drip and drain.
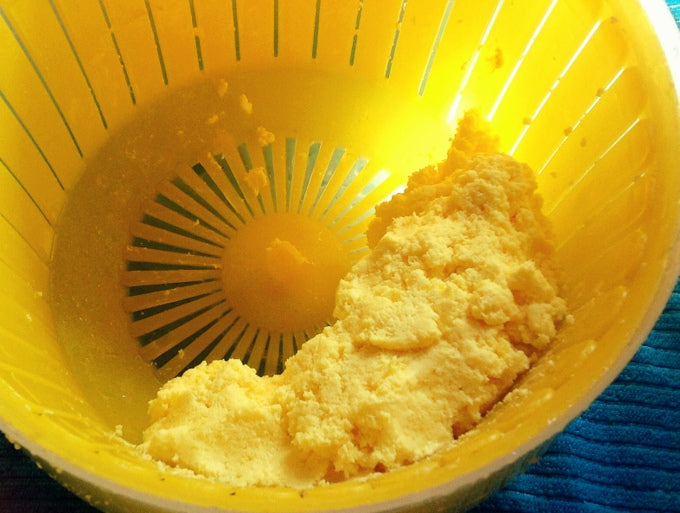
- Once yogurt has become like a soft cheese, and is formable when stirred a little with a spoon, remove from muslin and place in a small mixing bowl.
- Salt to taste; add whatever herbs or spices you wish at this point.
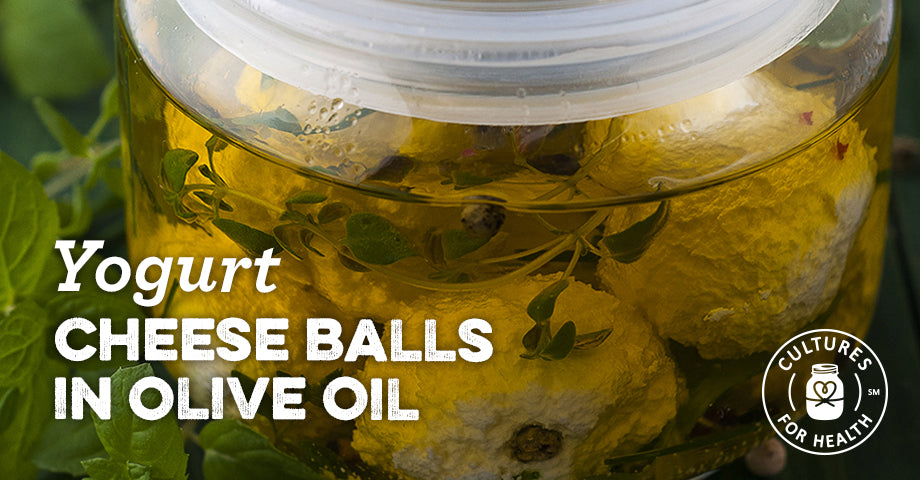
- Scoop a Tbsp. of yogurt cheese into your palm and roll into a smooth ball. Drop this ball into a clean, sanitized pint jar. Repeat this step until all the cheese has been made into balls and transferred into the jar.
- Add in sprigs of fresh herbs now, if desired, along the sides of the jar. Rosemary, basil and thyme work well.
- Fill the jar up to 1 inch below the rim with olive oil and screw the lid on tightly.
- Keep jar refrigerated or in dark, cold storage. It will keep indefinitely.
- Take balls out as needed. Serve with crackers and a little spreading knife for an elegant and delicious snack.
Don’t have yogurt? Try Kefir Cheese Balls in Olive Oil.
Download our Cheesemaking Guide and Recipe book and start making your yogurt cheese today!