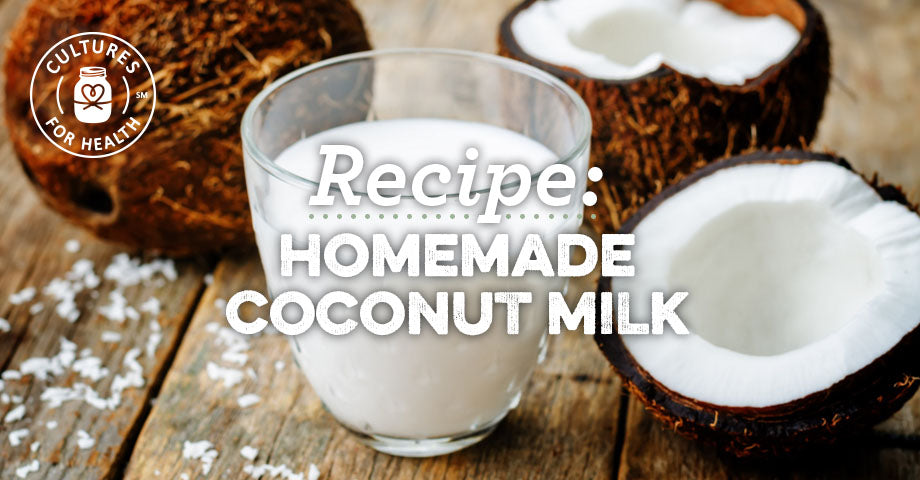
This recipe for diy coconut milk is simple, yet versatile. Use homemade coconut milk for cooking, baking, drinking, or even culturing! Leftover coconut pulp can be used to make coconut flour. Use a dehydrator or oven on lowest setting to dry the pulp. Fluff a few times during the drying process. For a fluffy, light flour, return the dried coconut flour to the blender or a food processor and pulse to break up the clumps. Use in any recipe that calls for coconut flour.
15 minutes
35 minutes
2
INGREDIENTS AND EQUIPMENT AVAILABLE AT CULTURES FOR HEALTH
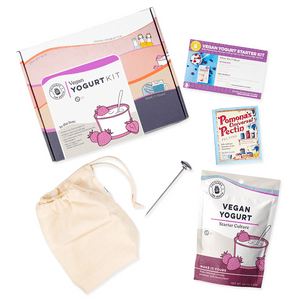
Vegan Yogurt Starter Kit

Vegan Yogurt Starter Kit
$29.99
Designed for beginners, this kit contains our tried-and-true favorite supplies to help you make thick dairy-free yogurt at home with soy milk, coconut milk, and more.
Make delicious vegan yogurt with this beginner-friendly kit. Whether you're looking for gut-healthy ingredients or an exciting DIY project, the Cultures for Health Vegan Yogurt Starter Kit will deliver a rewarding experience you won't soon forget.
Packaging and Equipment in the kit may appear different than pictured.
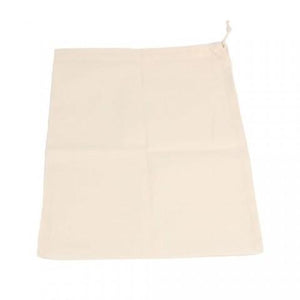
Organic Cotton Bag 10"x12"

Organic Cotton Bag 10"x12"
$5.00
This 10" x 12" organic cotton bag is perfect for making nut milk and soy milk, but we also love it for straining whey from homemade yogurt, cheese, kefir, and more.
HOW TO MAKE DIY COCONUT MILK
INGREDIENTS:
- 2 cups unsweetened shredded coconut
- 4 cups water
- 1/2 tsp. guar gum (optional)
INSTRUCTIONS:
- Heat water until warm, but not boiling.
- Add coconut and warm water to blender. Blend on high speed until smooth, about 1-2 minutes.
- Strain the blended mixture using butter muslin or a nut milk bag. A tight-weave cloth is preferable, as twisting the top tightly allows more milk to drain through.
- To strained milk, add guar gum, if desired, to make a smoother coconut milk for drinking, cooking, or making ice cream. Pulse a few times in blender.
- Refrigerate up to 5 days.


