FREE US SHIPPING OVER $49.99 🚚

FREE COOKBOOK AT $69.99 🎁

Search

SEARCH

Endless Fresh Sourdough Starter Instructions

Endless Fresh Sourdough Starter jar with bubbly starter and bread

Refresh, feed, and maintain your fresh sourdough culture for endless homemade baking.
Beginner friendlyAllow 2–6 daysFresh, live starter
Set up for success

What you need

Important on arrival: Refrigerate your starter immediately upon receipt and feed it within 24 hours. A sharp, astringent odor is normal after its journey; it needs feeding.
By tapping Email me, you agree to receive this reminder and marketing emails from Cultures for Health. Unsubscribe anytime.
By tapping Text me, you agree to receive this reminder and recurring automated marketing texts from Cultures for Health. Consent is not a condition of purchase. Msg & data rates may apply. Reply STOP to opt out.
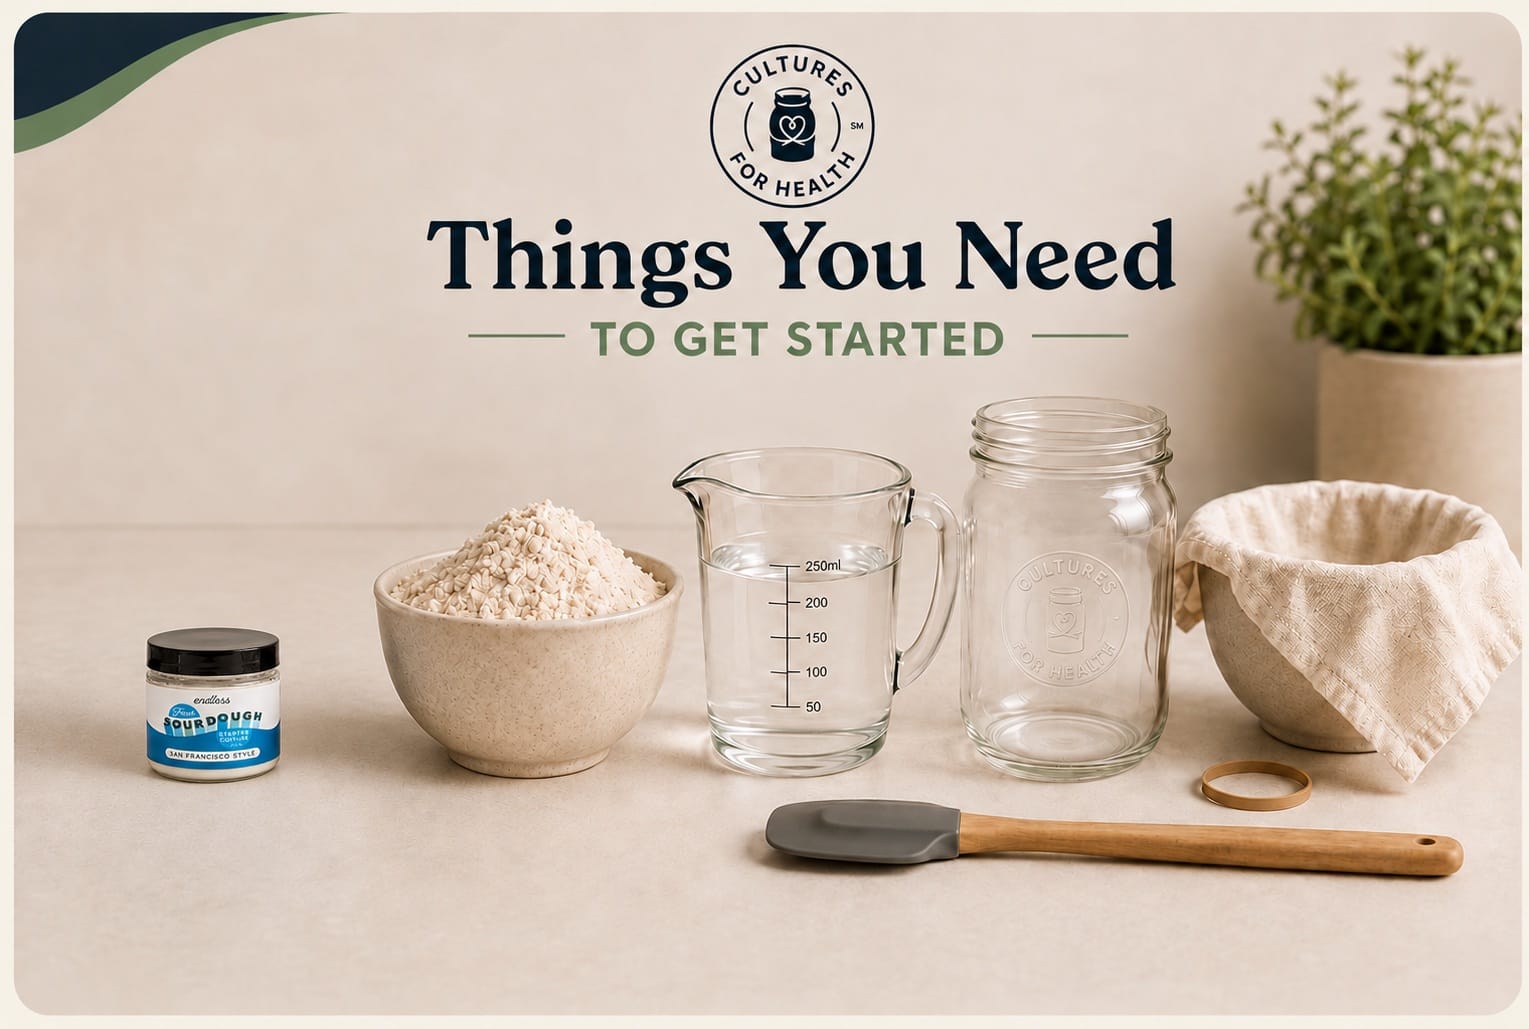
Fresh starter jar, white flour, water, quart jar, muslin, rubber band and spatula
Fresh starterOne jar of Endless Fresh Sourdough Starter.
FlourOrganic unbleached all-purpose or bread flour.
WaterFree of chlorine and fluoride, such as filtered or spring water.
ContainerOne-quart glass jar or medium-sized container.
Cover and utensilsCoffee filter or butter muslin, rubber band, stainless steel, silicone, or wood spoon.
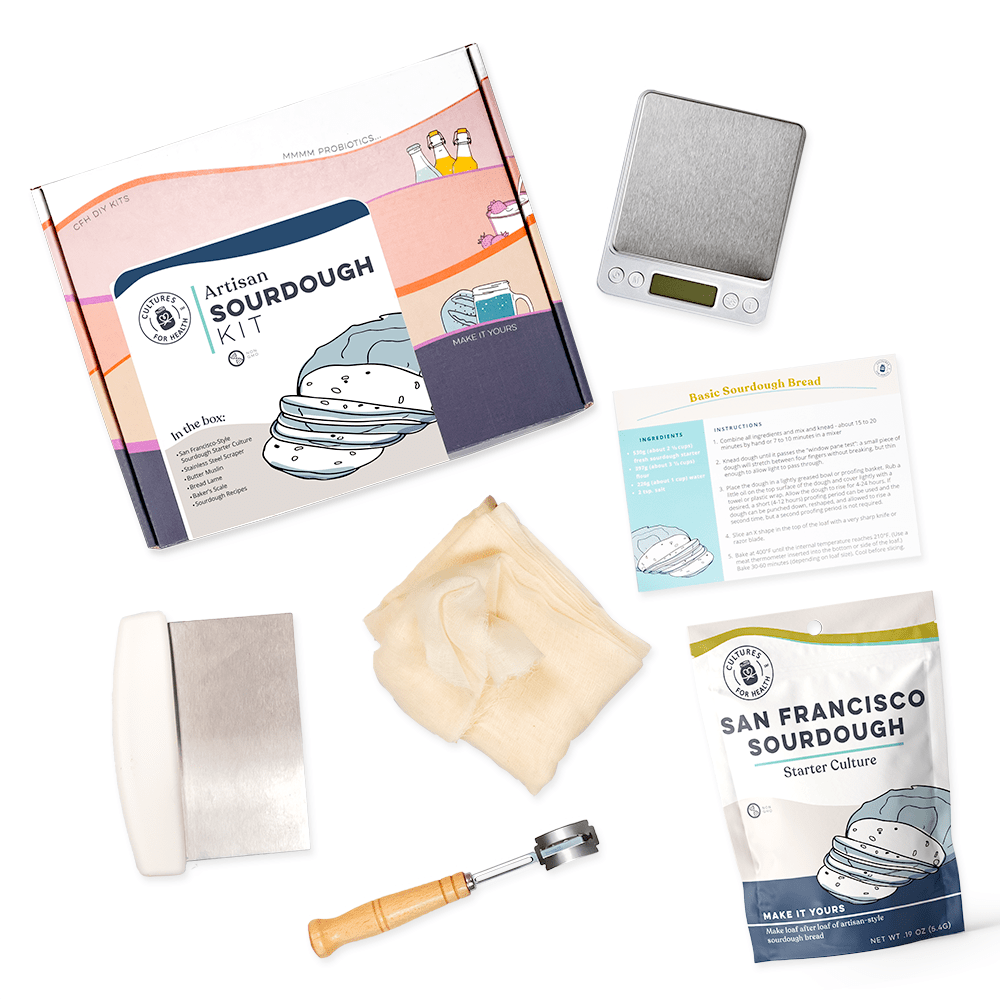
For bakingBaker’s scale, steel dough scraper, and bread lame (scorer).
Refreshing your sourdough culture

Wake up your fresh starter

Follow the steps in order. The starter’s expansion and beginning collapse tell you when to feed; reminders prompt you to check.
STEP 1

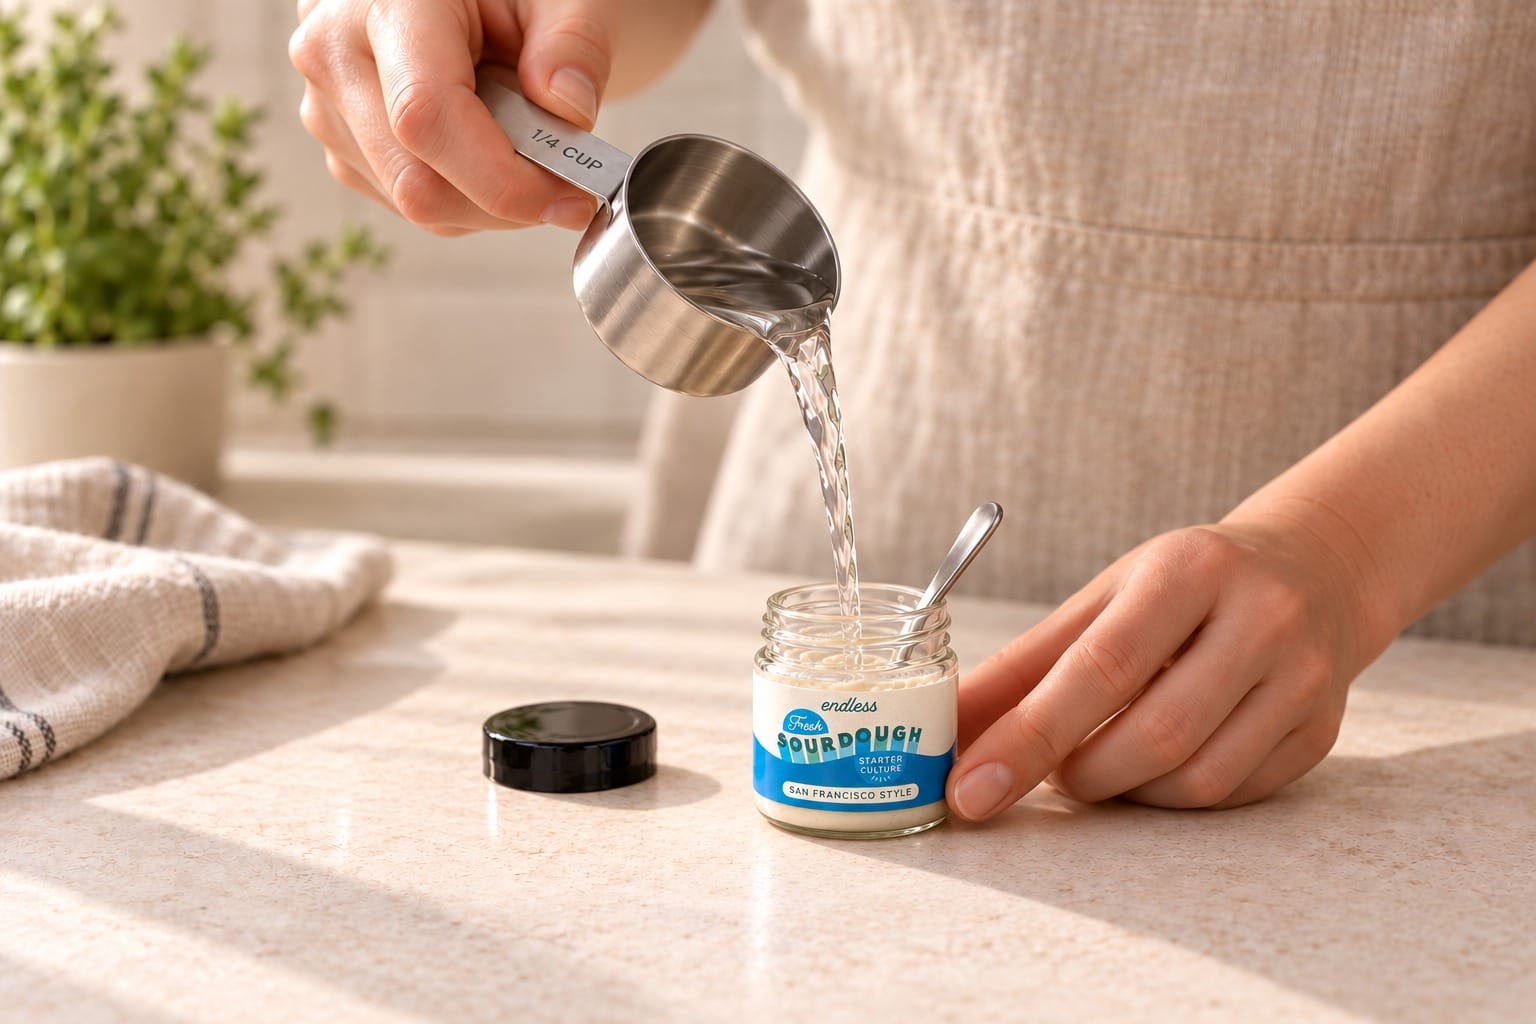
Loosen the fresh starter

Loosen the fresh starter

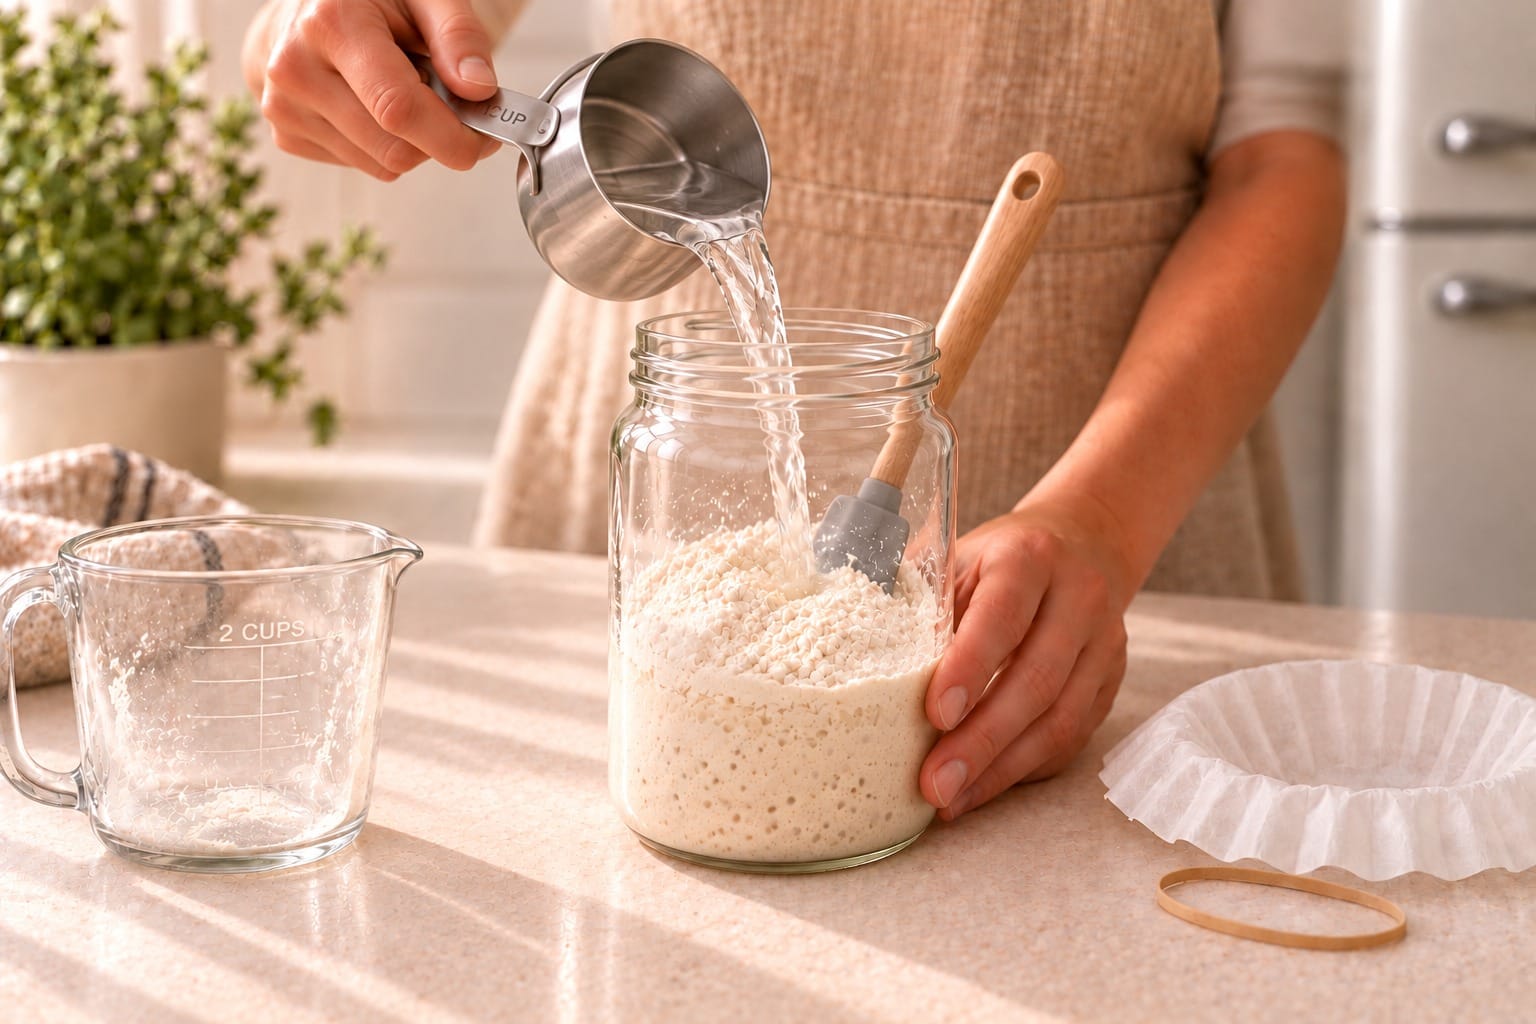
Add 1/4 cup (57 grams) room-temperature water to your Endless Fresh Sourdough Starter jar. Stir to loosen the starter so it can be poured out.
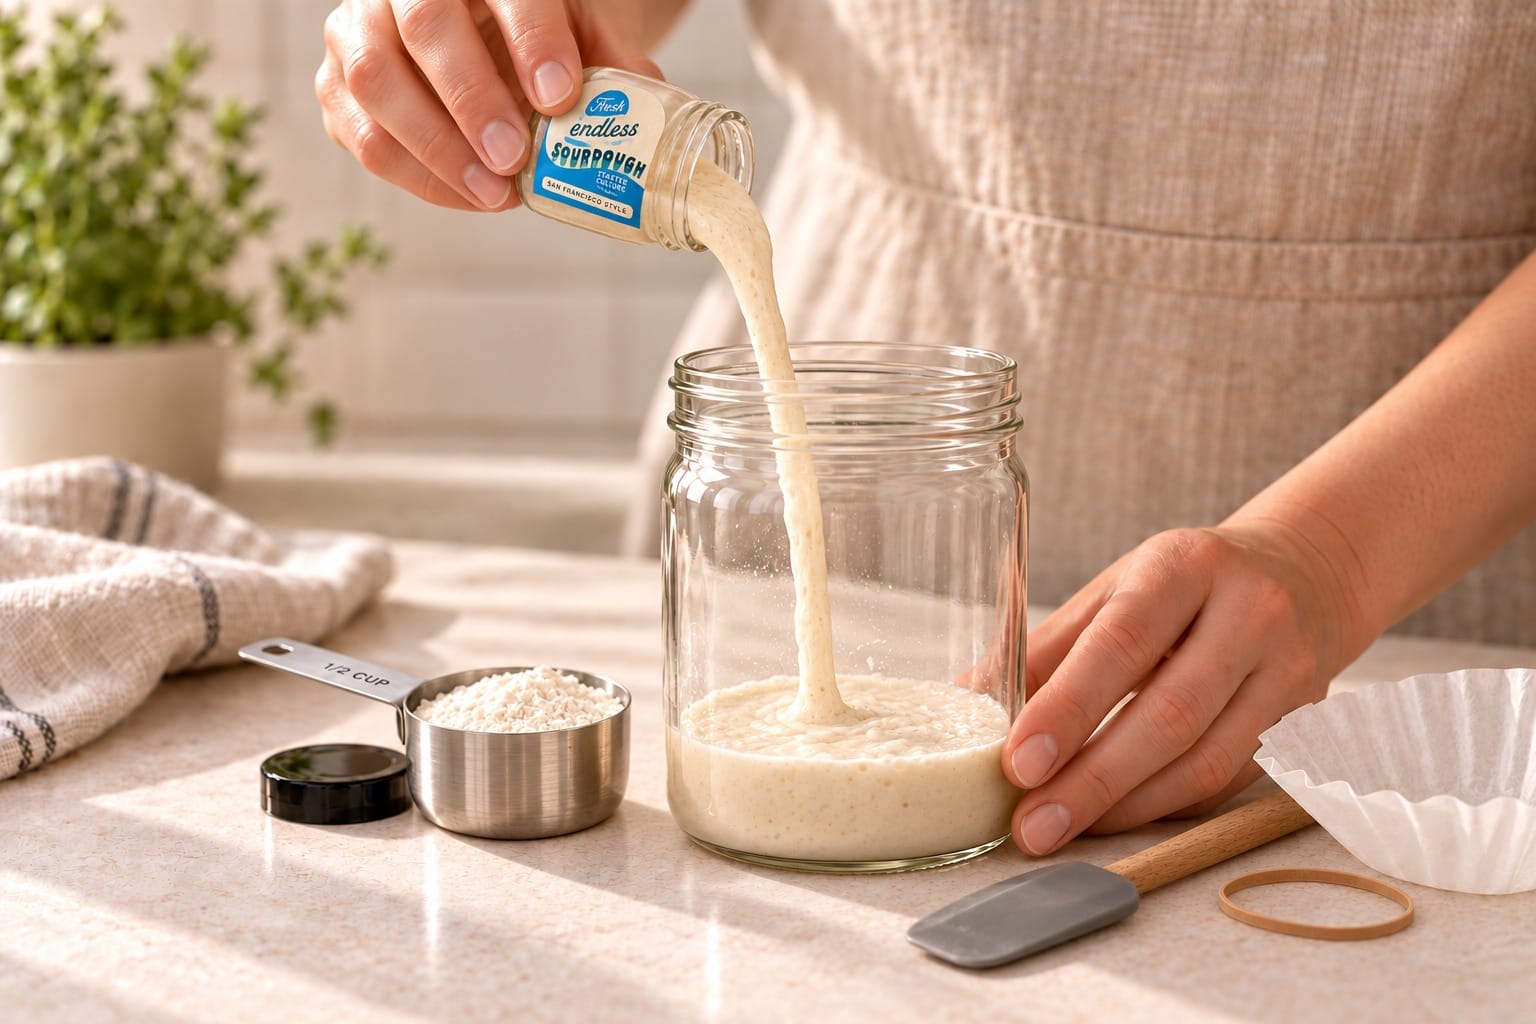
STEP 2

Transfer, feed, and cover

Transfer, feed, and cover

Pour the starter/water mixture into a quart jar or medium-sized container. Add 1/2 cup (64 grams) all-purpose flour and mix well. Cover with a coffee filter or butter muslin and let sit in a warm place for 12–24 hours. Below 70°F, it will take a little longer to mature. When it has expanded and begun to collapse, move to Step 3.
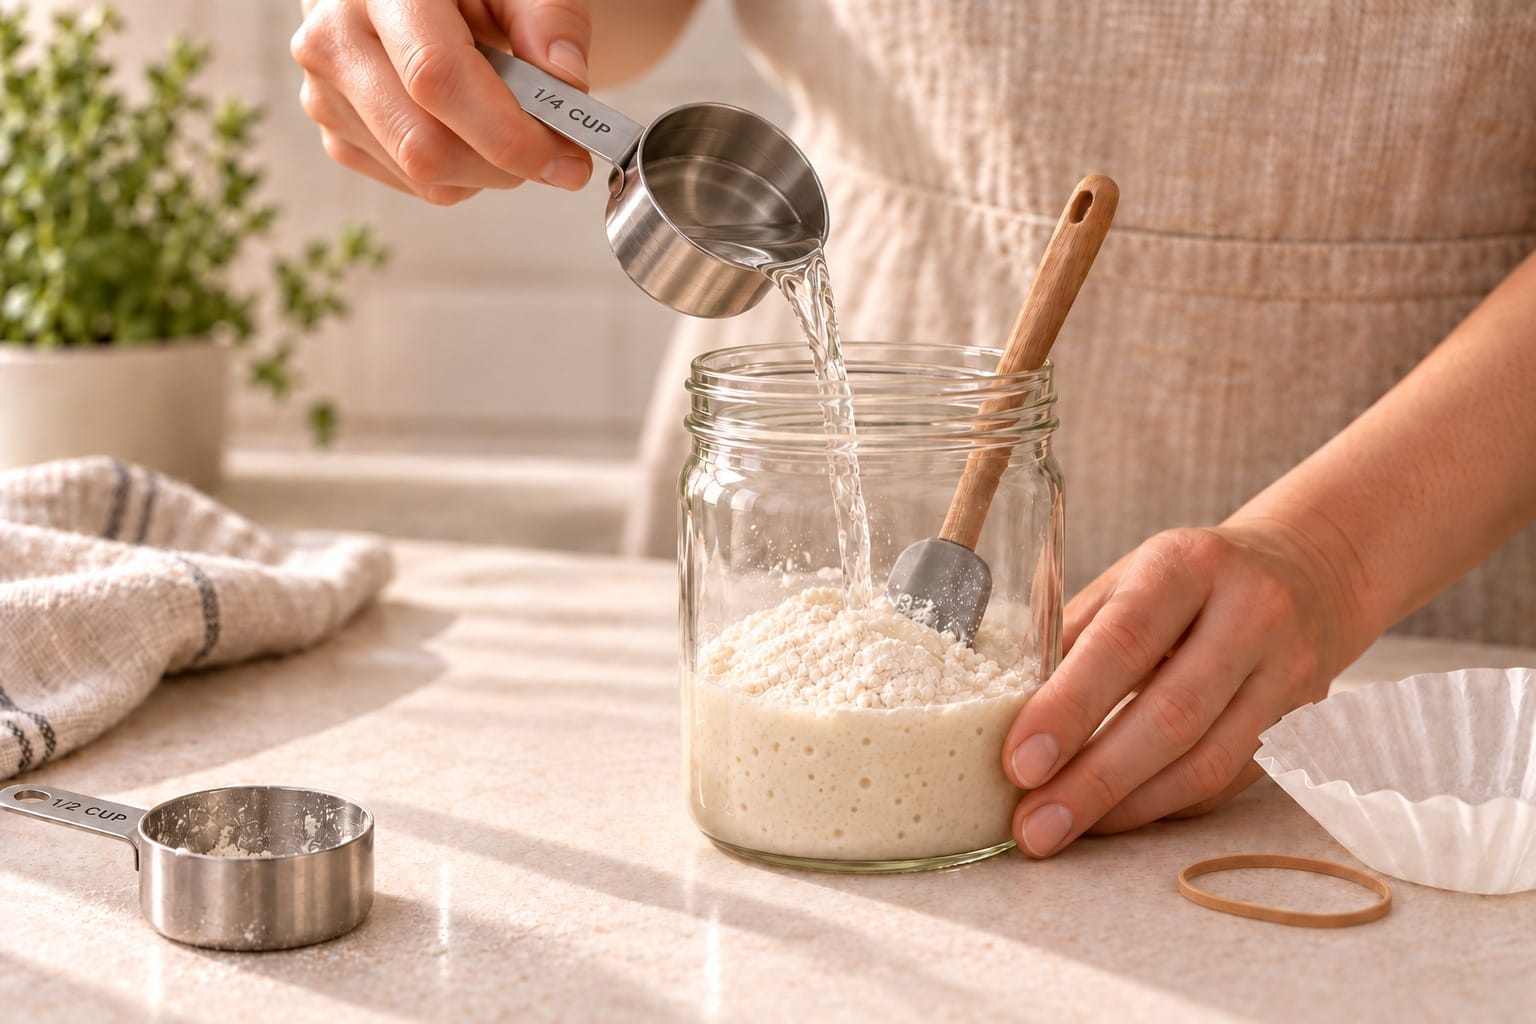
By tapping Email me, you agree to receive this reminder and marketing emails from Cultures for Health. Unsubscribe anytime.
By tapping Text me, you agree to receive this reminder and recurring automated marketing texts from Cultures for Health. Consent is not a condition of purchase. Msg & data rates may apply. Reply STOP to opt out.
STEP 3

Feed when the starter begins to collapse

Feed when the starter begins to collapse

Remove the cover. Add 1/2 cup (75 grams) flour and 1/4 cup (60 grams) room-temperature water; mix well. Cover and let sit in a warm place for 12–24 hours. When it has expanded and begun to collapse, move to Step 4.
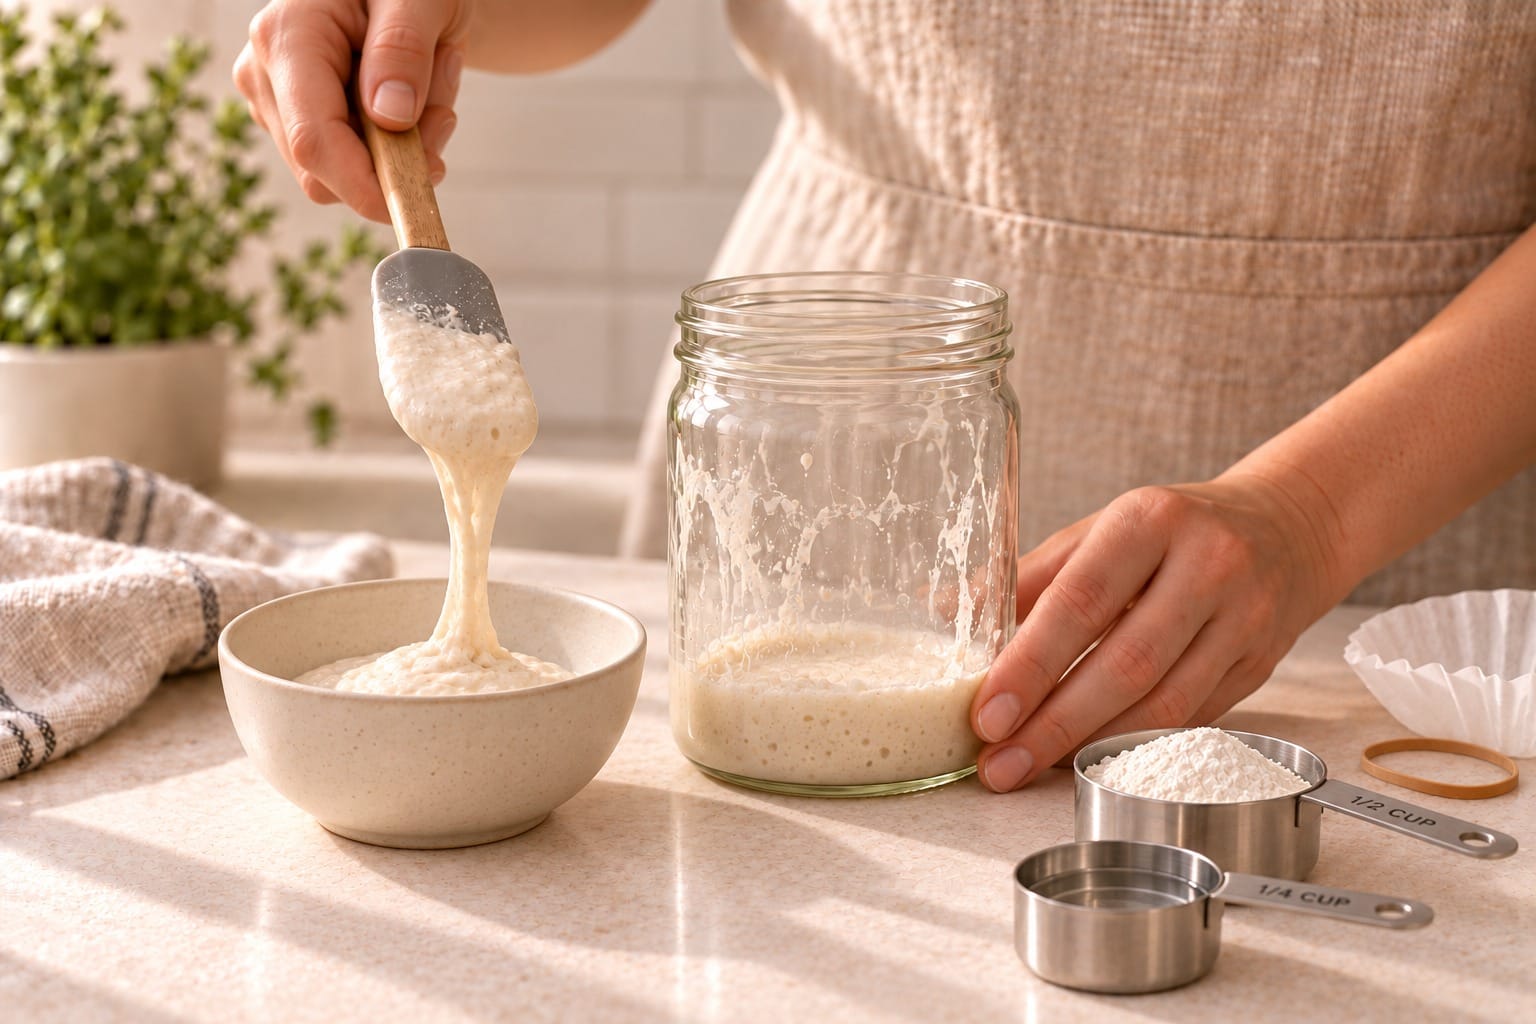
By tapping Email me, you agree to receive this reminder and marketing emails from Cultures for Health. Unsubscribe anytime.
By tapping Text me, you agree to receive this reminder and recurring automated marketing texts from Cultures for Health. Consent is not a condition of purchase. Msg & data rates may apply. Reply STOP to opt out.
STEP 4

Discard, then feed

Discard, then feed

Remove (discard) all but 1/2 cup starter. Add 1/2 cup (75 grams) flour and 1/4 cup (60 grams) room-temperature water; mix well. Cover and let sit in a warm place for 12–24 hours. When it has expanded and begun to collapse, move to Step 5.
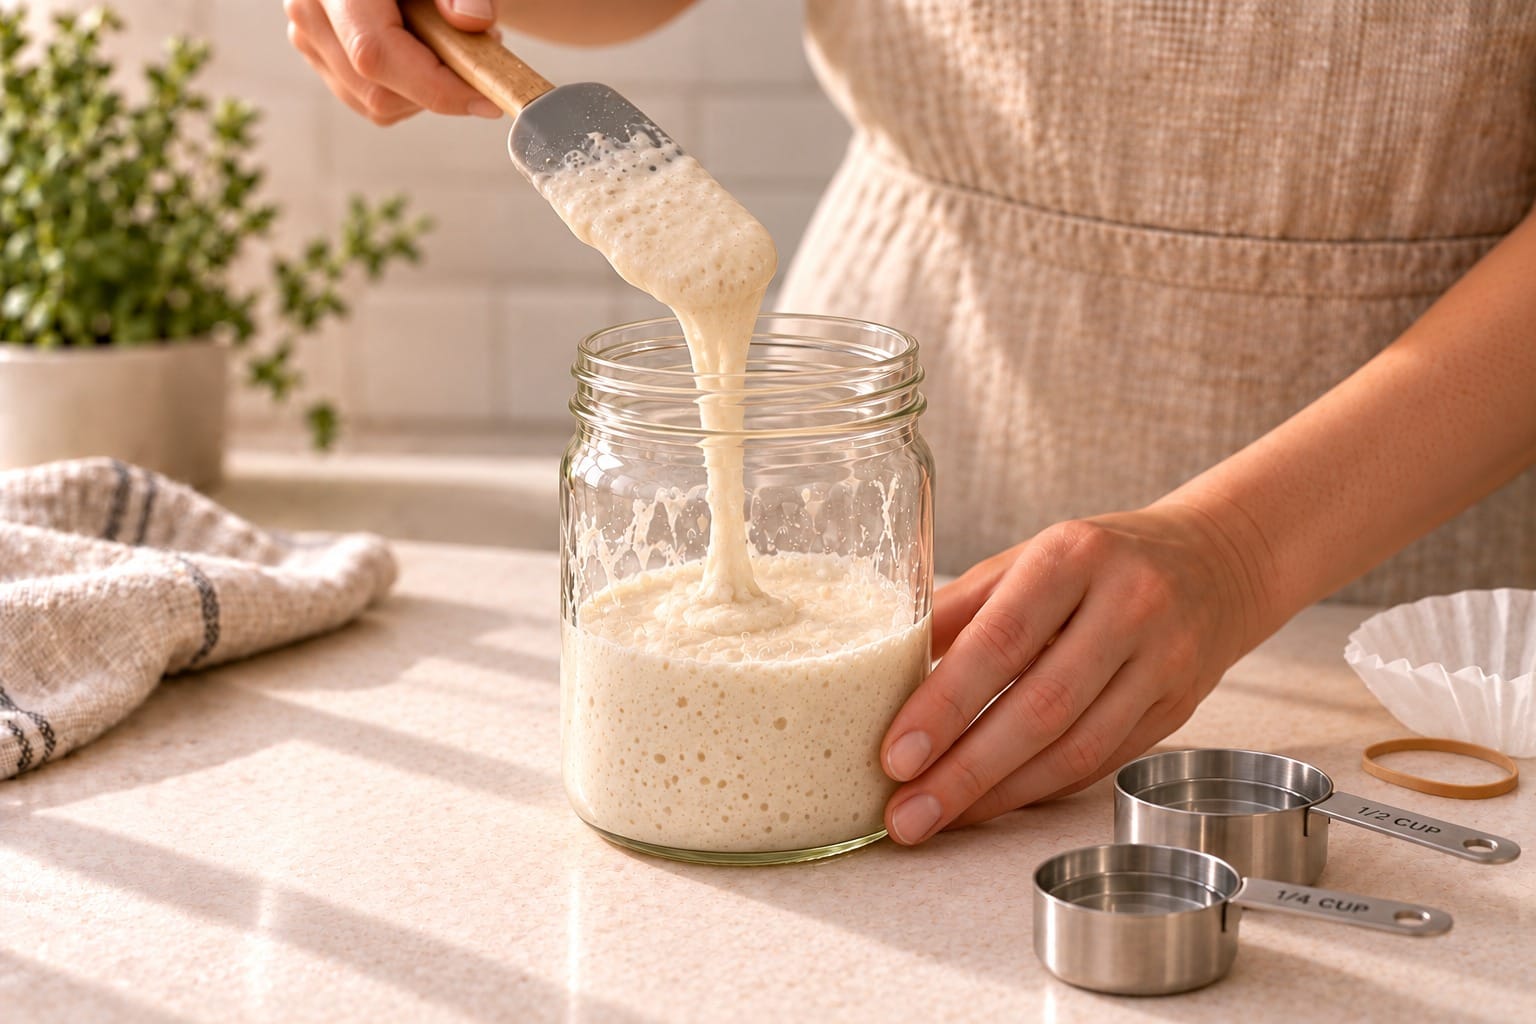
By tapping Email me, you agree to receive this reminder and marketing emails from Cultures for Health. Unsubscribe anytime.
By tapping Text me, you agree to receive this reminder and recurring automated marketing texts from Cultures for Health. Consent is not a condition of purchase. Msg & data rates may apply. Reply STOP to opt out.
STEP 5

Repeat until refreshed

Repeat until refreshed

Repeat Step 4 for up to 3 days, until your starter is refreshed. It is ready when it has the consistency of thick pancake batter and is bubbling regularly within a few hours of feeding. You can maintain it on the counter if you are a frequent baker.

By tapping Email me, you agree to receive this reminder and marketing emails from Cultures for Health. Unsubscribe anytime.
By tapping Text me, you agree to receive this reminder and recurring automated marketing texts from Cultures for Health. Consent is not a condition of purchase. Msg & data rates may apply. Reply STOP to opt out.

Your starter is refreshed

Look for thick pancake-batter consistency and regular bubbling within a few hours of feeding. Maintain your culture, or build up the amount needed for a bake.

Keep it going

Maintain in the refrigerator

For occasional bakers. Frequent bakers can maintain their refreshed starter on the counter, following its feeding cues.
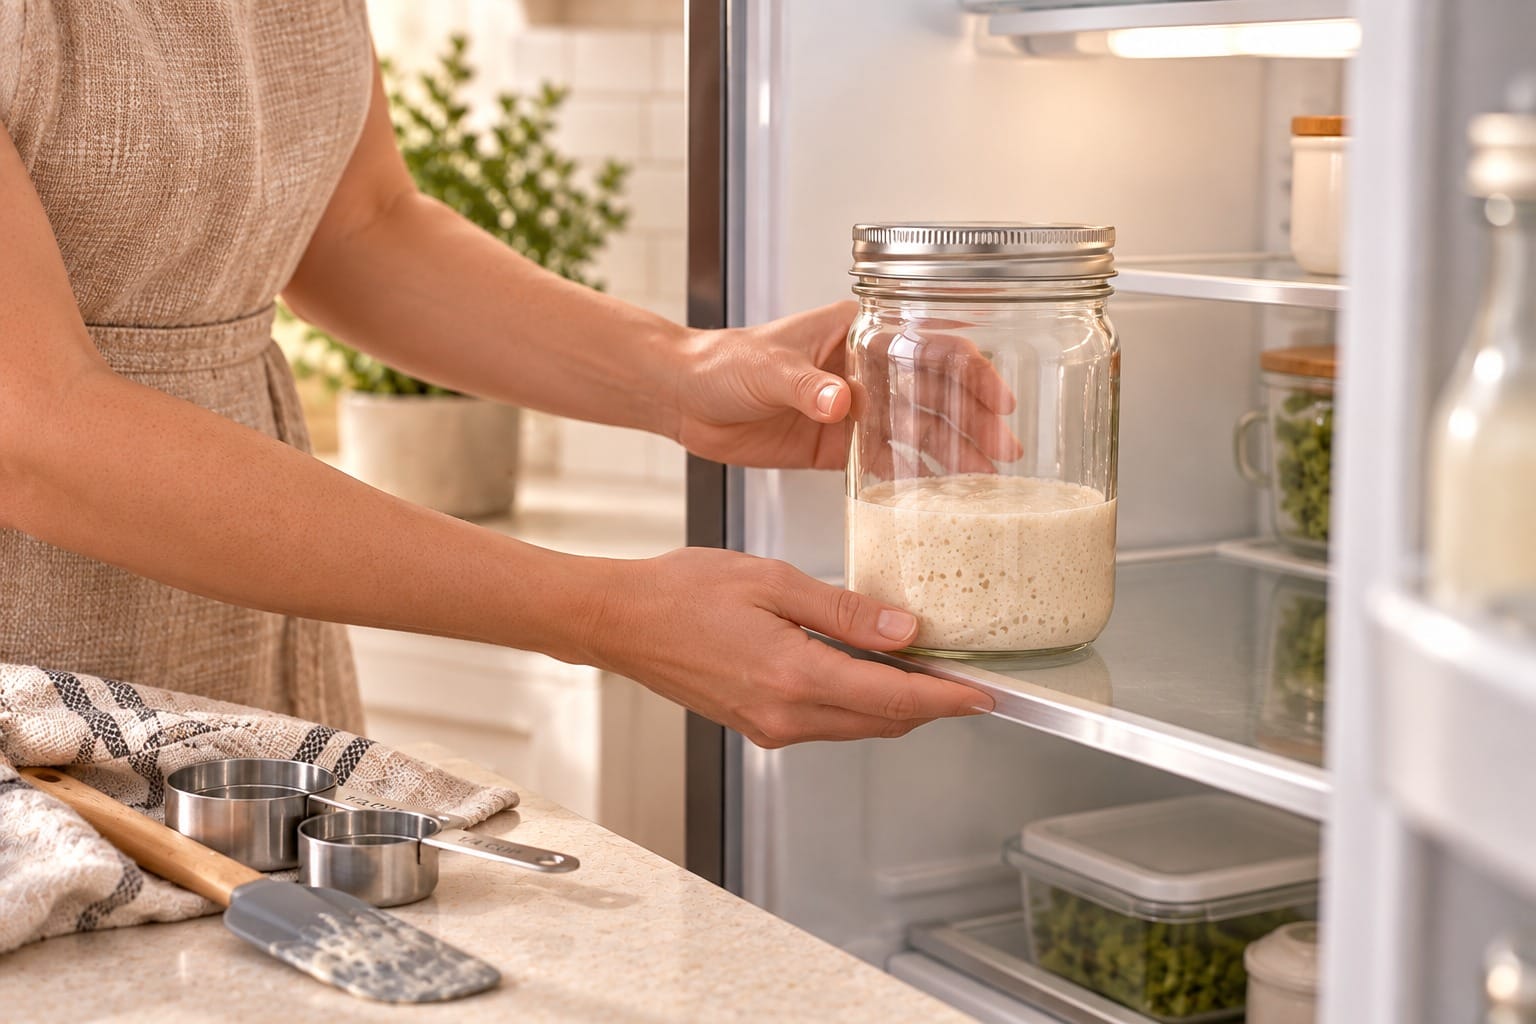
1. Feed and refrigerate

1. Feed and refrigerate

Discard all but 1/2 cup starter. Feed with 1/2 cup flour and 1/4 cup room-temperature water; mix well. Put a tight lid on the jar and return it to the refrigerator.
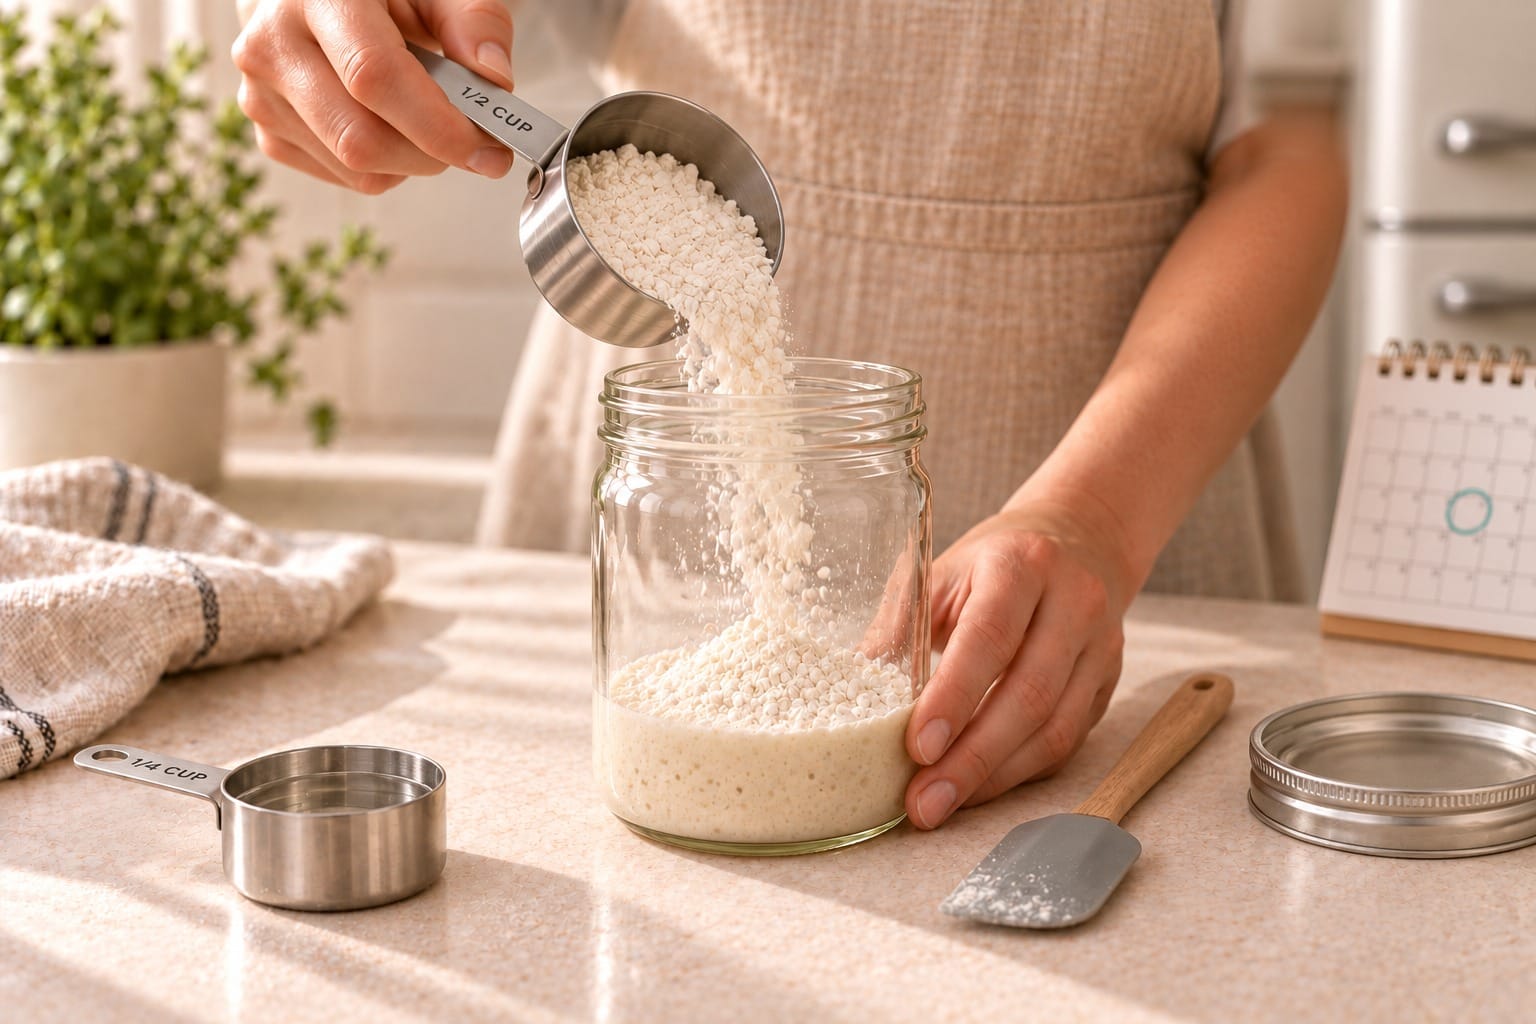
2. Repeat at least monthly

2. Repeat at least monthly

Repeat Step 1 at least once a month until you are ready to bake. Set a 30-day check-in reminder below; feed sooner if needed to stay within one calendar month.
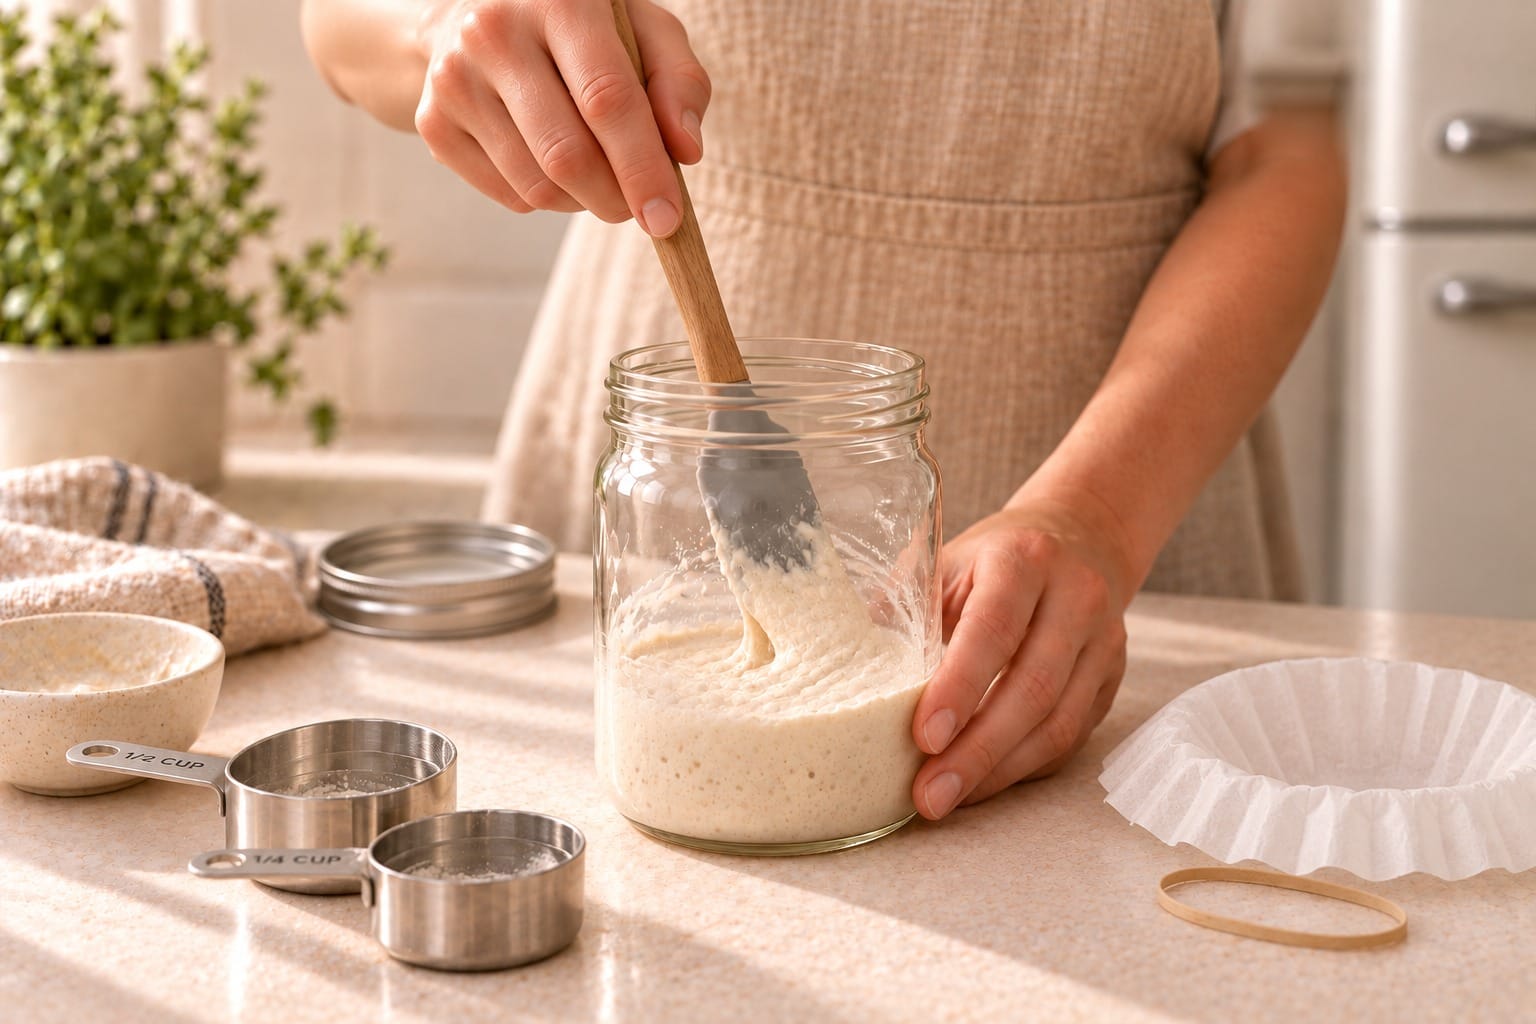
By tapping Email me, you agree to receive this reminder and marketing emails from Cultures for Health. Unsubscribe anytime.
By tapping Text me, you agree to receive this reminder and recurring automated marketing texts from Cultures for Health. Consent is not a condition of purchase. Msg & data rates may apply. Reply STOP to opt out.

3. Refresh before baking

3. Refresh before baking

A few days before baking, remove the starter from the refrigerator. Discard all but 1/2 cup starter, then feed with 1/2 cup flour and 1/4 cup room-temperature water; mix well. Cover with a coffee filter or butter muslin and let sit in a warm place for 12–24 hours. When it has expanded and begun to collapse, move to building up for a bake.
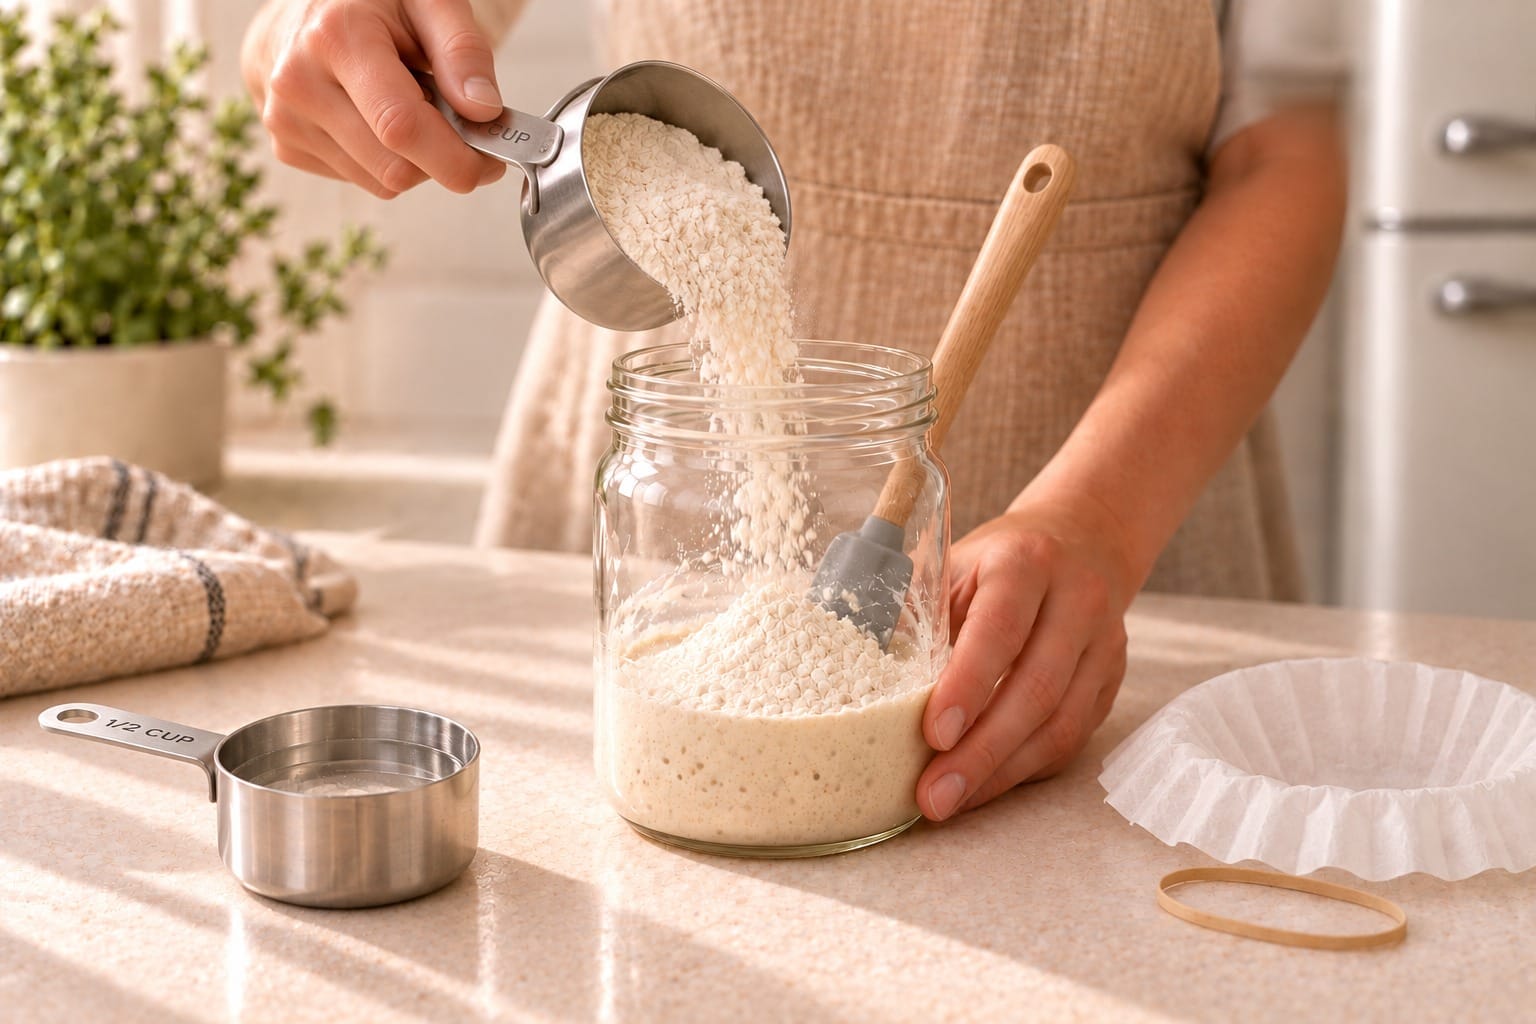
By tapping Email me, you agree to receive this reminder and marketing emails from Cultures for Health. Unsubscribe anytime.
By tapping Text me, you agree to receive this reminder and recurring automated marketing texts from Cultures for Health. Consent is not a condition of purchase. Msg & data rates may apply. Reply STOP to opt out.
Prepare for your recipe

Building up for a bake

Do not discard while building up or maintaining your starter during these build-up steps. You will double your starter with each feeding.
BUILD-UP STEP 1

First build-up feeding

First build-up feeding

When your starter begins to collapse, add 1 cup (150 grams) flour and 1/2 cup (120 grams) water. Cover with a coffee filter or butter muslin and let sit in a warm place for 12–24 hours. When it has expanded and begun to collapse, move to the next step.
By tapping Email me, you agree to receive this reminder and marketing emails from Cultures for Health. Unsubscribe anytime.
By tapping Text me, you agree to receive this reminder and recurring automated marketing texts from Cultures for Health. Consent is not a condition of purchase. Msg & data rates may apply. Reply STOP to opt out.
BUILD-UP STEP 2

Second build-up feeding

Second build-up feeding

When it starts to collapse, add 2 cups (300 grams) flour and 1 cup (240 grams) water. Cover with a coffee filter or butter muslin and let sit in a warm place. Follow your baking recipe’s timing; if none is given, let it sit for 12–24 hours before baking. This amount is suitable for the Basic Sourdough Bread recipe.

By tapping Email me, you agree to receive this reminder and marketing emails from Cultures for Health. Unsubscribe anytime.
By tapping Text me, you agree to receive this reminder and recurring automated marketing texts from Cultures for Health. Consent is not a condition of purchase. Msg & data rates may apply. Reply STOP to opt out.
Tips for success

Is this normal?

Liquid is forming on top
Hooch is a sign that your starter is hungry and needs more frequent feeding. Clear liquid can be stirred back in. Yellow or brown liquid affects flavor: stir it in for a more sour taste, or pour it off for a more traditional taste.
My starter is not bubbling vigorously
Sometimes bubbles are too small to see. Keep the starter covered and continue through all the refreshing steps. Activity takes a few feeds to appear.
How do I save discard?
Put a lid on the discard container and refrigerate it. It is best used within one week.
Which water should I use?
If you are unsure about chlorine or fluoride in your water, use filtered or bottled water.
Your experience matters

Was this helpful?

Rate your experience so we can send you to the right next step.

Stuck? Ask a real person.

Email a photo of your jar along with your flour, water, temperature, and feeding times. Our team can help you troubleshoot.

✉️ Email us
Starter ready?

Make something delicious

Explore these four sourdough recipes. Follow each recipe’s starter and fermentation requirements.

Tools you’ll need

Made your first sourdough loaf?

Share the moment and help another first-time baker feel confident.

Share your loafLeave a review