🚚 FREE US SHIPPING OVER $50 🚚

Search

SEARCH

Mesophilic Cheese Instructions

Cultures for Health Mesophilic Cheese instructions banner featuring the new Artisan Cheese Culture Mesophilic Blend pouch and homemade cheeses.

Mesophilic cultures are used for cheeses including Cheddar, Queso Fresco, traditional Quark, Farmer Cheese, and Colby. Read the full process before you begin, sanitize your equipment, and keep your thermometer close.

Your Cheddar progress0 of 19 steps complete
Before you start

Gather your ingredients and tools

Check every item before heating the milk. A steady temperature and clean equipment make the process easier to control.

Mesophilic cheese ingredients and equipment including milk, the new Artisan Cheese Culture Mesophilic Blend pouch, pot, colander, press, thermometer, knife, muslin, and measuring tools.

Ingredients

  • 1 gallon milk (do not use UHT/UP milk)
  • 1 packet mesophilic cheese starter culture
  • 1/4 rennet tablet or 1/4 tsp liquid rennet
  • 1/8 tsp calcium chloride (optional)
  • Cheese salt (optional)

Equipment

  • Stainless steel pot with lid
  • Wooden or plastic spoon
  • Colander and bowl
  • Long-blade knife
  • Thermometer
  • Tight-weave towel or butter muslin
  • Cheese press

Milk matters: do not use UHT or ultra-pasteurized milk. This milk may not form a dependable curd.

Making Cheddar Cheese

Follow all 19 steps in order

Move gradually, use the exact temperature cues, and keep the curds moving gently during the cooking stages.

Temperature control: while warming the curds, increase their temperature by only 2–5°F every 5 minutes.

1

Culture and setBuild acidity, add rennet, and form a firm curd.

CHEDDAR 1

Warm the milk

In a large pot, slowly heat 1 gallon of milk to 85°F, stirring frequently.
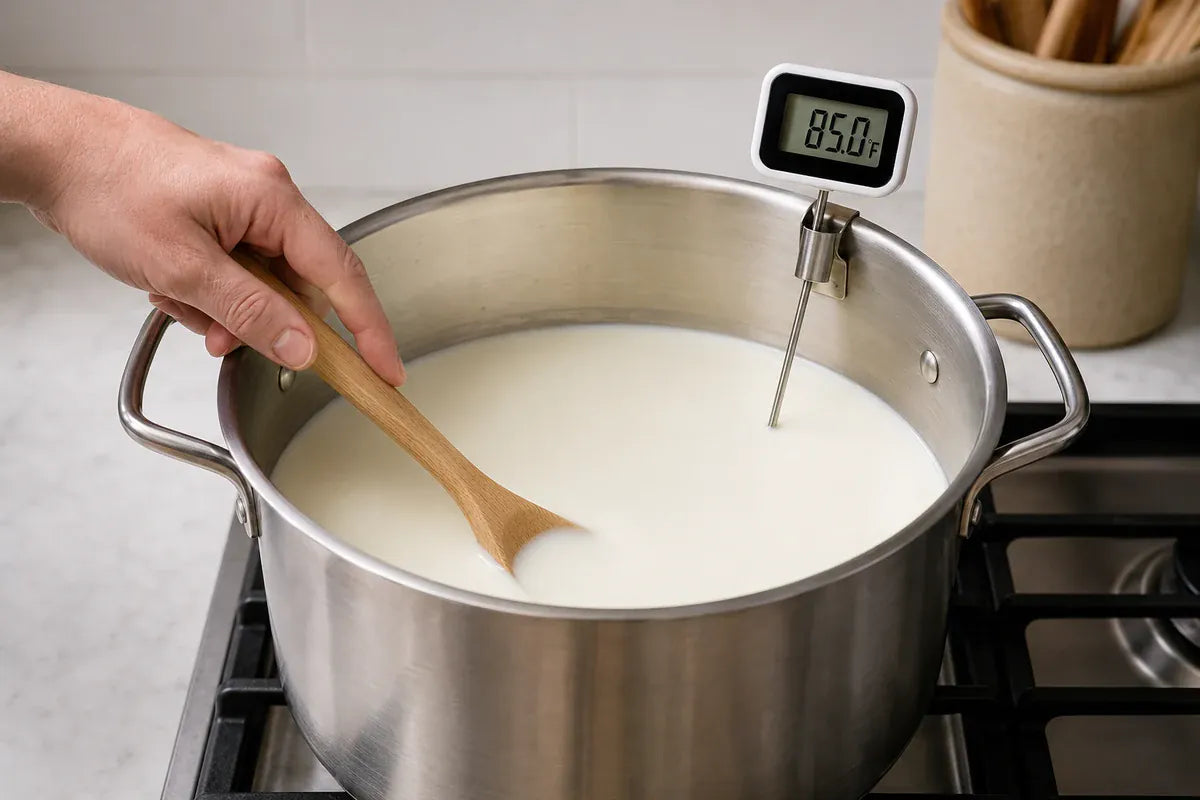
Milk warming in a stainless-steel pot while a thermometer reads 85°F.
Target 85°FSlow heat
CHEDDAR 2

Add calcium chloride, if using

For a firmer texture, mix 1/8 teaspoon calcium chloride into 1/4 cup water. Add it to the milk using up-and-down strokes. Do not stir in circles.
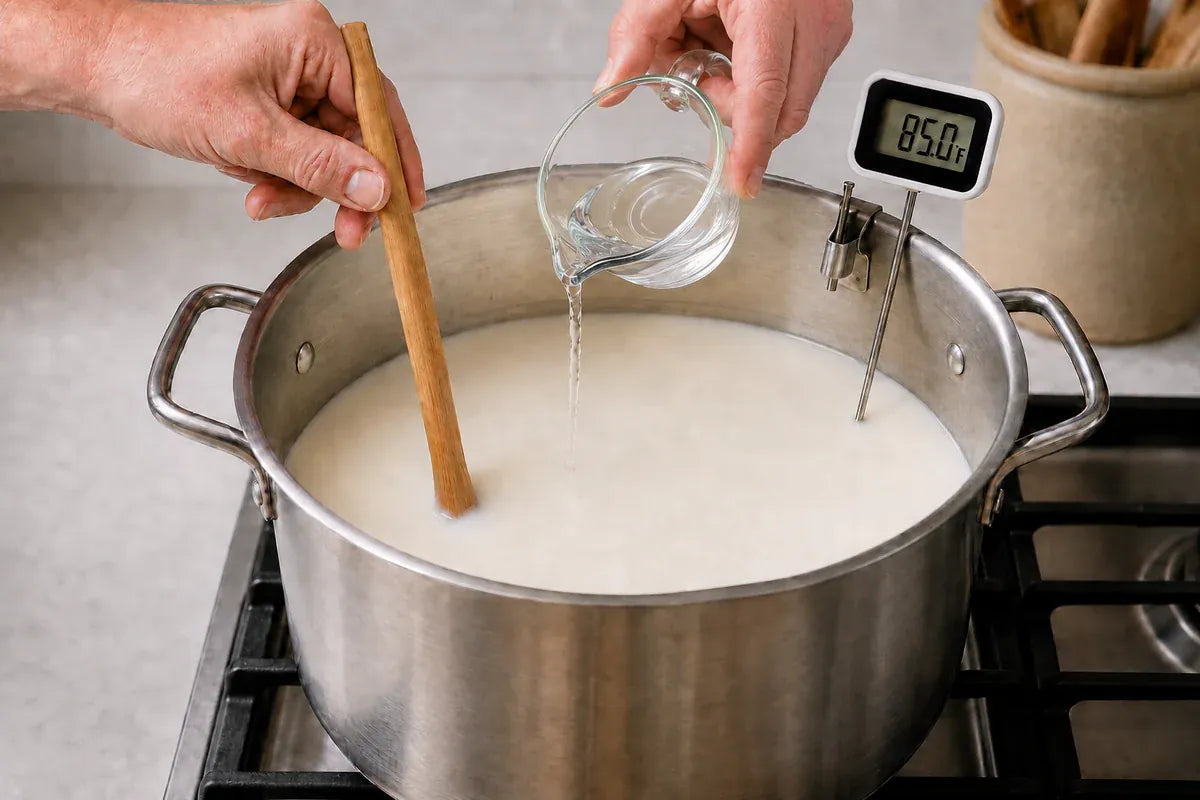
Dissolved calcium chloride in a quarter-cup glass measure being added to the milk.
CHEDDAR 3

Add the starter culture

Remove the milk from the heat. Sprinkle the mesophilic starter culture over the surface and let it dissolve for 2–3 minutes. Thoroughly incorporate it into the milk, then let the mixture sit for 1 hour.
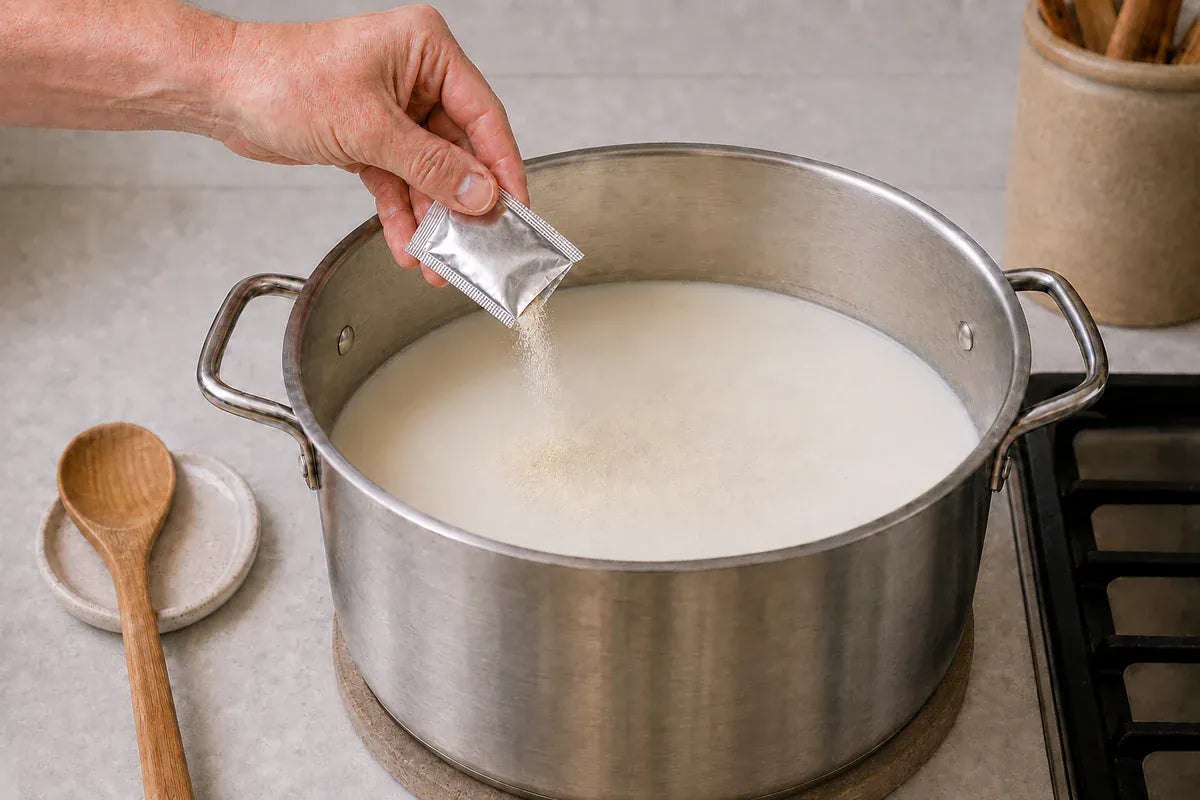
Mesophilic starter culture powder being sprinkled from a silver packet over the milk.
Dissolve 2–3 minRest 1 hr
CHEDDAR 4

Dissolve and add the rennet

Dissolve 1/4 rennet tablet in 1/4 cup water. Add the mixture to the milk using up-and-down strokes. Do not stir in circles.
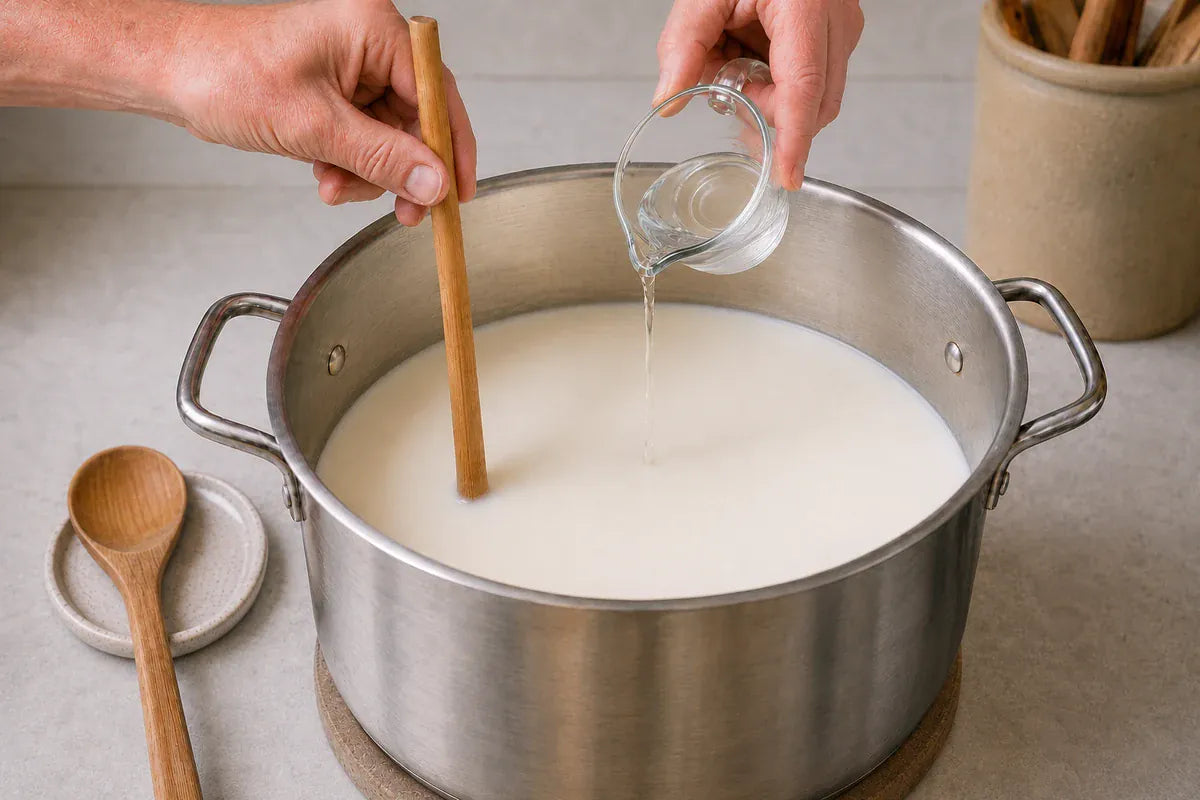
Dissolved rennet in a quarter-cup glass measure being poured into the milk.
CHEDDAR 5

Cover and form the curd

Cover the pot and let the mixture sit at room temperature for 1 hour, or until a firm curd has formed. The milk should appear solid.
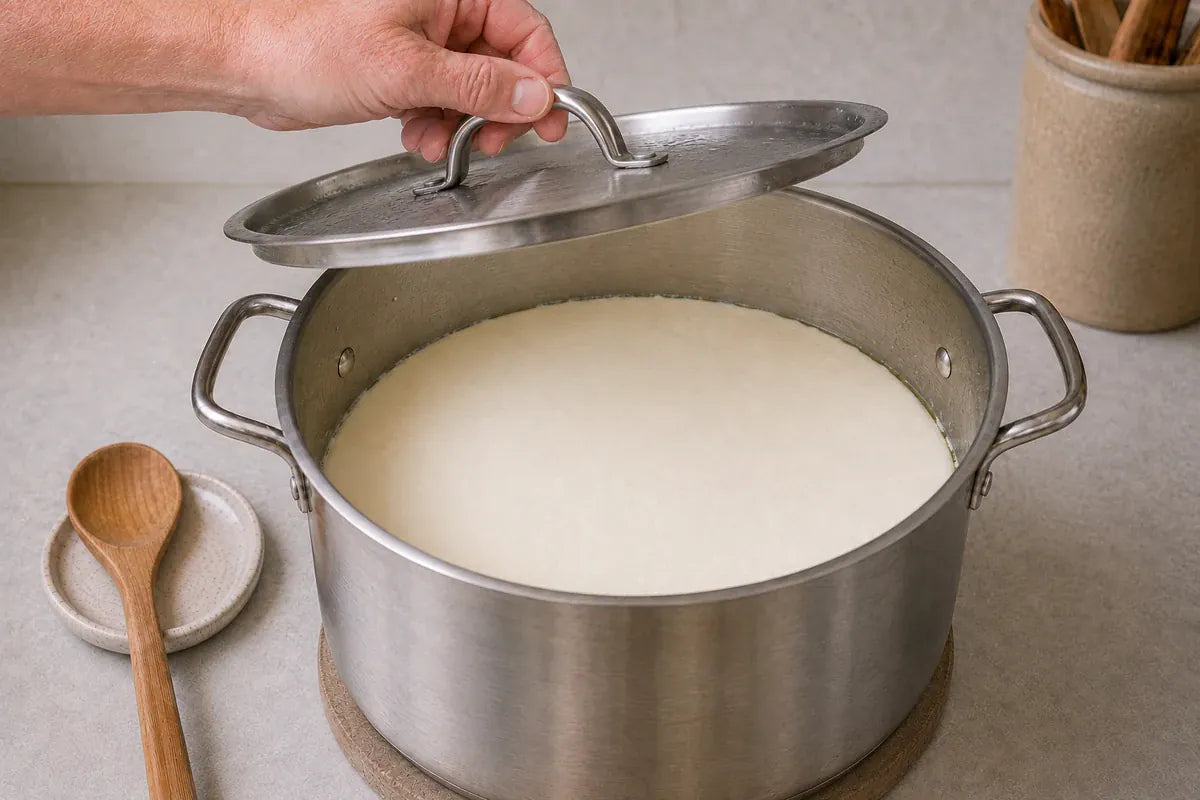
A lid being lifted to reveal firm set curd in the stainless-steel pot.
2

Cut and cookCut evenly, warm slowly, and let the curds settle.

CHEDDAR 6

Cut the curd

Using a long-blade knife, carefully cut the curd into 1/4-inch cubes. Let the cubes sit for 5 minutes. Do not stir.
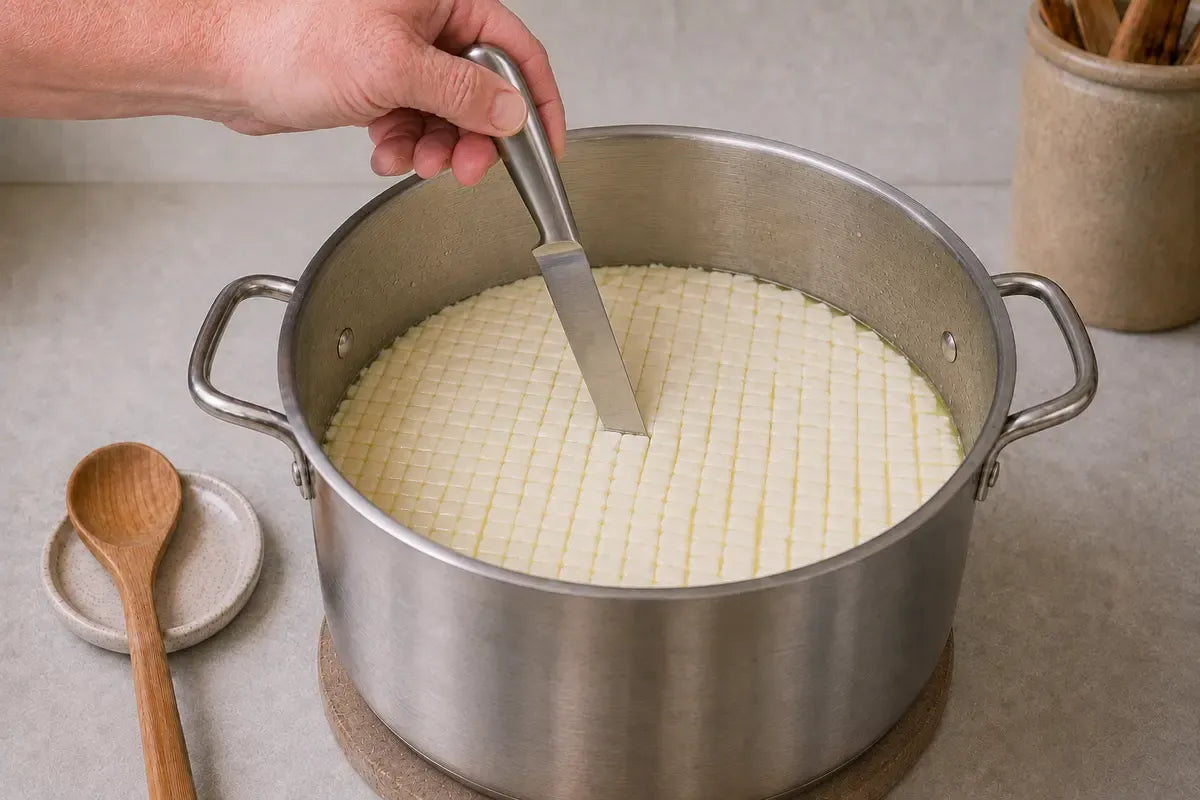
Firm curd being cut into small, even cubes with a long knife.
1/4-inch cubesRest 5 min
CHEDDAR 7

Warm the curds gradually

Warm the curds gently over low heat for 30 minutes, stirring continuously but gently. Increase the curd temperature by only 2–5°F every 5 minutes until the curds reach 100°F.
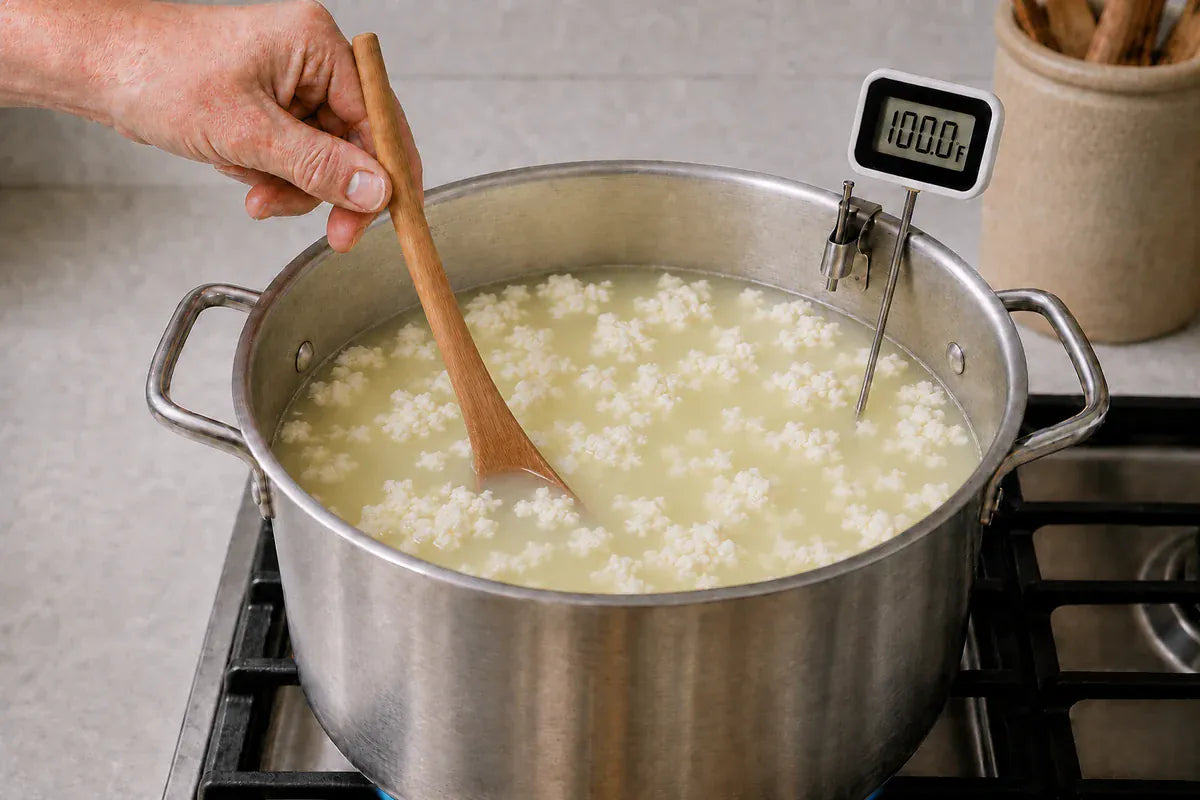
Curds being stirred gently while warming gradually toward 100°F.
30 minTarget 100°F+2–5°F / 5 min
Why stir? Gentle stirring keeps the curds separated and helps them heat evenly.
CHEDDAR 8

Hold at 100°F

Once the curds reach 100°F, maintain the temperature and continue stirring for the next 30 minutes.
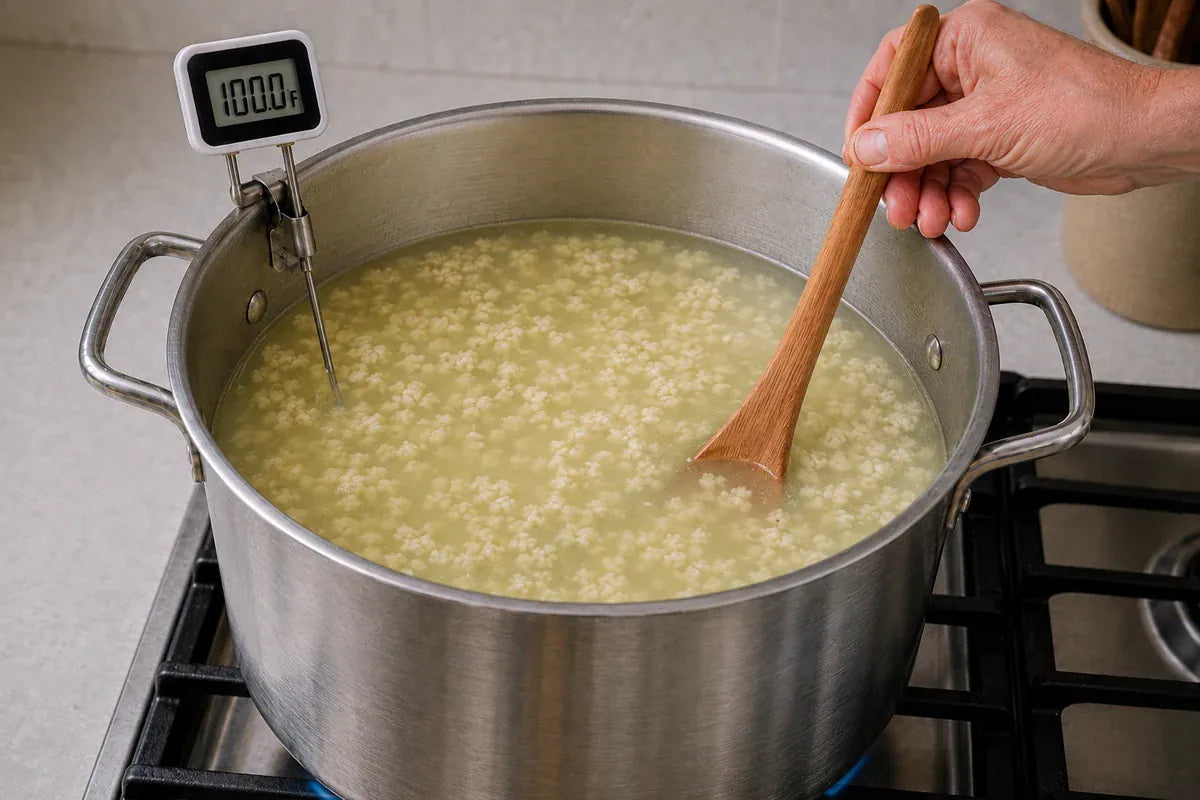
Smaller cooked curds being gently stirred while held at 100°F.
Hold 100°FStir 30 min
CHEDDAR 9

Let the curds settle

Stop stirring and allow the curds to settle to the bottom of the pot. This should take about 20 minutes.
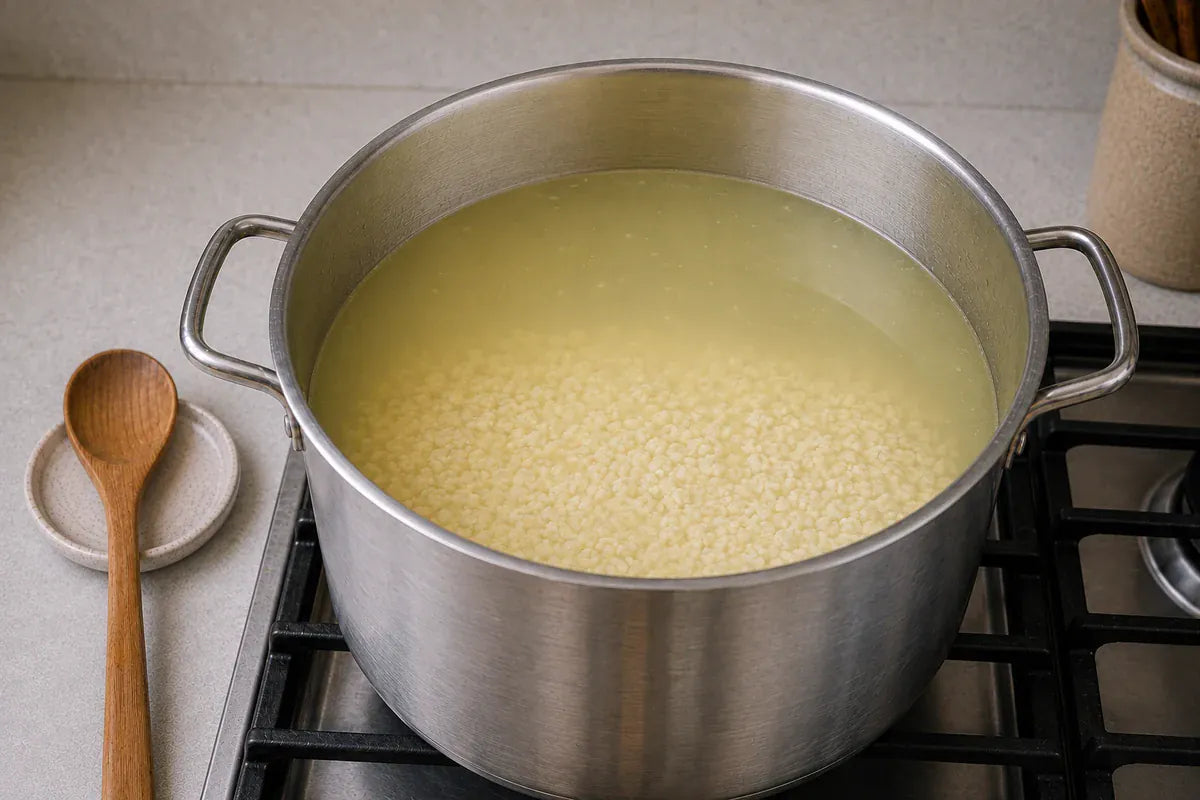
Cooked curds resting at the bottom of the pot beneath clear pale whey.
3

Drain and cheddarDrain the whey, hold the curds warm, cube, and salt.

CHEDDAR 10

Drain the whey

Carefully spoon the curds into a colander lined with butter muslin. Allow the clear whey to drain away.
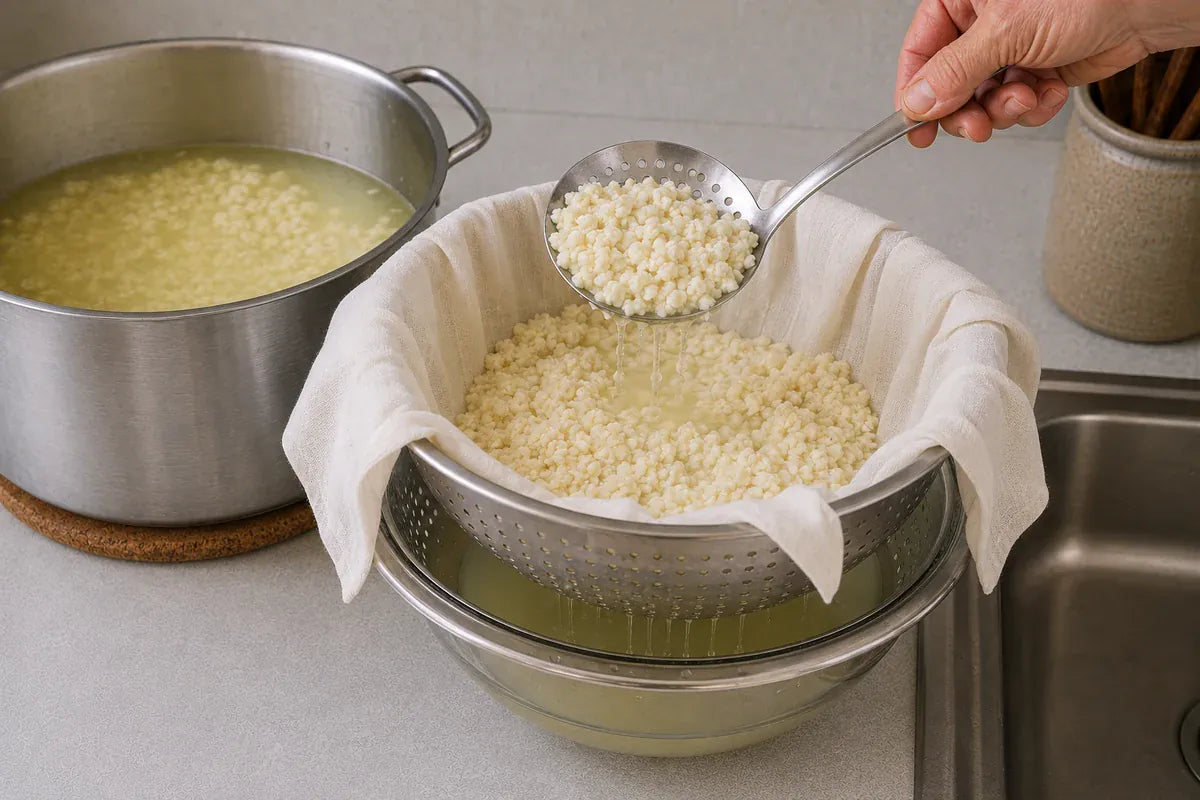
Curds being transferred into a butter-muslin-lined colander while the whey drains.
CHEDDAR 11

Hold the curds warm

Fill a sink or basin with 102°F water and place the pot and curds into it. Keep the curds near 100°F for 2 hours.
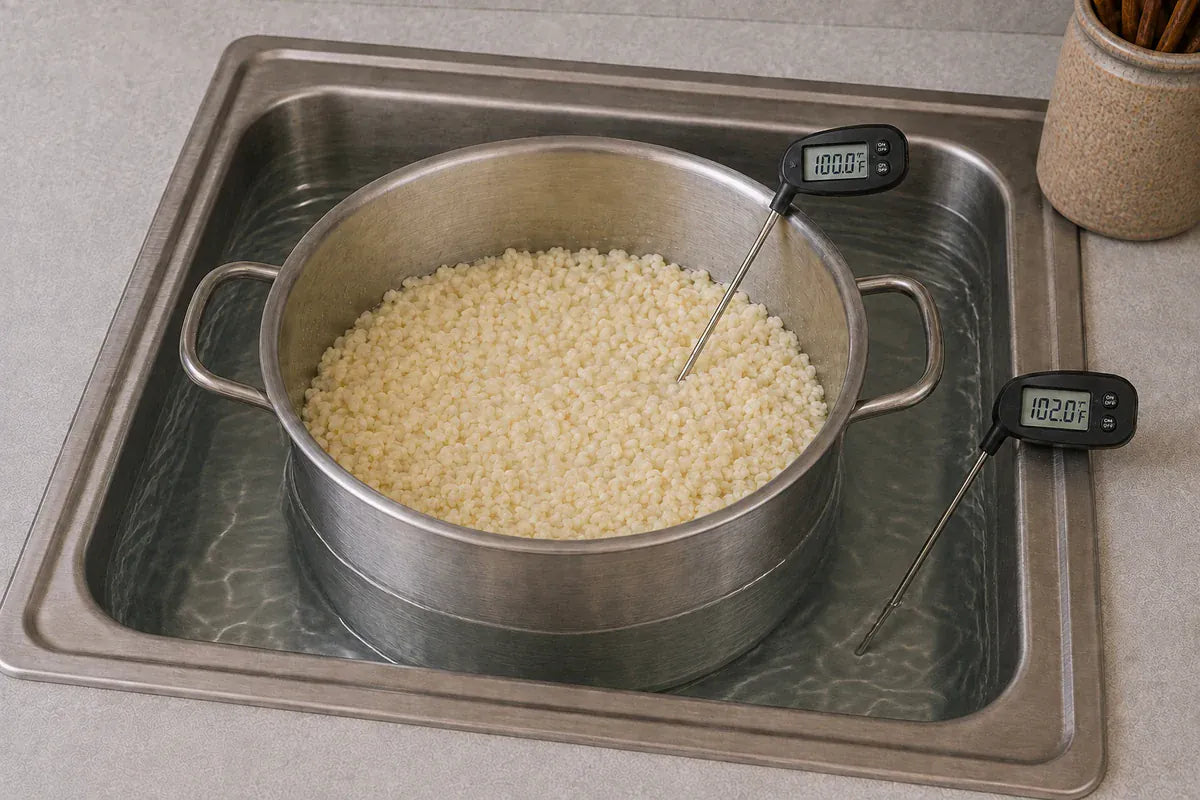
A pot of curds held near 100°F inside a 102°F warm-water bath.
Water 102°FCurds 100°F2 hr
CHEDDAR 12

Cube the firm curds

After 2 hours, the curds should be shiny and very firm. Remove them from the pot and cut them into 1/2-inch cubes. Return the cubes to the pot, cover, and place the pot back in a sink filled with 102°F water.
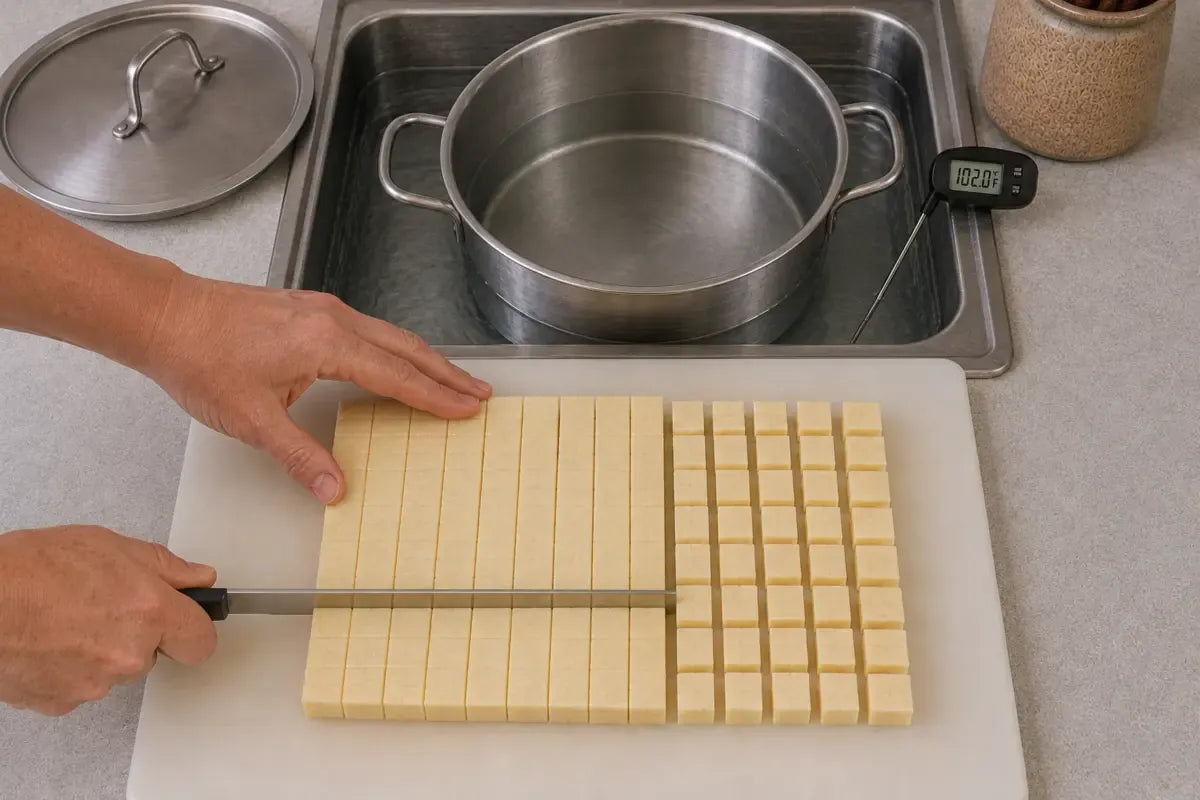
A firm curd mat being cut with a straight perpendicular cross-cut into uniform half-inch cubes on a clean cutting board.
CHEDDAR 13

Stir three times

After 10 minutes, stir the curds gently. Wait 10 minutes and stir again, then repeat once more for a total of three gentle stirs.
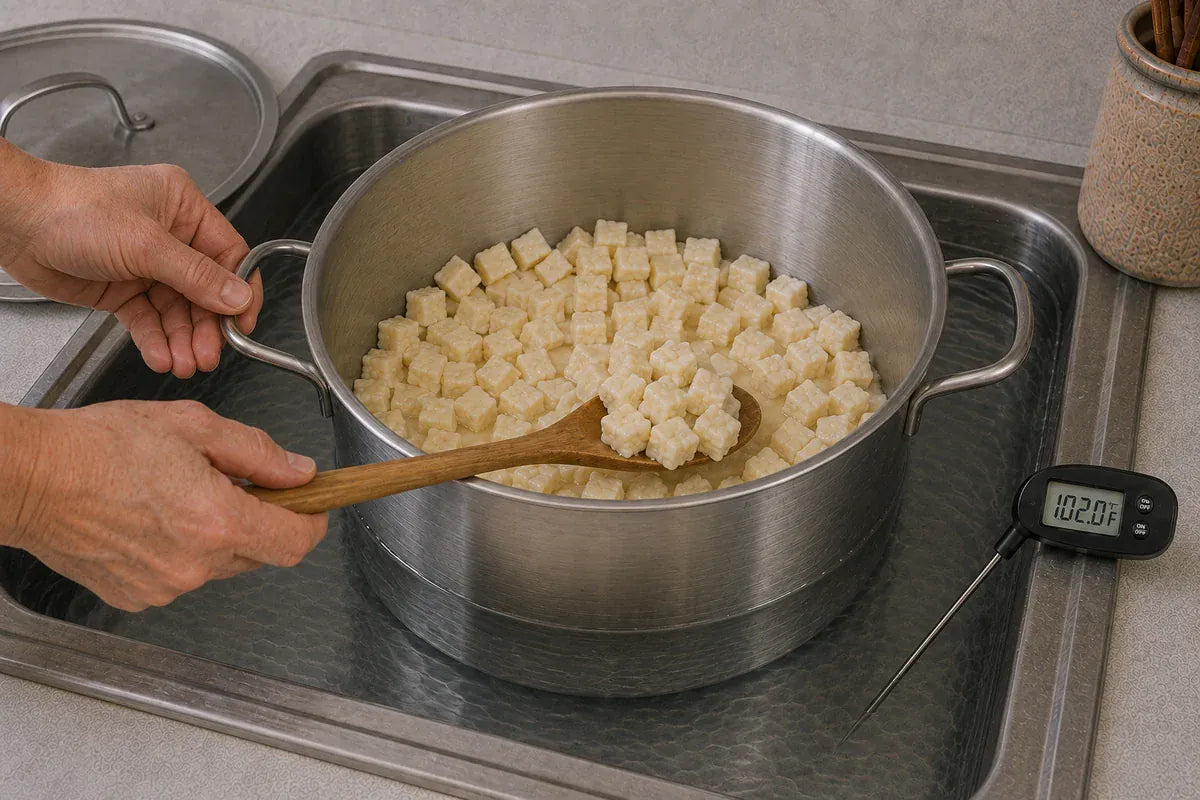
Half-inch curd cubes receiving a gentle stir in the warm-water bath.
Every 10 min3 gentle stirs
CHEDDAR 14

Add the salt

Remove the pot from the warm-water bath. Add cheese salt, if using, and stir gently once more to distribute it.
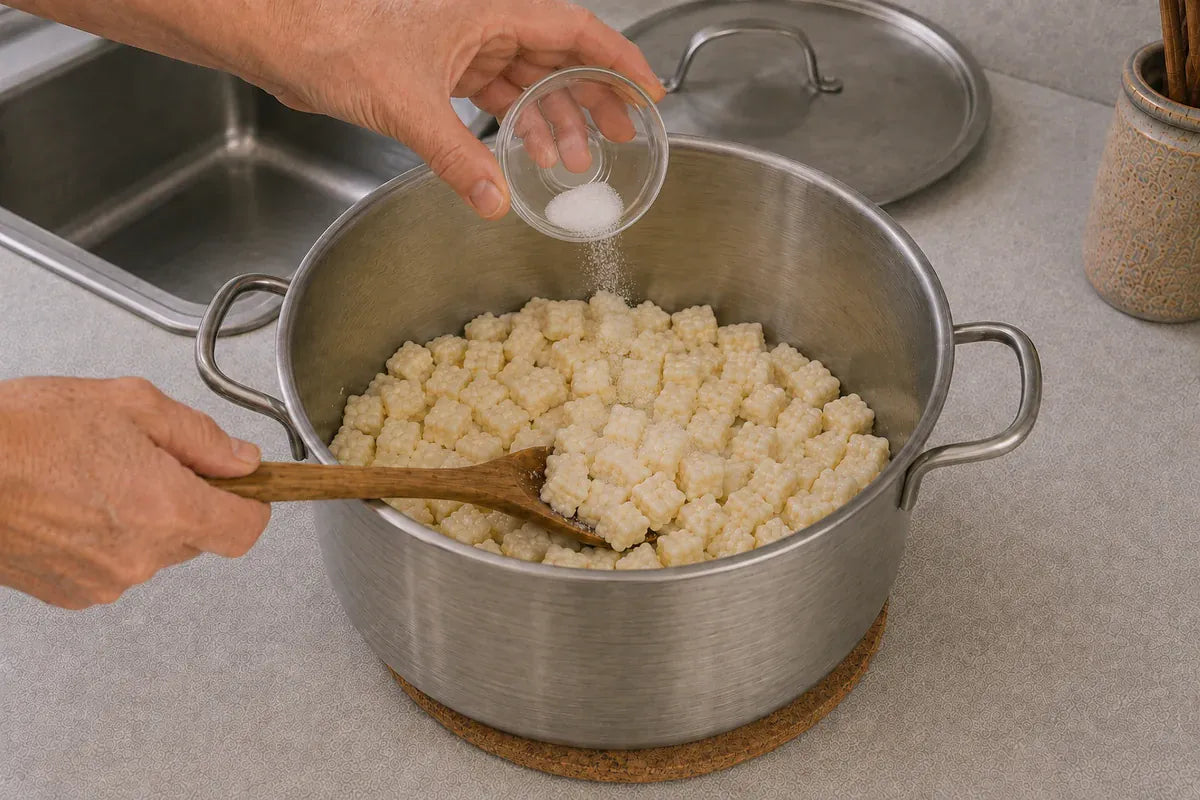
Fine cheese salt being sprinkled over the curds before a final gentle stir.
4

Press the cheeseBuild pressure in three stages, flipping between presses.

CHEDDAR 15

First press

Line the cheese press with cheesecloth and carefully place the curds inside. Wrap the cloth around the curds and press at 10 pounds for 15 minutes.
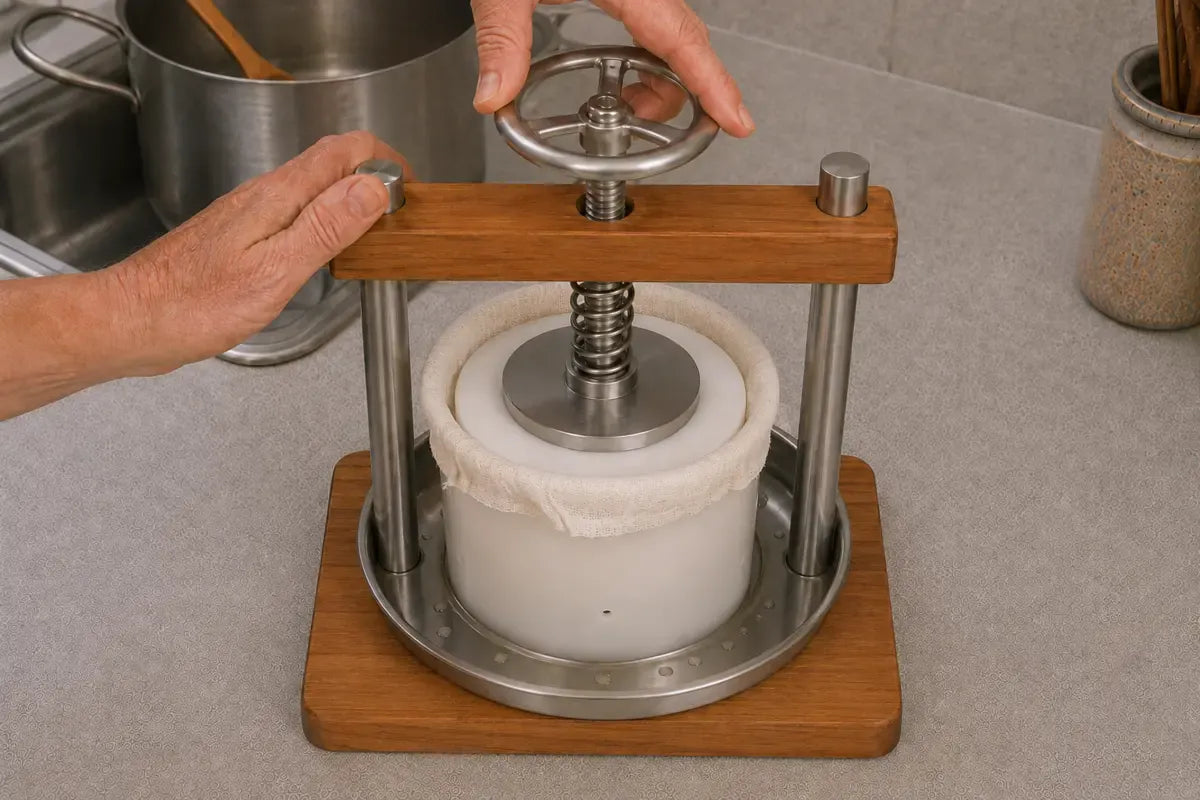
Cheesecloth-wrapped curds receiving the first press inside the white CFH cheesemaking mold.
10 lb pressure15 min
CHEDDAR 16

Flip and press overnight

Remove the cheese from the press, unwrap it, and flip it. Rewrap with a fresh piece of cheesecloth and press at 40 pounds for 12 hours.
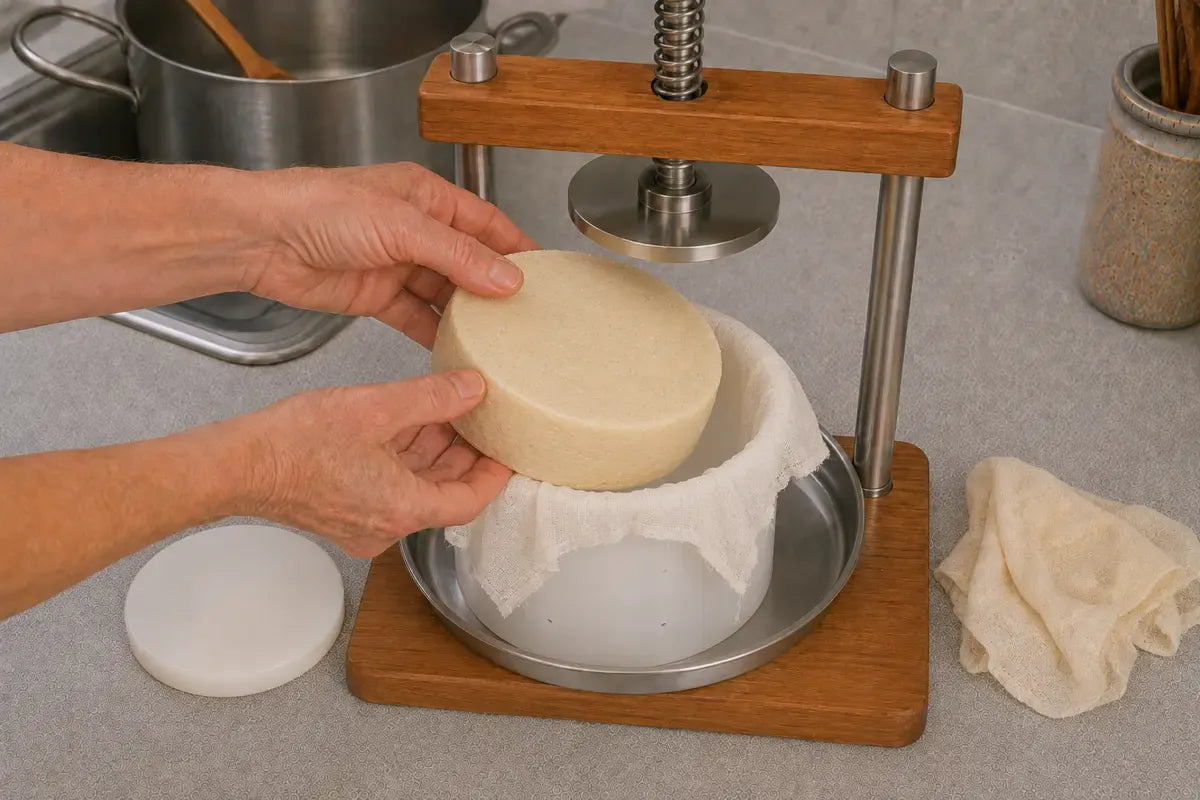
The pressed cheese wheel being flipped and returned to the freshly lined white CFH cheesemaking mold.
40 lb pressure12 hr
CHEDDAR 17

Final press

Repeat the pressing process with slightly more pressure—about 50 pounds—and let it press for 24 hours.
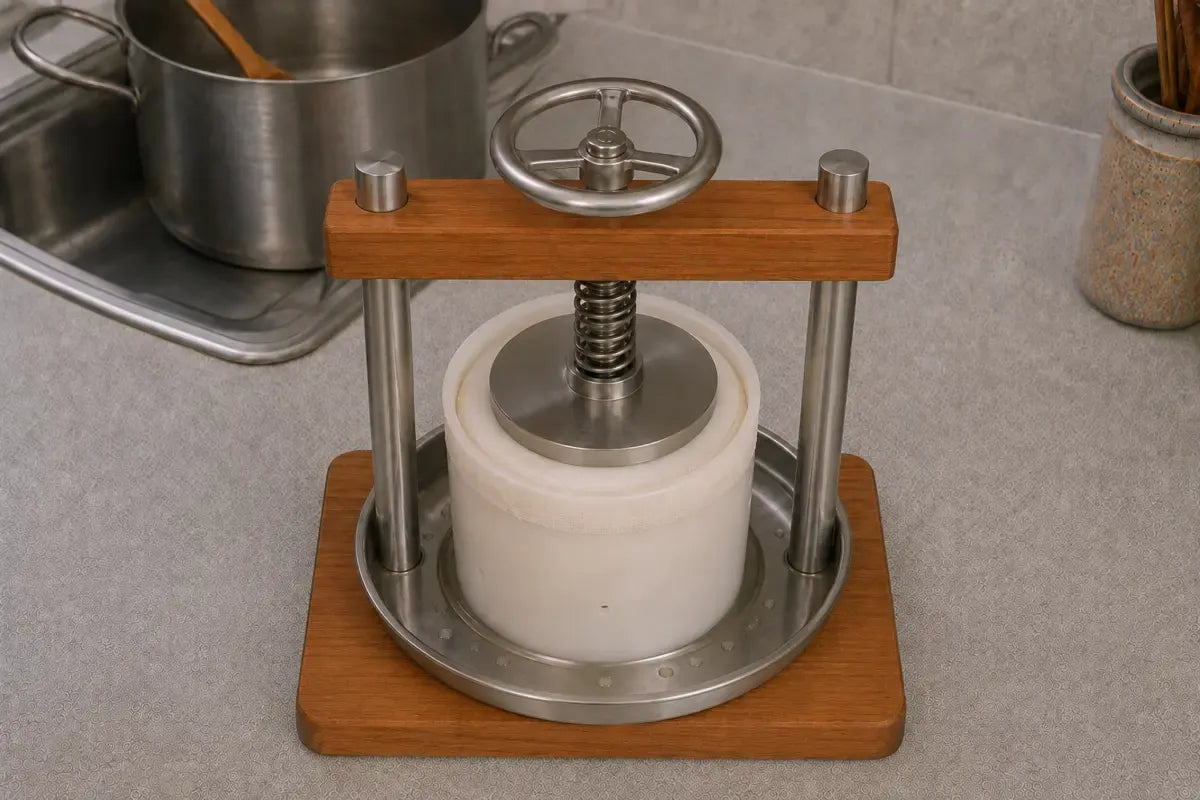
The wrapped cheese wheel under its final pressure inside the white CFH cheesemaking mold.
About 50 lb24 hr
5

Dry, wax, and agePrepare a dry surface, seal the cheese, and let flavor develop.

CHEDDAR 18

Air-dry the cheese

Remove the cheese from the press and air-dry it for 2–3 days, until the surface is smooth and dry to the touch.
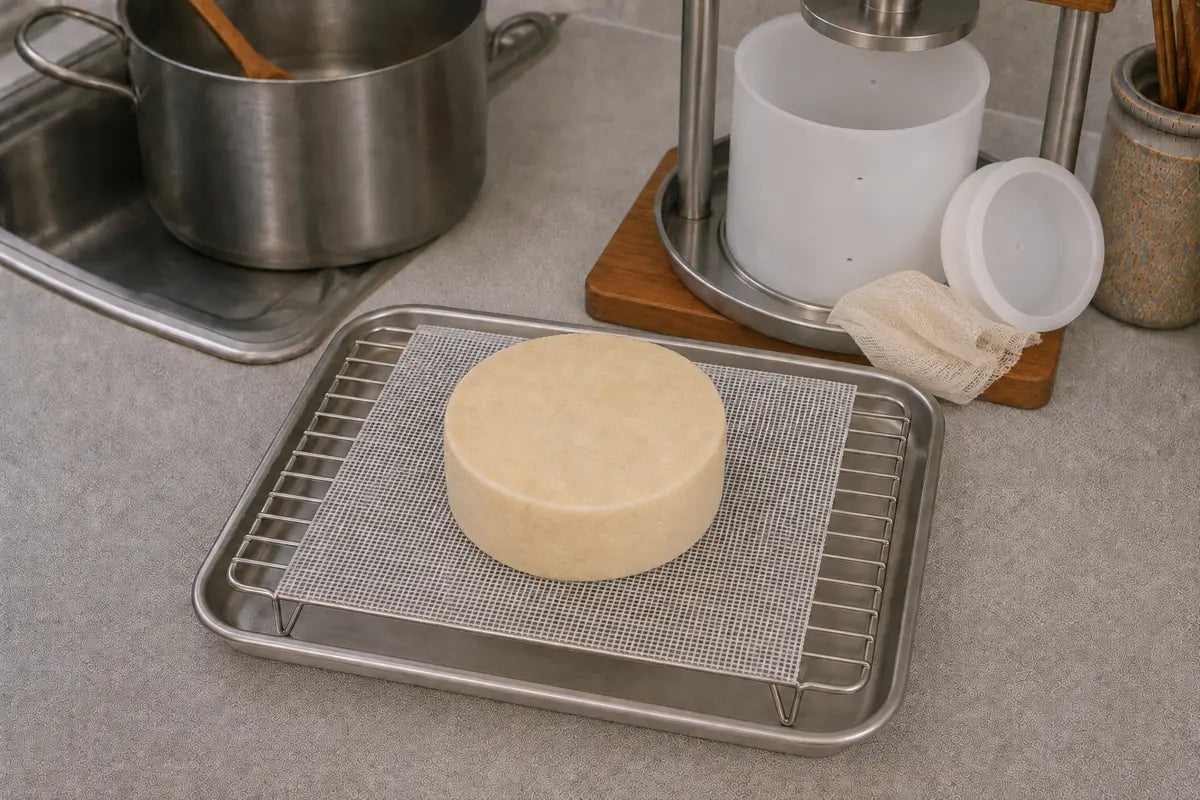
The pressed cheese wheel air-drying on a clean raised mesh rack beside the white CFH cheesemaking mold and follower.
Air-dry 2–3 daysSurface fully dry
CHEDDAR 19

Wax and age

Wax the cheese and age it at 55–60°F for at least 60 days.
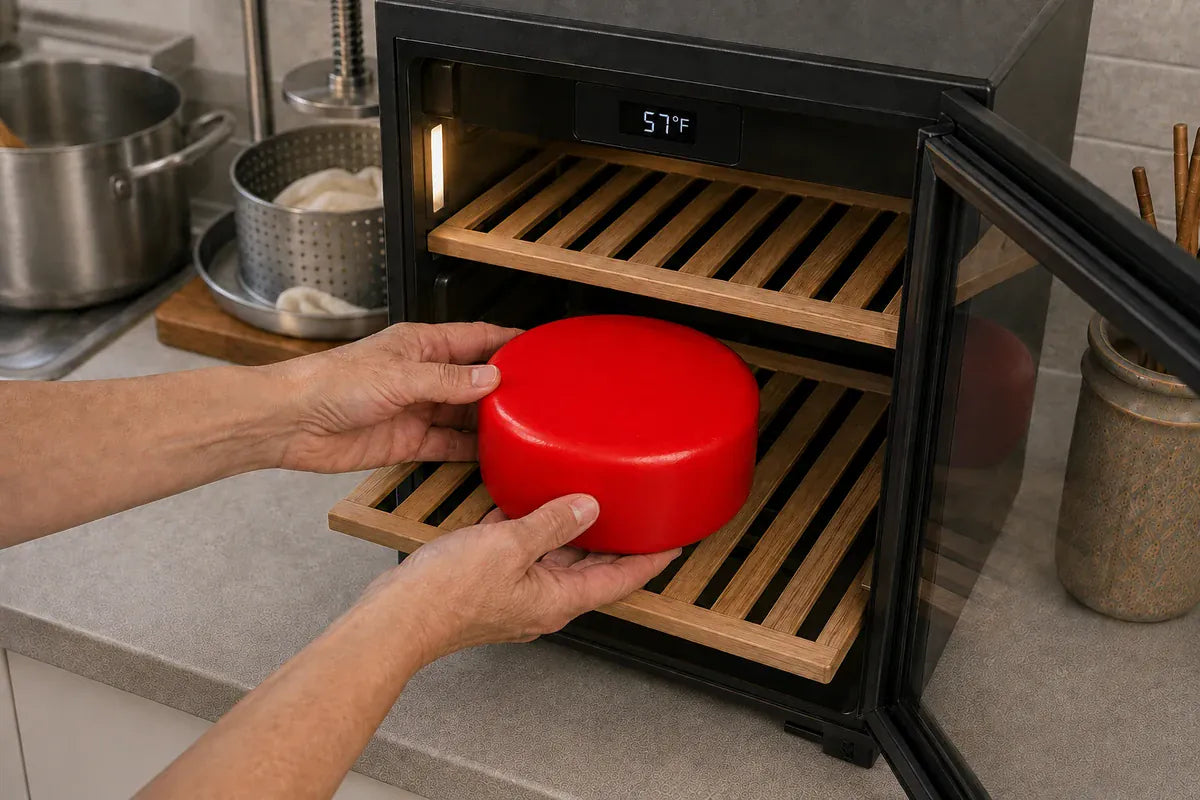
A fully sealed bright red waxed cheese wheel being placed in a 57°F aging cabinet.
55–60°F60+ days
CHEDDAR CHECK

Smooth, sealed, and ready to age

The surface should be dry before waxing. Once sealed, keep the cheese in the stated 55–60°F aging range for at least 60 days.

Troubleshooting

Is this normal?

Use these process checks to identify where the batch may need more time or gentler handling.

The milk has not formed a firm curd
Give the covered milk a little more time before cutting. Confirm that the milk was not UHT/UP, the starter and rennet were fresh, and the temperature stayed close to the recipe target.
The curds are breaking apart while I stir
Stir more gently and make sure the cut curds rested for the full 5 minutes first. Rapid heating or forceful stirring can weaken the cubes.
The curds are heating too quickly
Reduce the heat immediately. During Step 7, the curd temperature should rise only 2–5°F every 5 minutes.
The curds are not shiny and firm after 2 hours
Check that the warm-water bath remains near 102°F and the curds remain near 100°F. Continue only when the curds have the firm visual cue described in Step 12.
The pressed cheese still feels damp
Do not wax a damp surface. Continue air-drying in a clean, protected area until the cheese is smooth and dry to the touch.
Your experience matters

Was this helpful?

Rate your experience so we can send you to the right next step.

Finish and mature

Age your Cheddar with confidence

The final stage is quiet but essential: dry completely, seal with wax, and keep the cheese in the correct aging range.

2–3 daysAir-dry until smooth and dry to the touch
55–60°FMaintain the recipe’s aging temperature
60+ daysMinimum aging time before evaluating the cheese

Before waxing

Inspect the surface carefully. Wax only after the cheese is fully dry to the touch so the finish can seal evenly.

Stuck? Ask a real cheesemaker.

Email the Cultures for Health team with your milk type, exact temperatures, timing, press weights, and a photo of the curd or finished wheel.

Keep learning

Make more cheeses with your culture

Continue building your cheesemaking skills with these official Cultures for Health recipes.

Useful cheesemaking tools

Keep dependable equipment ready for accurate temperatures, clean draining, shaping, and aging.

CULTURES FOR HEALTH

Mesophilic Cheese · Cheddar instructions with exact temperatures, timing, pressing stages, reminders, troubleshooting, and aging guidance.