

 $13.99
 $14.99
 $26.99
 $50.99
 $36.99
 $34.99
 $59.99
 $24.99
 from
$10.00
from
$10.00  $39.95


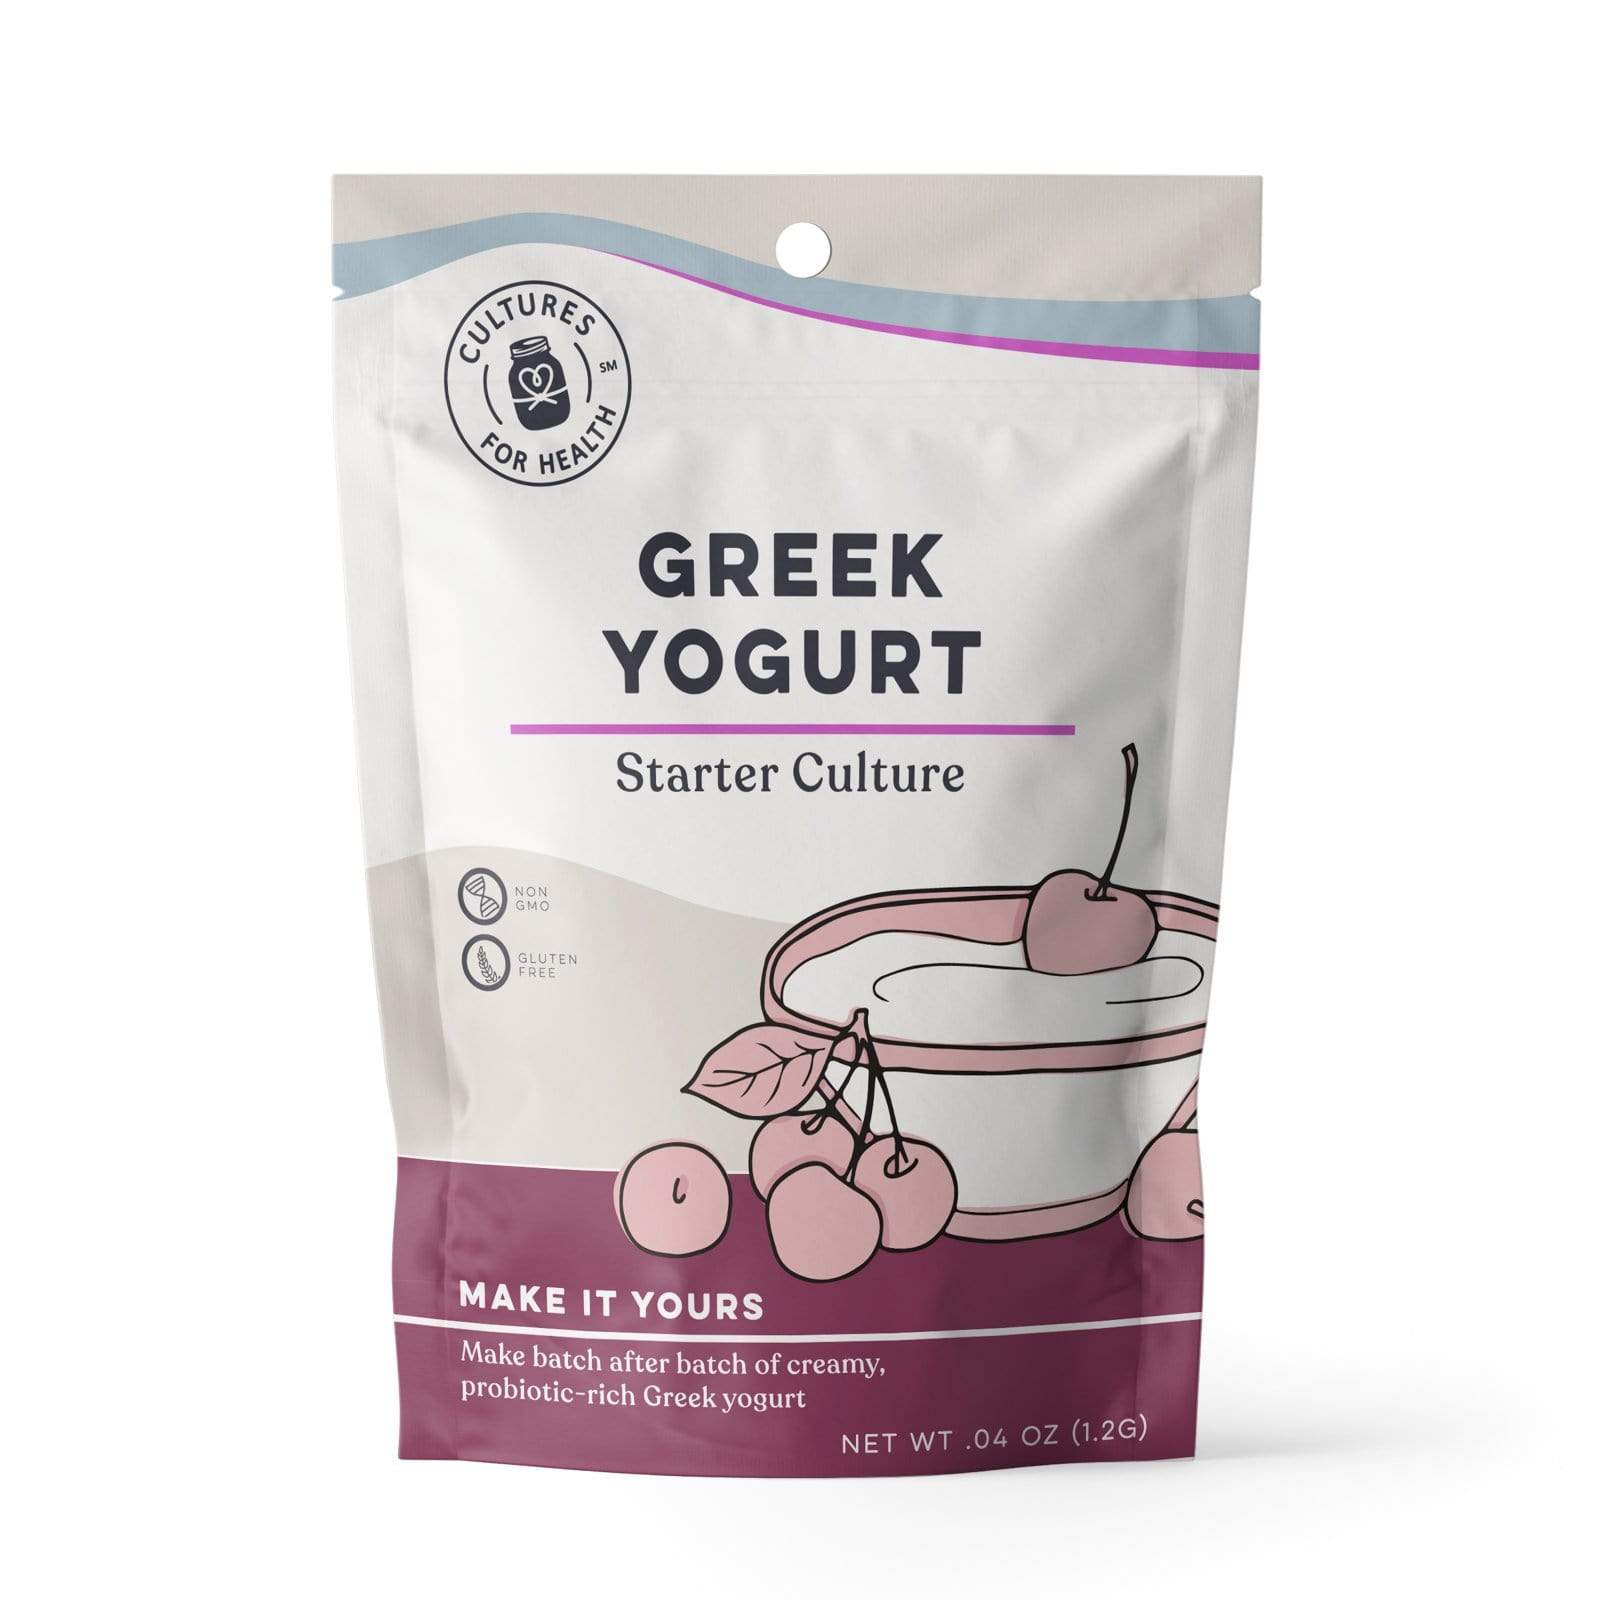
Everything you need to make rich, creamy, and delicious traditional yogurt at home. Simple, wholesome, and satisfying — no experience needed.

Two temperatures, one packet, one overnight wait — that's the entire recipe.
Slowly heat 1–2 quarts of pasteurized whole milk to 180°F, stirring occasionally so the milk at the bottom of the pot doesn't scald. Then let it cool back down to 115°F — let the thermometer do the thinking.

Pour the cooled milk into your glass or plastic container, then stir in 1 packet of yogurt starter, mixing thoroughly so it fully dissolves.

Cover it and culture at 105–112°F for about 8 hours in your yogurt maker (or Instant Pot on Yogurt). Cooler than that and the yogurt takes much longer to set. Now walk away — this part is 100% hands-off.

Tilt the jar gently. If the yogurt pulls away from the side in one mass instead of running up the side, it's finished culturing. Not quite there? No problem — give it a little longer, checking every hour or two.

Once it's set, cover it and let it cool at room temperature for 2 hours. Then refrigerate for at least 6 hours before eating. Chilling is what makes it thick and scoopable.

After chilling, spoon your yogurt into a yogurt strainer (or a cloth-lined strainer) in the fridge for a few hours. Draining the extra whey gives you a thicker, Greek-style yogurt.
Before you dig in, scoop 2 Tbsp into a small container and stash it in the fridge. That's your starter for the next batch — each packet re-cultures for up to 4 batches before the strain fades and it's time for a fresh packet.
Totally normal — the activation batch is finding its feet. Use 2 Tbsp of it to start batch two anyway and you'll see a real improvement. Nobody's first batch is their best batch.
But look for a change in the milk's texture. Even a thin first batch should show some sign the culture is waking up — a film pulling away from the side of the jar, a bit of gel in the milk, or a layer of clear whey on top. Any of those means it's activating, and batch two will be stronger.
No change at all? If the milk looks exactly like milk — no film, no gel, no whey — start over with the same steps but use less milk this time (1–2 cups). A smaller first batch is more concentrated and much more likely to take.
Heat 1–2 quarts of pasteurized whole milk to 180°F, stirring occasionally so the bottom doesn't scald. Cool to 115°F.
2 Tbsp per quart of milk, mixed thoroughly.
Culture at 105–112°F for about 8 hours.
Moves away from the jar wall in one mass? Done.
Cool 2 hours, then refrigerate at least 6 hours. Save 2 Tbsp for the next batch — up to 4 batches per packet. Want it thicker? Strain it (see the optional step).
Almost always: yes. Tap your question.
Save 2 Tbsp from each batch to culture the next one — one quart of milk in, one quart of yogurt out. Each packet keeps going for up to 4 batches before it's time for a fresh one.
We've helped millions of first-timers make their first batch. Email a photo of your jar to info@culturesforhealth.com and we'll tell you what's going on.


Not required — but these make it easier:
That's homemade yogurt — you made that. Show us, and tell the next first-timer it's easier than it looks.
Tag #culturesforhealth on Instagram so we can find your batch!


 Digital thermometer
 Yogurt maker
 Strainer
 More starters