


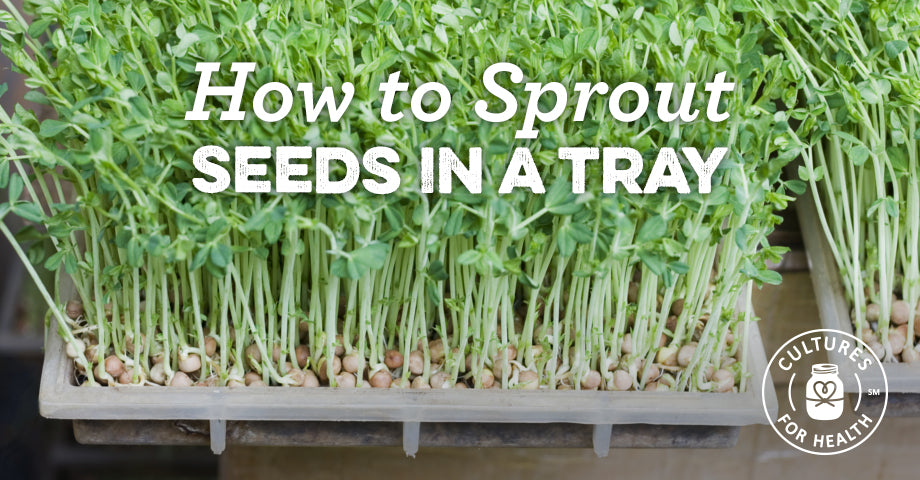
WHY SPROUT SEEDS IN A TRAY?
Sprouting in a tray is a simple method for sprouting seeds at home and works well for growing longer leafy sprouts like alfalfa. One advantage over the growing sprouts in a jar is that the sprouts will grow vertically, once transferred to a tray.
Grow sprouts quickly with a Sprouting Tray! Download all our cookbooks today to get tips and tricks on sprouting tasty and nutritious sprouts!
INSTRUCTIONS FOR SPROUTING IN A TRAY
1. Choose a tray and lid.
- Plastic grow trays are available from nurseries or garden supply stores and come with lids.
- Plastic deli trays, thoroughly washed, work well for sprouting and often have lids.
- Punch drainage holes in the bottom of the tray using a punching tool. Slits made using a knife will not allow proper drainage.
- Nest trays; use one (without holes) as a catch basin and the other (with drainage holes) to hold seeds.
2. Rinse Seeds.
Rinse seeds well with cool water (around 70ºF) and drain. Remove any debris, stones, or broken seeds. When sprouting smaller seeds, removing broken seeds is not practical, but do look for any non-seed material and remove at this point, if possible.
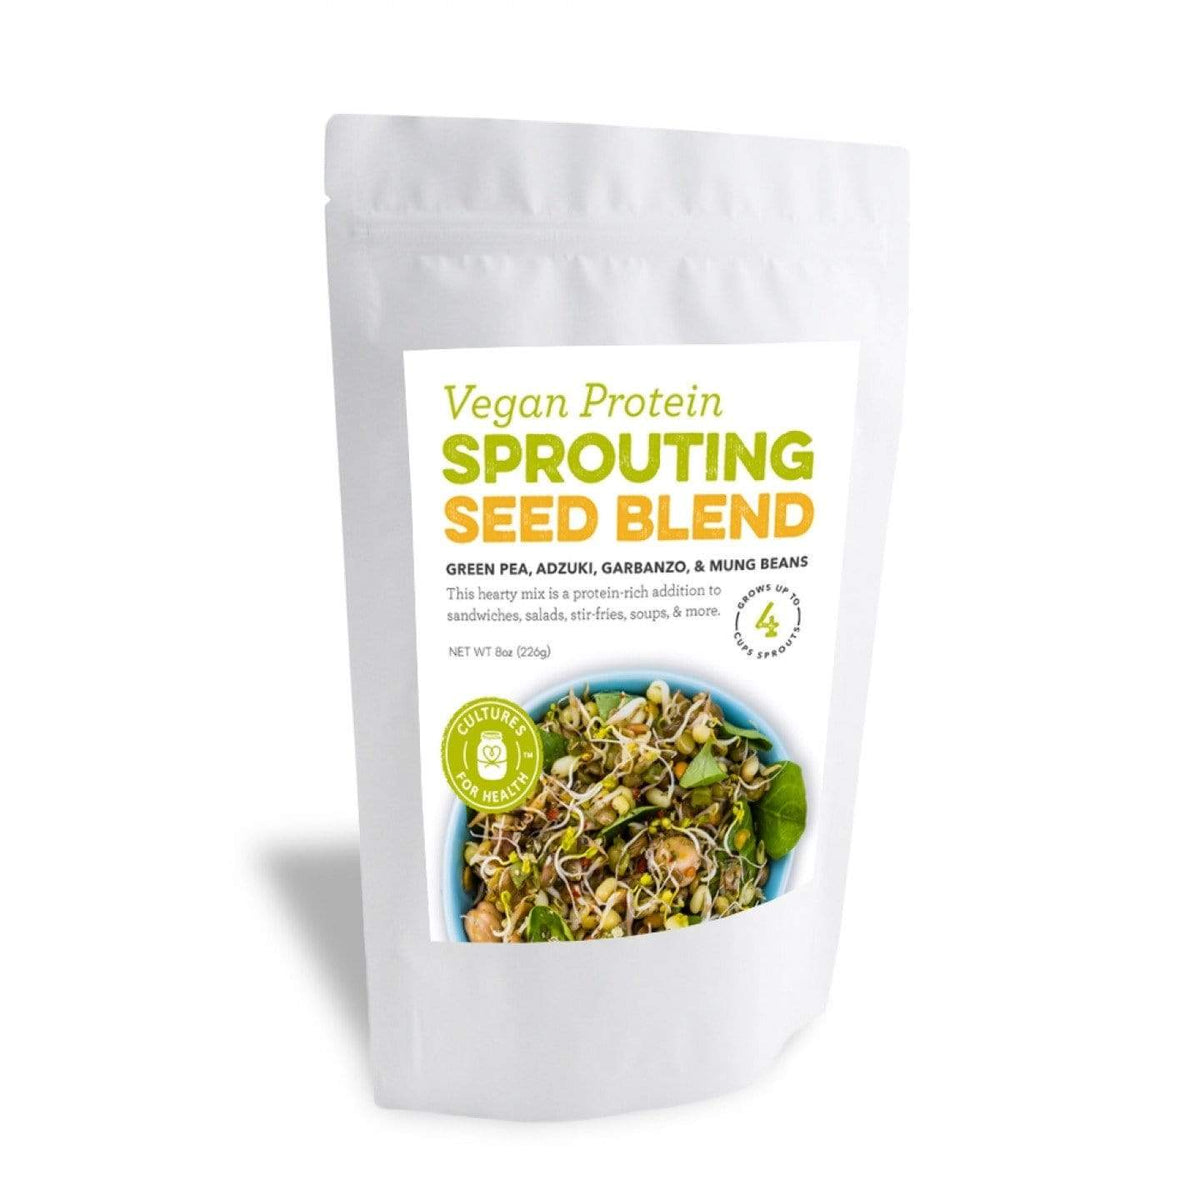
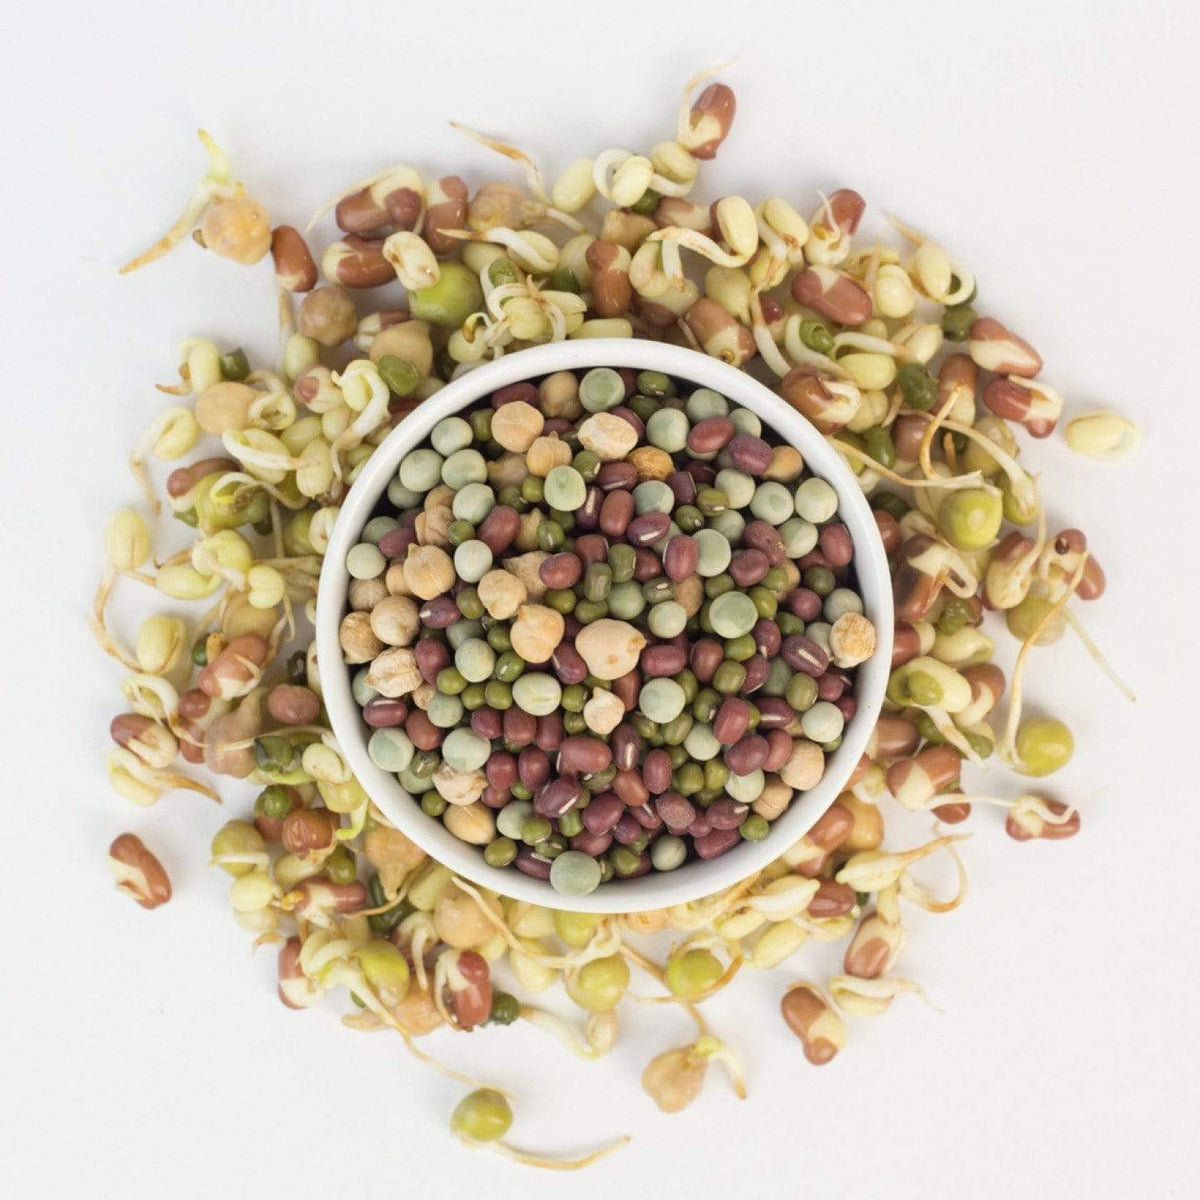


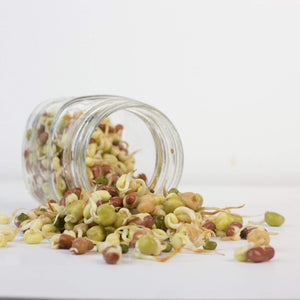
Organic Sprouting Seed Mix
3. Soak Seeds.
Place rinsed seeds in a jar and fill about ¾ full with cool water. Cover with a mesh lid or cloth, secured with a rubber band, to allow air flow.
A general rule is to soak at least 8 hours. Some larger seeds may require a longer soak. Soak until the seeds have doubled in size. Keep in mind that temperature also affects soak time. In warmer temperatures, the soak time is shorter. In cooler temperatures, soak time is longer, and larger seeds like chickpeas or kidney beans may require a 24-hour soak.
4. Drain Seeds Well.
It is important to drain the seeds well, for several hours, while allowing plenty of air circulation. Mesh lids work well for this step, as the jar may be inverted and propped at an angle to drain for long periods.
5. Rinse, Drain, and Repeat.
Rinse seeds with cool water and repeat draining. Rinse gently to avoid damaging tender new sprouts. Repeat rinsing and draining 2-3 per day for 3 days.
In very warm temperatures, rinse more frequently. In cold weather, less frequent rinsing may be fine, but keep in mind that seeds may not sprout as well. A temperature of about 65-80ºF for most seeds is fine.
6. Transfer Seeds to Tray.
Drain thoroughly and transfer seeds to a tray; spread evenly. Avoid direct sunlight, but move tray to an area with indirect light, to allow leaves to turn green as sprouts grow.
7. Continue Rinsing and Draining.
Rinse seeds gently, twice daily for 3 days. Mist with a spray bottle, rather than a deluge from a faucet, to avoid damaging tender sprouts. Always allow tray to drain thoroughly.
8. Rinse, Drain, and Harvest.
When sprouts are ready to harvest, rinse one final time to remove hulls and unsprouted seeds, if desired. An easy method is to scoop up handfuls of sprouts and dunk them in a bowl of water, shaking gently to remove any remaining hulls. Drain sprouts one last time before eating or storing.

STORING SPROUTS AND SPROUTED SEEDS
Sprouts are easy to grow in small batches, staggered, so that there are fresh sprouts to eat daily. However, if storing is necessary, make sure the sprouts have drained completely before storing. Transfer to a glass or plastic container, seal tightly, and store in the refrigerator for a few days.


