


Mix milk and starter
Pour 1 cup of cold pasteurized whole milk into a glass container. Add 1 packet of Skyr yogurt starter and mix thoroughly.


 $13.99
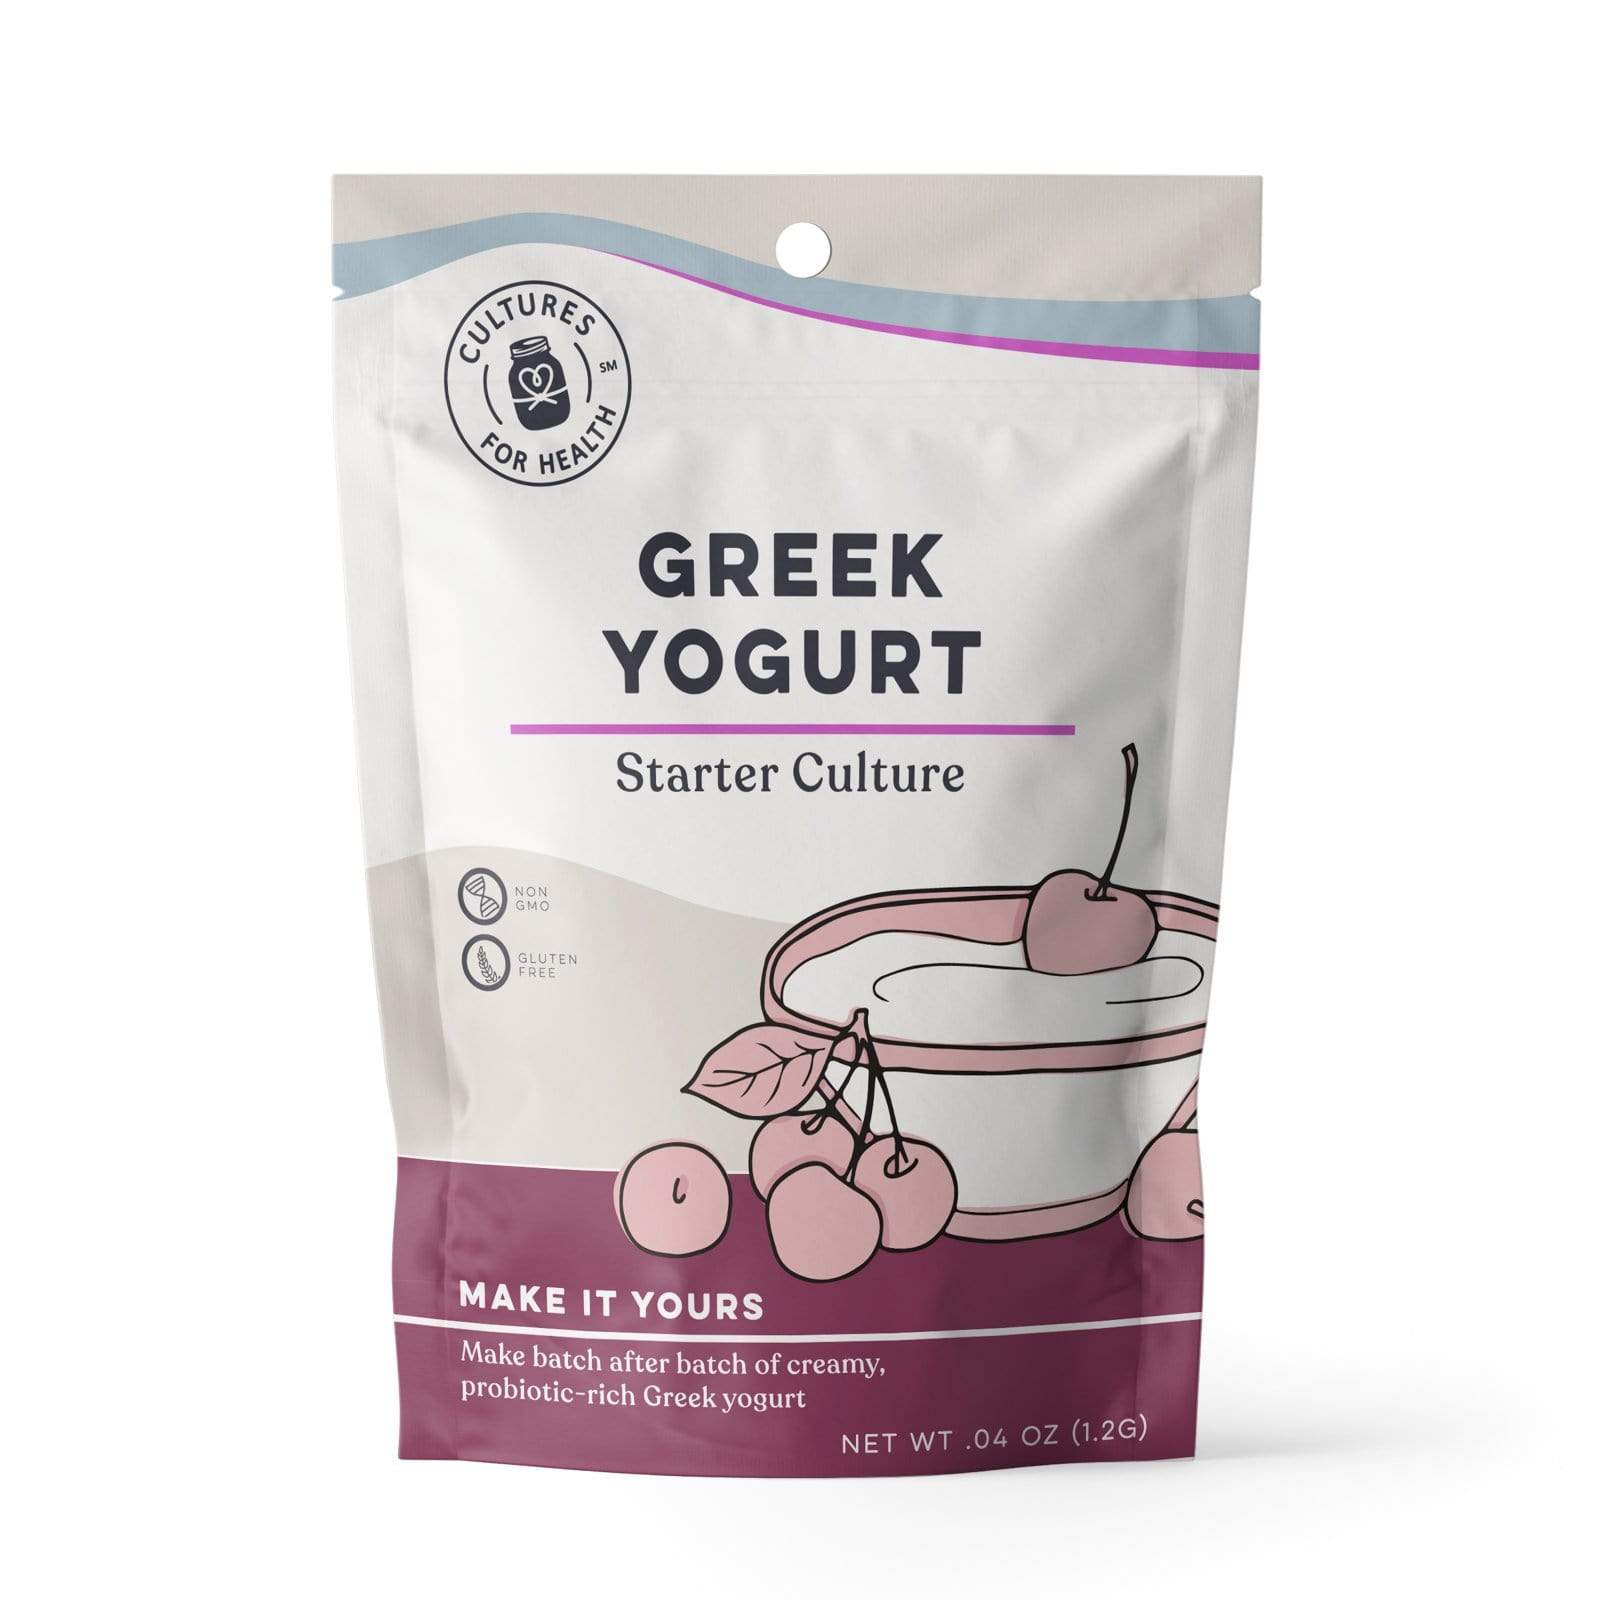 $14.99
 $26.99
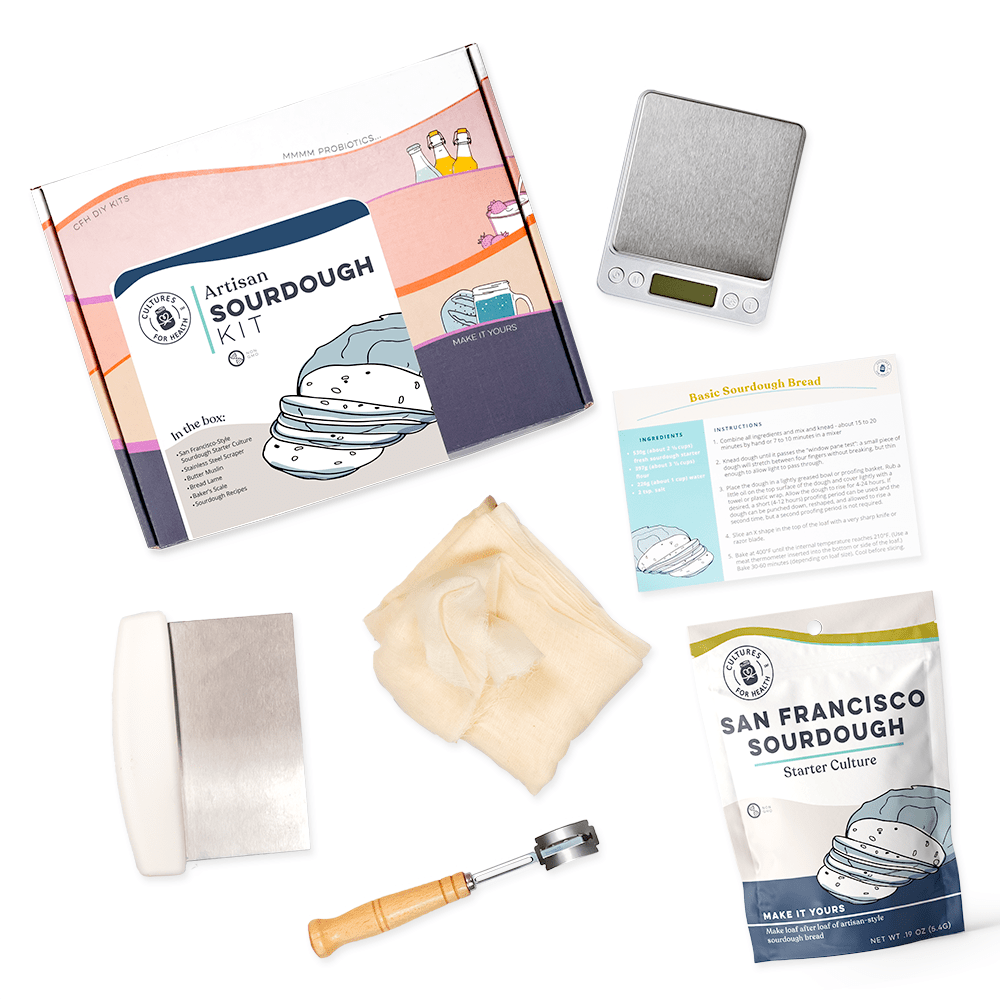 $50.99
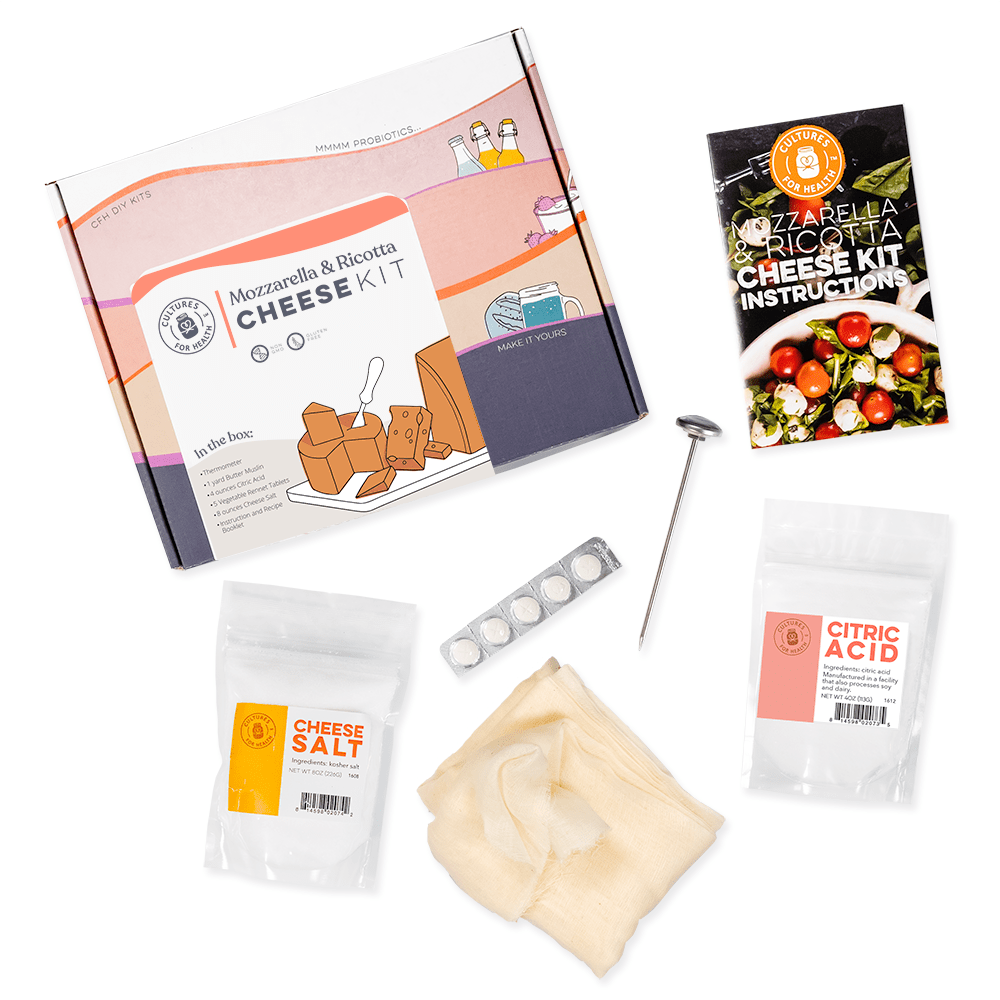 $36.99
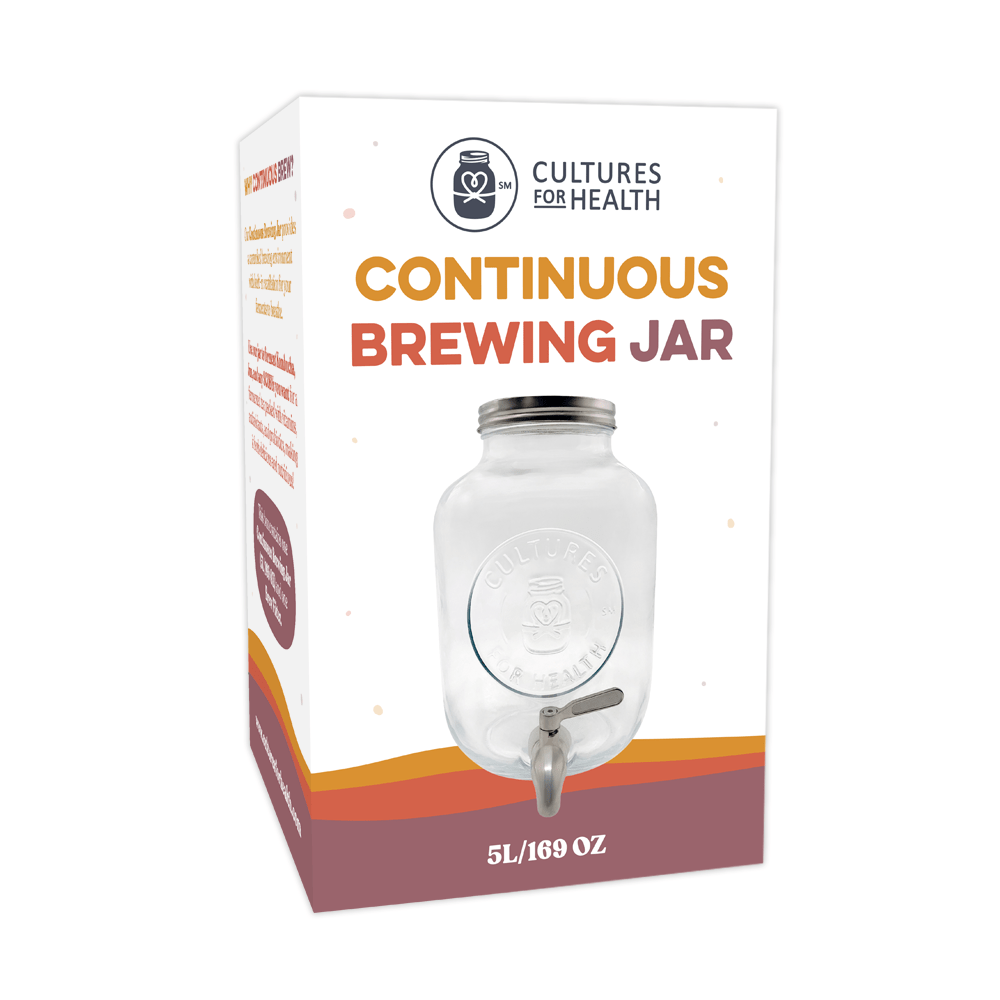 $34.99
 $59.99
 $24.99
 from
$10.00
from
$10.00 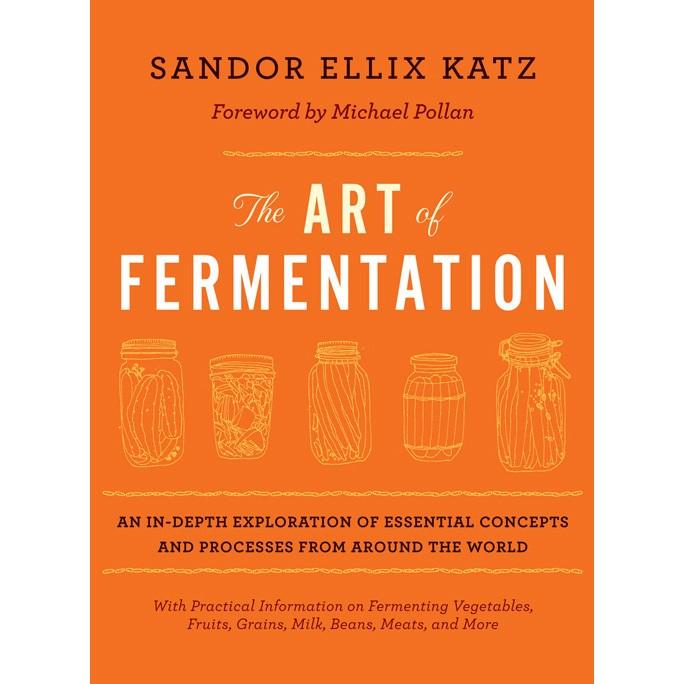 $39.95



Pour 1 cup of cold pasteurized whole milk into a glass container. Add 1 packet of Skyr yogurt starter and mix thoroughly.
Cover with a coffee filter or tight-weave cloth and secure with a rubber band. Culture in a warm spot at 70–77°F.

Check after 12 hours. Look for a change in texture: the milk should pull away from the sides of the container when tilted. If it has not set, continue culturing for up to 48 hours total, checking every few hours.

Once the yogurt has set, cover with a tight lid and refrigerate for at least 6 hours.

After 6 hours of chilling, your yogurt is ready to eat. Reserve at least ½ cup for future batches.

Slowly heat 2 quarts of pasteurized whole milk to 90°F.
In a separate container, mix ¼ rennet tablet into ¼ cup cold water and stir to dissolve. Move on to step 3 within 5 minutes.
Mix the rennet into the milk thoroughly with an up-and-down motion, rather than stirring. Mix for no longer than 15 seconds.
Gently pour the milk into a food-grade glass, ceramic, or stainless steel container. Gently stir in ½ cup of yogurt from your last batch.
Cover with tight-weave cloth, secure with a rubber band, and culture at 70–77°F for 12–18 hours, until set.
Cover with a tight lid and refrigerate for at least 6 hours. After 6 hours, it is ready to eat. Reserve ½ cup for your next batch.
Strain through cheesecloth to achieve the thickest consistency. Reserve ½ cup for your next batch.
Look for a change in texture and milk that pulls away from the container sides when tilted. Check at 12 hours, then every few hours, up to 48 hours total.
Follow the Skyr process here. Culture at 70–77°F. Later batches begin by heating milk to 90°F; activation begins with cold milk.
For later batches: dissolve ¼ tablet in ¼ cup cold water, add within 5 minutes, and mix up and down for no longer than 15 seconds.
The supplied instructions include optional straining through cheesecloth for the thickest consistency.
Reserve at least ½ cup from activation and ½ cup from each later batch. Keep extra unused starter packets in the freezer.
Save ½ cup from each batch to culture the next 2 quarts of milk. Follow the later-batch steps each time.
SAVE. CULTURE. CHILL. REPEAT.Send a photo of your batch and tell us your timing and temperature.
Email usEnjoy your finished plain Skyr in these yogurt recipes. For dressings, adjust the consistency to suit your batch.
 Strawberry Frozen Yogurt →
 How to Make Yogurt Salad Dressing at Home →
 How to Make Greek Frozen Yogurt →
 Yogurt and Mayonnaise Salad Dressing →
Useful kitchen extras
That’s homemade Skyr — you made that. Show us, and tell the next first-timer it’s easier than it looks.
Tag #culturesforhealth on Instagram so we can find your batch!