🚚 FREE US SHIPPING OVER $50 🚚

Search

SEARCH

Greek Yogurt Instructions

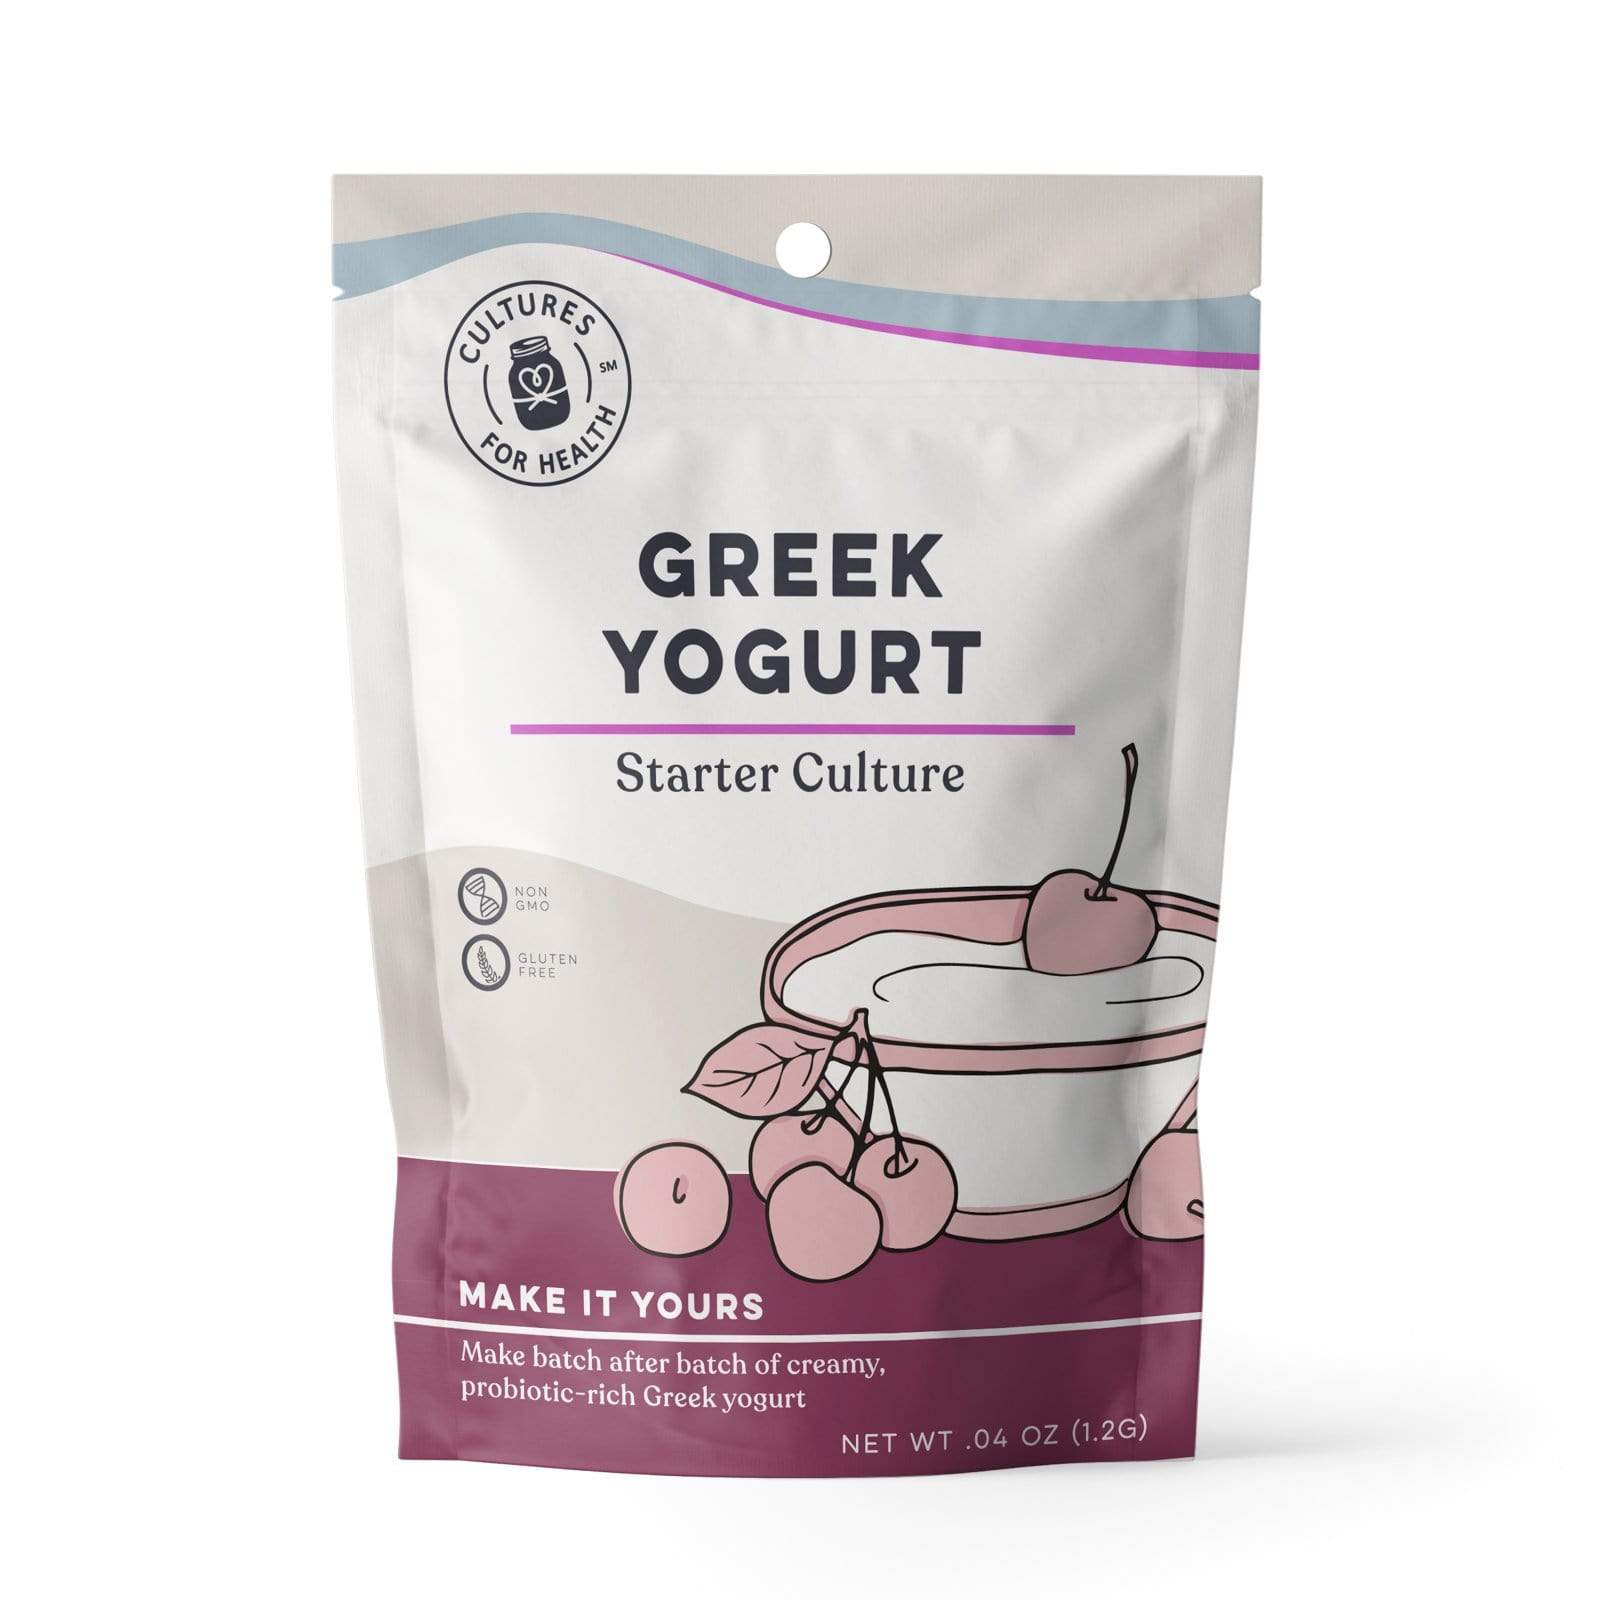
Greek Yogurt Instructions — Cultures for Health. Starter packet beside a jar of homemade yogurt with fresh berries.

Thick, creamy, high-protein yogurt for a fraction of the store price — from one packet that basically never runs out. You've got this.

⏱ ~20 min hands-on🥓 Ready overnight
🥛Milk check — before you start Use pasteurized whole milk. Skip anything labeled "ultra-pasteurized" or "UHT" — it won't set properly. And don't use raw milk for your first (activation) batch: the unknown bacteria in raw milk can keep the culture from fermenting.
Before you start

Grab these first

Everything you need: yogurt maker, Greek Yogurt starter packet, thermometer, saucepan and whisk, whole milk, and a glass mason jar
60 seconds

See it before you start

Two temperatures, one packet, one overnight wait — that's the entire recipe.

180°FHeat to (stir now and then) → cool → 110°FAdd starter at
The steps

Your first batch — and every one after

STEP 1

Warm it up

Heat 1–2 cups of pasteurized whole milk to 180°F, stirring occasionally so the milk at the bottom of the pot doesn't scald. Then let it cool back down to 110°F — let the thermometer do the thinking.

A dial thermometer checking the temperature of milk heating in a saucepan on the stovetop
Why so little milk? Starting small makes your first batch extra concentrated — and much more likely to succeed. You'll scale up to a full quart from batch two.
STEP 2

Add your starter — the whole packet

Pour the cooled milk into your container and stir in the entire packet. Yes, all of it — one packet per batch.

Adding the Greek yogurt starter culture to the cooled milk
STEP 3

Keep it cozy

Cover it and hold it at 110°F in your yogurt maker (or Instant Pot on Yogurt). Cooler than 110°F and the yogurt takes much longer to set. Now walk away — this part is 100% hands-off.

A jar of culturing yogurt inside a yogurt maker, its display reading 110 degrees Fahrenheit
We'll email one reminder at the time above. Unsubscribe anytime.
By tapping Text me you agree to receive one reminder SMS. Msg & data rates may apply. Reply STOP to opt out.
STEP 4

Check at 5 hours — the tilt test

Tilt the jar gently. If the yogurt pulls away from the side in one mass instead of running, it's set. Not yet? No problem — give it up to 12 hours, checking every 2.

The tilt test: set yogurt holding together in one mass as the jar tips
We'll email one reminder at the time above. Unsubscribe anytime.
By tapping Text me you agree to receive one reminder SMS. Msg & data rates may apply. Reply STOP to opt out.
STEP 5

Cool, then chill

Once it's set (or at the 12-hour mark), let it cool for 2 hours, then refrigerate for at least 6. Chilling is what makes it thick and scoopable.

Jar of finished yogurt going into the refrigerator to chill
We'll email one reminder at the time above. Unsubscribe anytime.
By tapping Text me you agree to receive one reminder SMS. Msg & data rates may apply. Reply STOP to opt out.
OPTIONAL

Want it even thicker?

After chilling, spoon your yogurt into a yogurt strainer (or a cloth-lined strainer) in the fridge for a few hours. Draining the extra whey is exactly how thick, Greek-style yogurt is made.

DON'T SKIP THIS

Save 2 Tbsp — one packet, endless yogurt

Before you dig in, scoop 2 Tbsp into a small container and stash it in the fridge. That's your starter for every batch from now on — use it to make up to a full quart next time.

GOOD TO KNOW

First batch a little thin?

Totally normal — the activation batch is concentrated on purpose. Use 2 Tbsp of it to start batch two anyway and you'll see a dramatic improvement. Nobody's first batch is their best batch.

STEP 1

Same warm-up

Heat 1 quart of pasteurized whole milk to 180°F, stirring occasionally so the bottom doesn't scald. Cool to 110°F.

STEP 2

Stir in your saved yogurt

2 Tbsp per quart of milk — scale up to a gallon.

STEP 3

Keep it cozy

Hold at 110°F for 5–8 hours.

STEP 4

The tilt test

Moves away from the jar wall in one mass? Done.

STEP 5

Chill, save, repeat

Refrigerate at least 6 hours. Save 2 Tbsp. Repeat forever. Want it Greek-thick? Strain it (see the optional step).

Don't panic

Is this normal?

Almost always: yes. Tap your question.

My first batch didn't set / is thin
Completely normal for an activation batch — it's small and concentrated on purpose. Use 2 Tbsp of it to start batch two — the improvement is dramatic.
How do I get it thick like store-bought Greek yogurt?
Strain it — a few hours in a yogurt strainer (or cloth-lined strainer) in the fridge. See the optional step above.
There's yellowish liquid on top
That's whey — harmless and normal. Stir it back in, or pour it off for extra-thick yogurt.
It smells sour — is that right?
Pleasantly tangy is exactly the goal. Off, spoiled, or fizzy is not — when in doubt, email us a photo.
Can I use my Instant Pot or oven instead?
Yes — anything that steadily holds 110°F works. The Instant Pot's Yogurt setting is made for this; an oven with just the light on can work too (check it with your thermometer).
How long does it keep? How long does my saved starter last?
About 1–2 weeks in the fridge for the batch; start your next batch within about 7 days for the liveliest results.
Was this helpful?
From now on

Your yogurt makes yogurt now

Save 2 Tbsp from every batch and you may never buy a starter — or store yogurt — again. One quart of milk in, one quart of yogurt out, on repeat.

ONE PACKET, ENDLESS YOGURT.

Stuck? Ask a real person.

We've helped millions of first-timers make their first batch. Email a photo of your jar to info@culturesforhealth.com and we'll tell you what's going on.


We usually reply within a few hours
Batch one done?

Make it yours

Not required — but these make it easier:

First jar in the fridge?

That's homemade yogurt — you made that. Show us, and tell the next first-timer it's easier than it looks.

Tag #culturesforhealth on Instagram so we can find your batch!