CULTURED BUTTERMILK VS. TRADITIONAL BUTTERMILK
Did you know that cultured buttermilk, also known as buttermilk culture, is actually different from traditional buttermilk?
The residual liquid from making butter is known as traditional buttermilk. It can be consumed as a beverage or added to recipes in place of water for a nutritional boost.
Cultured buttermilk, on the other hand, is what's commonly used in recipes and is similar toyogurt as it is made using live beneficial bacteria. This buttermilk culture can be consumed as a thick, creamy beverage, used in cooking, or created with a Cultured Buttermilk Starter.
Download our Yogurt Guide and Recipe book today and start making your favorite recipes with cultured buttermilk!
WHY MAKE IT HOMEMADE
Sure, you can go to the store and buy a carton of buttermilk to add to recipes.
But there's just something special about making cultured buttermilk at home. Not to mention, when you make it at home, you get to control the ingredients that go into the final product.
So, if you've decided to give culturing buttermilk a try, here are three methods for doing so. We've outlined the pros and cons for each so you can decide which method might work best for your lifestyle.

OPTION #1: HOW TO USE AN HEIRLOOM BUTTERMILK STARTER TO CULTURE BUTTERMILK
One popular method of culturing buttermilk at home is using an heirloom buttermilk starter. This traditional way of creating your own cultured buttermilk is the most economical. All you need is the initial starter culture and fresh milk.
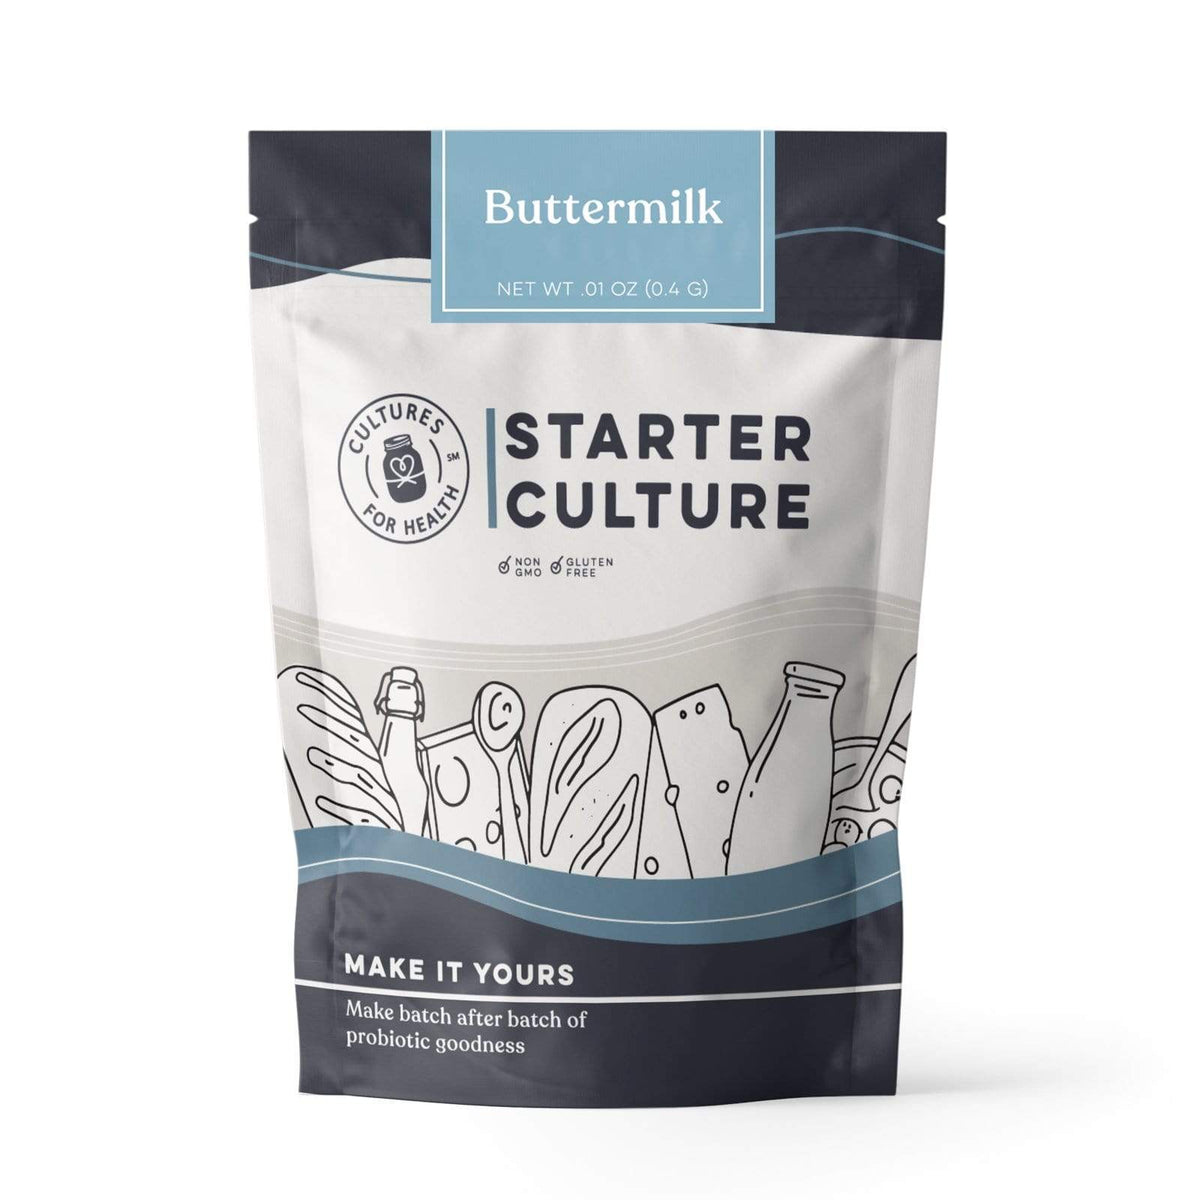
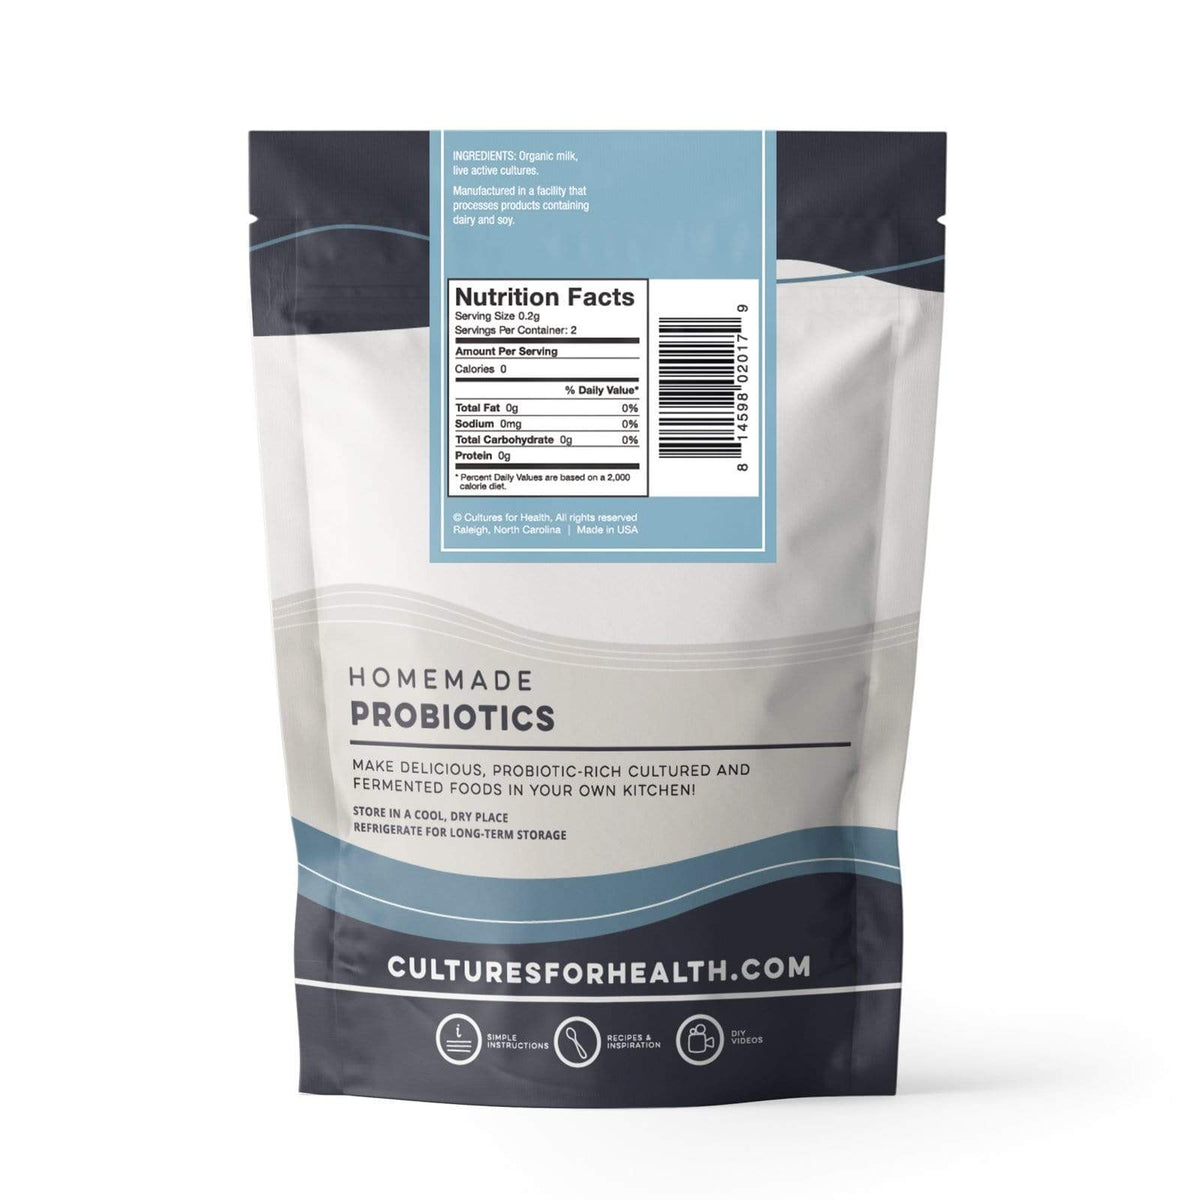
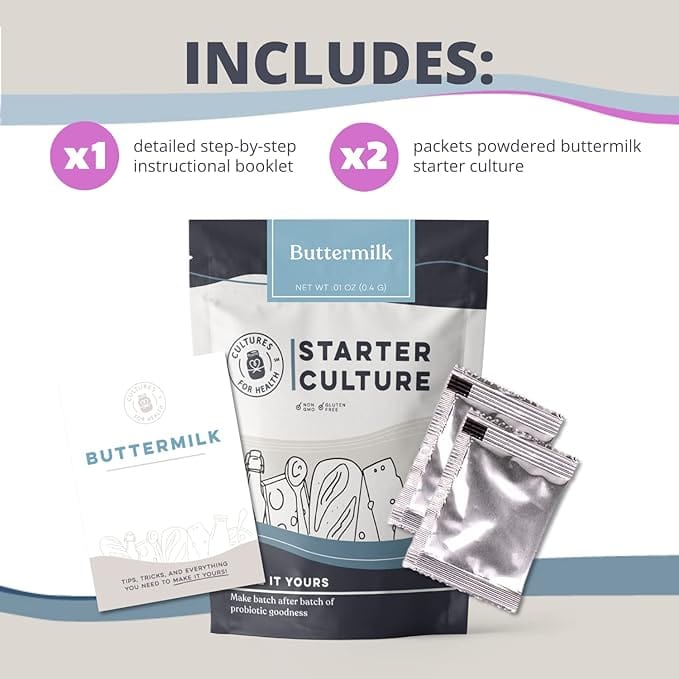
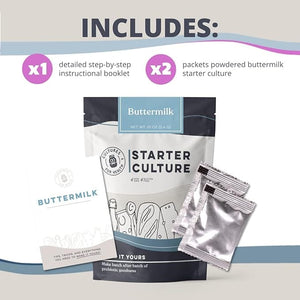
Buttermilk Starter
INSTRUCTIONS PART ONE: ACTIVATE THE CULTURED BUTTERMILK STARTER

Pour 1 quart of pasteurized milk into a glass or plastic container.

Add 1 packet of starter culture.

Mix well.

Cover the container with a towel or coffee filter secured with a rubber band, or put a lid on the container and culture in a warm spot, 70°-77°F.

Check after 24 hours to see if your buttermilk has set. If it has not set, leave up to 48 hours, checking every few hours.
Tilt the container gently. If the buttermilk moves away from the side of the jar in one mass, instead of running up the side, it’s set.
Once it has set, or at the end of 48 hours, cover with a tight lid and refrigerate for at least 6 hours.
INSTRUCTIONS PART TWO: HOW TO MAKE CULTURED BUTTERMILK!

Start by combining ¼ cup of buttermilk from the previous batch with 1 quart of pasteurized milk in a container.

Cover the container with a towel or coffee filter secured with a rubber band, or put a lid on the container and culture in a warm spot, 70°-77°F, for 12-18 hours.

Check every few hours to see if culturing is finished by tilting the jar gently. Once the buttermilk has set, cover it with a tight lid and refrigerate it for at least 6 hours.
After 6 hours, you can eat your cultured buttermilk, but don’t forget to reserve 1/4 cup for culturing the next batch!
TIP: To make larger batches up to ½ gallon per container, use 1 tablespoon of buttermilk per cup of milk
OPTION #2: USING A DIRECT-SET SOUR CREAM STARTER TO MAKE CULTURED BUTTERMILK
Direct-set starters are one-time use cultures and generally come with several packets to a box, so multiple batches can be made. Our Sour Cream Starter Culture includes 4 packets. Optional instructions for making buttermilk with it are featured below. Click here to view our Direct-set Sour Cream Starter Culture.
Culturing buttermilk using a direct-set sour cream starter is another option for you. This is a one-time use culture that comes with several packets in a box, so you can make multiple batches.
Pros
- Very easy to use.
- No mother culture to maintain.
- Keep the packets in the freezer and pull one out whenever you are ready to make buttermilk.
Cons
- Direct-set starters can only be used once and can't be recultured, or may only be re-cultured a limited number of times.
INSTRUCTIONS FOR MAKING CULTURED BUTTERMILK USING A SOUR CREAM STARTER CULTURE
- Heat 1-4 quarts pasteurized milk to 185°F and hold for 30-60 minutes.
- Cool to 77°F.
- Add 1 packet starter culture; stir gently until fully dissolved.
- Transfer to a glass or plastic container. Cover with a towel or coffee filter, secured with a rubber band, or put a lid on it.
- Place in a warm spot, 74°-77°F, to culture for 16-18 hours.
- Once set, cover with a tight lid and refrigerate.
Instructions
- Mix ⅓ cup of store-bought buttermilk with live active cultures into 1 cup fresh milk.
- Cover loosely and culture in a warm spot (70°-77°F) for 12-24 hours, until thickened.
-
Refrigerate.
TRY HOMEMADE BUTTERMILK IN RECIPES
For beginners who are interested in learning how to make cultured buttermilk, it's important to note that the process is actually quite simple and rewarding. Not only do you end up with a delicious, nutritious product, but the process of culturing buttermilk also allows you to tap into an ancient food preparation technique. Throughout history, people have cultured buttermilk as a way to preserve milk and enhance its nutritional properties. By culturing your own buttermilk at home, you are participating in this rich tradition.
It's also worth noting that the type of milk used in the process can affect the flavor and thickness of the resulting cultured buttermilk. While pasteurized cow's milk is most commonly used, you can experiment with different types of milk like goat milk. Each variety will offer a unique taste and texture to the finished product, adding another layer of fun to the process of making cultured buttermilk at home.


