


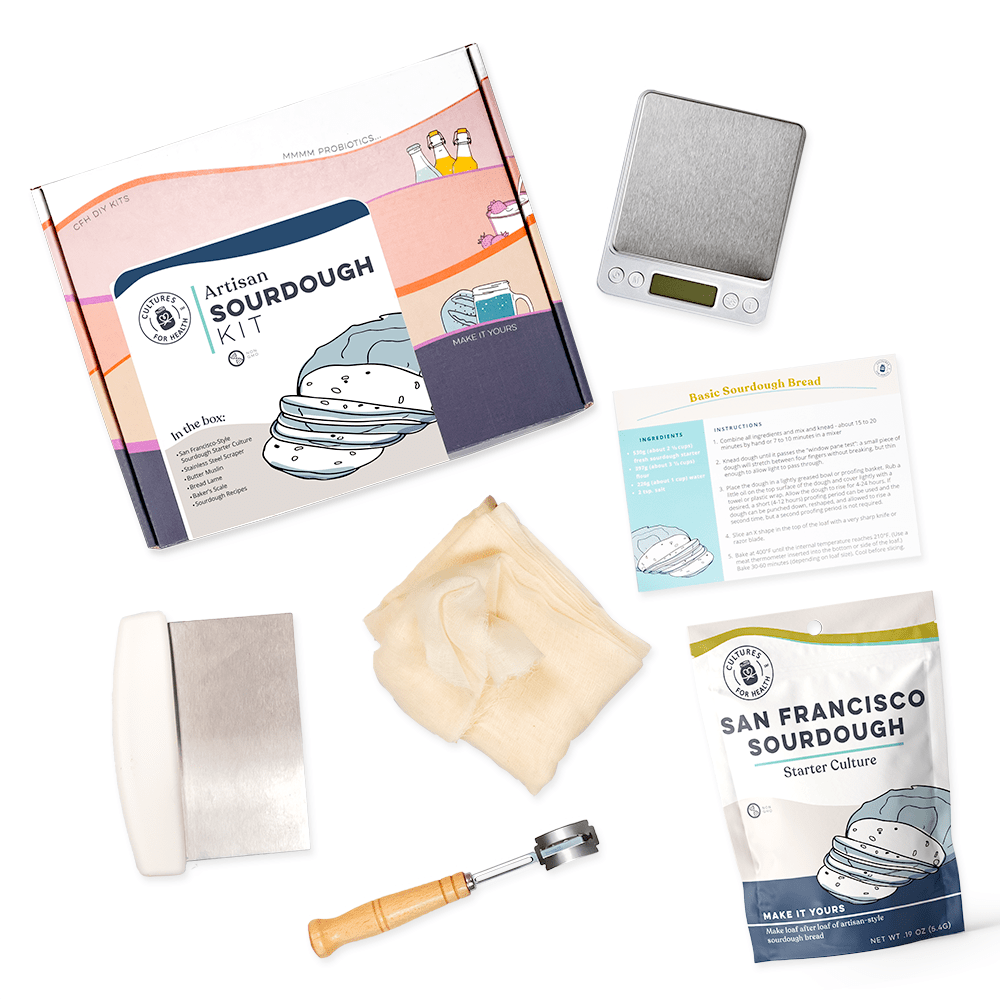


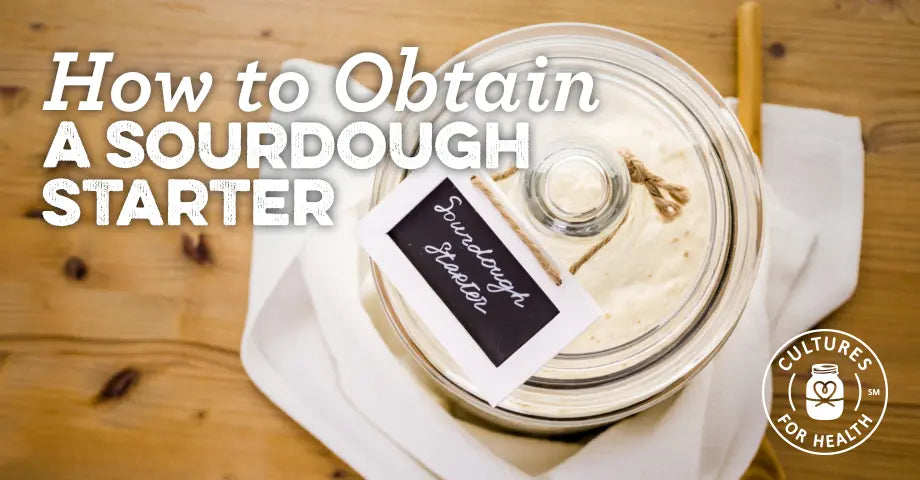
Making traditional sourdough bread from our sourdough bread kit and other baked goods is so easy! No special equipment is required, and only basic ingredients are necessary to get started: flour, water, and a sourdough starter. Obtaining a sourdough starter is not difficult, and there are options to fit everyone’s needs. But first, let’s take a look at the different characteristics and types of sourdough starter and how you can put together your own sourdough starter kit.
Download our Sourdough Guide today, and it will show you how to make or obtain a sourdough starter that is perfect for making delicious sourdough bread. With our guide, you can have fresh, healthy, and tasty homemade bread.
SOURDOUGH STARTER CHARACTERISTICS
1. Type of Sourdough Starter Flour
Each sourdough starter is grown on a specific type of flour and should be activated and fed using that same flour. It is possible to convert a portion of the starter to another type of flour.
LEARN MORE: How to Switch Your Sourdough to a New Type of Flour
A sourdough starter that is made and fed with one type of flour can be used for baking with other flours or combinations of flour.
2. Starter Sourness
The level of sourness in a sourdough starter can be manipulated to some degree. While a few starters are known for their particular tang, others can be sour or mild, depending on the starter’s hydration level, the flour used, and the proofing time.
LEARN MORE: Manipulating the Sourness of Your Sourdough
3. Sour Dough Starter Proofing Time
Some sourdough starters are naturally quick proofers, which can be handy for those with a busy schedule. However, there are benefits to a longer proofing time, as well.
LEARN MORE: Short Versus Long Fermentation in Sourdough Baking
MAKE A SOURDOUGH STARTER
OPTION #1: PURCHASE A SOURDOUGH STARTER


Purchase an established sourdough starter from us! We carry several varieties of sourdough starters originating in different areas of the world, from Alaska to New Zealand. Each starter requires a specific type of flour for feeding, from white flour to rye to gluten-free brown rice flour.
Best for Sourdough Beginners
Now, if you're a beginning sourdough baker we generally recommend sticking with either a San Francisco or Whole Wheat Sourdough Starter. They're just a little bit easier to work with. For the San Francisco Sourdough starter we recommend using white flour and for the Whole Wheat Sourdough starter, we suggest feeding with whole grains. The Rye and the Gluten-Free Starters generally require just a tad more attention during baking, so keep that in mind. Our Gluten-Free Sourdough Starters are tested in an independent lab to less than 5 parts per million (ppm), which is a great option if you’re pursuing a gluten-free diet. We also offer a full sourdough starter kit to get you all the basics you need to get started.
A Comparison of Sourdough Starters
Take a look at our sourdough starter comparison chart to choose a starter that makes sense for you and the type of sourdough bread you want to make.
| Sourdough Starter | Source | Sourdough Starter Characteristics |
| White Flour Sourdough Starter | ||
| Alaskan | Alaska | Tends to proof more quickly than other white-flour starters. Perfect for people who want to move through the bread making process quickly. |
| Camaldoli | Camaldoli, Italy | Can be fast in warm conditions. Very robust starter, proofs in 3 to 8 hours depending on ambient temperature. Fairly mild; adapts well for non-bread recipes (pizza crust, muffins, etc.) |
| Ischia | Italy (island of Ischia) | Tends to be more sour than many other varieties if the flavor is allowed to develop fully with a longer proof period. |
| New England | New England | Rises fairly quickly. An excellent basic sourdough starter; makes good all-purpose bread. Originating in the 1800s. |
| Parisian | near Paris, France | A mild, reliable sourdough starter suitable for a variety of artisanal bread. |
| San Francisco | San Francisco | Tangy flavor. This classic culture is famous for producing a rich, sour flavor. |
| Whole Wheat Sourdough Starter | ||
| Desem | Belgium | Traditional whole-wheat sourdough starter; can develop a tangy flavor when proofed for 18 to 24 hours. |
| Rye Sourdough Starter | ||
| New Zealand | New Zealand | The fastest proofing among the rye starters; generally proofs in 3 to 5 hours. |
| Spelt Sourdough Starter | ||
| Spelt | New England | An excellent choice for people who bake primarily with spelt flour. |
| Gluten-free Sourdough Starter | ||
| Brown Rice | New England | Very fast, needs frequent feeding. Can be used to create gluten-free baked goods. |
Sourdough Starter Instructions
Instructions for activating our white flour, whole wheat, rye, or spelt starters are included in the box or can be found below. The instructions for activating and feeding our Gluten-Free Brown Rice Sourdough Starter are slightly different and can be found here.
If you're new to sourdough baking, our helpful How-to Videos can be useful for beginners!
Before you Begin Working with your Sourdough Starter Kit:
- Our sourdough starters are shipped in a dehydrated state, to be shelf-stable and safe for shipping. Store the starter in a cool, dry place until you are ready to activate it.
- Use unchlorinated, unfluoridated water when feeding your starter.
- Feed the starter with the type of flour that matches the starter: white flour for a white-flour starter, rye flour for a rye starter, etc.
- Use non-metal utensils when making a sourdough starter. Stainless steel is acceptable.
Sourdough starters are fairly resilient cultures. When working with sourdough there are several methodologies for activating and maintaining a sourdough starter.
Below you will find both our original and a newer methodology for activating and caring for a sourdough starter culture. The methodology you use to activate and care for your starter is completely up to you based on what you find easiest for your lifestyle.
With that said, sourdough is a very forgiving culture and one of the easiest to work with, so we are confident that you will be successful despite which methodology you choose. If you have any concerns regarding your starter culture feel free to reach out - we're here to help!
Activating the Sourdough Starter
Original Sourdough Starter Methodology
- Pour the entire contents of the package into a quart-sized jar or similar container.
- Add ¼ cup room-temperature water; mix well.
- Add ¼ cup flour; stir vigorously.
- Cover with a tight-weave towel or a coffee filter, secured with a rubber band.
- Place in a warm area, 70°-85°F, for 12-18 hours.
- NOTE: Maintaining a warm culturing area around the clock is important for successful activation. Consult our article on Cold Weather Care for Starter Cultures if your home is colder than 70°F.
- After 12-18 hours, feed the starter: mix in ½ cup water and a scant ½ cup flour. Stir vigorously to incorporate plenty of air.
- Cover as before and return to the warm spot for 12 hours.
- After 12 hours, discard all but ½ cup starter.
- Mix in ½ cup water and scant 1 cup flour; stir vigorously. Cover as before.
- Repeat steps 8 and 9 every 12 hours, until the mixture becomes light and bubbly, typically 3 to 7 days.
- Once the starter is bubbling reliably within a few hours of being fed, feed for two more cycles before preparing to use it in baking.
New Sourdough Starter Methodology
- Add a packet of starter to 1 tablespoon flour and 1 tablespoon water in a quart-size glass jar and stir thoroughly. Cover the jar with a coffee filter or breathable material secured with a rubber band and culture in a warm place for 12-24 hours.
- After 12-24 hours, feed the starter with an additional 2 tablespoons of flour and 2 tablespoons of water. Stir vigorously. Your starter should have the consistency of pancake batter, and you may need to add more flour or water.
- After 12-24 hours, feed the starter with an additional ¼ cup of flour and ¼ cup water. Stir vigorously.
- After another 12-24 hours, feed the starter with an additional ½ cup of flour and ½ cup water. Stir vigorously.
- Every 12-24 hours, discard down to ½ cup of starter and then feed the starter with ½ cup water and ½ cup flour. Continue this feeding schedule, and after 3 to 7 days, your starter will be bubbling regularly within a few hours of feeding.
NOTE ABOUT DISCARDED SOURDOUGH STARTER...
While it may seem wasteful to discard extra starter, maintaining a large amount of starter for infrequent baking would use large amounts of flour over time. For more information on why we recommend discarding starter, and for recipes for using the discarded starter, consult our article, How to Use Discarded Sourdough Starter.
Option #2: Obtain a Sourdough Starter from Friends or Family
Ask around. You may be surprised at how many friends or family members keep a sourdough starter, or at least know someone who does. Find a sourdough baker who is happy with his/her well-established starter and can give you some tips on how best to care for it.
The Benefits of Obtaining an Established Sourdough Starter
Whether you purchase a starter or get one from a friend, there are definite advantages to using an established sourdough starter:
- It is more reliable.
- It is more stable, active, and resilient.
- It can guarantee a more pleasantly flavored bread.
If the established sourdough starter is refrigerated, make sure to follow the steps for preparing fresh sourdough starter before using it to bake.
Option #3: How to Make Your Own Sourdough Starter
If you'd rather create your own homemade sourdough starter from wild yeast and bacteria, this method is a little less reliable, but may also produce surprisingly delicious results. Making a sourdough starter requires some basic ingredients, equipment, and conditions.
What You'll Need to Make a Sourdough Starter
Ingredients
- Flour
- Water as free from contaminants as possible
- A warm temperature, 70°-85°F
Equipment
- A non-reactive vessel in which you make and store the starter (glass or plastic)
- A non-reactive stirring device
- A breathable lid such as a clean towel or coffee filter
- A space to ferment with no other cultured foods nearby
HOW TO MAKE SOURDOUGH STARTER RECIPE
- Combine ¾ cup flour and ½ cup warm water in a glass or plastic container. Make sure the container can hold about 2 quarts, to avoid overflow.
- Stir vigorously to incorporate air; cover with a breathable lid.
- Leave in a warm place, 70-85°F, for 12-24 hours. Feeding every 12 hours will increase the rate at which your sourdough starter is multiplying its organisms; feeding every 24 hours will take a bit longer, but may be more sustainable depending on your time commitment.
- At the 12 or 24 hour mark you may begin to see some bubbles, indicating that organisms are present. Repeat the feeding with ½ cup warm water and ¾ cup flour.
- Stir vigorously, cover, and wait another 12-24 hours.
- Repeat feedings every 12-24 hours by removing half of the starter before every feeding and discarding it. Feed with ½ cup warm water and ¾ cup flour.
- After about 5-7 days the sourdough starter should have enough yeasts and bacteria to be used for baking.
MORE THAN JUST BREAD
Download our Sourdough Guide and Recipe book today and make your delicious sourdough bread!


